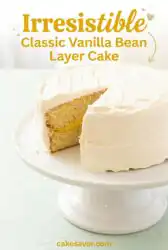
Whenever I serve this, guests invariably pause mid-bite to ask what makes this specific vanilla flavor so hauntingly floral and deep. They are searching for the secret to that bakery-style finish.

The secret lies in a tiny splash of almond extract that bridges the gap between simple sweetness and complex, sophisticated depth. This Classic Vanilla Bean Layer Cake is more than a dessert; it is a lesson in how one smart addition can transform a familiar staple into a memorable centerpiece. You will find that the tender crumb and silky Swiss meringue frosting create a balance that feels both nostalgic and refreshingly refined for your next gathering.
What Makes This One Special
Prep: 10 min · Serves: 16 · Difficulty: Intermediate
- Floral vanilla bean seeds add visual elegance.
- Almond extract creates a mysterious flavor depth.
- Silky Swiss meringue provides a buttery finish.
- Pudding-like pastry cream adds a rich surprise.
- Tender cake flour ensures a soft crumb.
This is the recipe my guests request for every celebration because it feels like a chocolate layer cake in terms of decadence while staying light and bright. One smart addition, all the wow.
Get The Full Cake Recipe
Print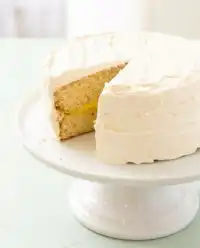
Classic Vanilla Bean Layer Cake
- Total Time: 3 hours
- Yield: 16 servings
- Diet: Vegetarian
Description
Elevate your dessert game with this sophisticated layer cake featuring a tender, velvet-like crumb and aromatic floral notes. Enhanced by a secret touch of almond extract and a rich pastry cream center, this bakery-style masterpiece is the perfect centerpiece for any celebration.
Ingredients
- 2 1/2 cups cake flour
- 1 1/2 cups granulated sugar
- 2 teaspoons baking powder
- 1/2 teaspoon kosher salt
- 1 cup unsalted butter, softened
- 6 large egg whites
- 1 cup whole milk
- 1 vanilla bean, seeds scraped
- 1 teaspoon vanilla extract
- 1/2 teaspoon almond extract
- 4 large egg yolks
- 1/4 cup cornstarch
- 1/2 teaspoon cream of tartar
Instructions
- Prep pans and oven. Preheat your oven to 350°F, then butter and line two 8-inch round cake pans with parchment paper.
- Combine dry ingredients. In an electric mixer, whisk together cake flour, sugar, baking powder, and salt on low speed.
- Add the butter. Incorporate the room temperature butter one tablespoon at a time until the mixture resembles coarse cornmeal.
- Whisk egg whites. In a separate bowl, whisk the egg whites until light and frothy, approximately two minutes.
- Mix liquid base. Whisk the milk, vanilla bean seeds, vanilla extract, and almond extract together in a small pitcher.
- Combine and bake. Alternate adding the egg whites and milk to the flour mixture, mixing until smooth, then divide into pans and bake for 25-30 minutes.
- Prepare pastry cream. Whisk yolks, sugar, salt, milk, and cornstarch in a saucepan over medium-low heat until thickened, then stir in vanilla bean paste and butter before chilling.
- Create Swiss meringue. Whisk egg whites, sugar, cream of tartar, and salt over a water bath to 160°F, then whip in a mixer until stiff, glossy, and completely cool.
- Emulsify the frosting. Add room temperature butter to the cooled meringue one tablespoon at a time until silky, then stir in vanilla bean paste and almond extract.
- Assemble the cake. Trim the cooled cake layers, sandwich with the chilled pastry cream, and frost the entire exterior with the Swiss meringue.
Notes
- Ensure all dairy and eggs are at room temperature before you begin to guarantee a smooth emulsion.
- If your meringue feels warm to the touch, chill the bowl before adding butter to prevent the frosting from melting.
- Always strain your pastry cream through a fine-mesh sieve if you notice any small lumps after thickening.
- Use a digital scale for flour to ensure the exact consistency of the crumb for perfect layers.
- Prep Time: 45 mins
- Cook Time: 30 mins
- Category: Dessert
- Method: Baking
- Cuisine: American
Simple Ingredients + One Smart Add
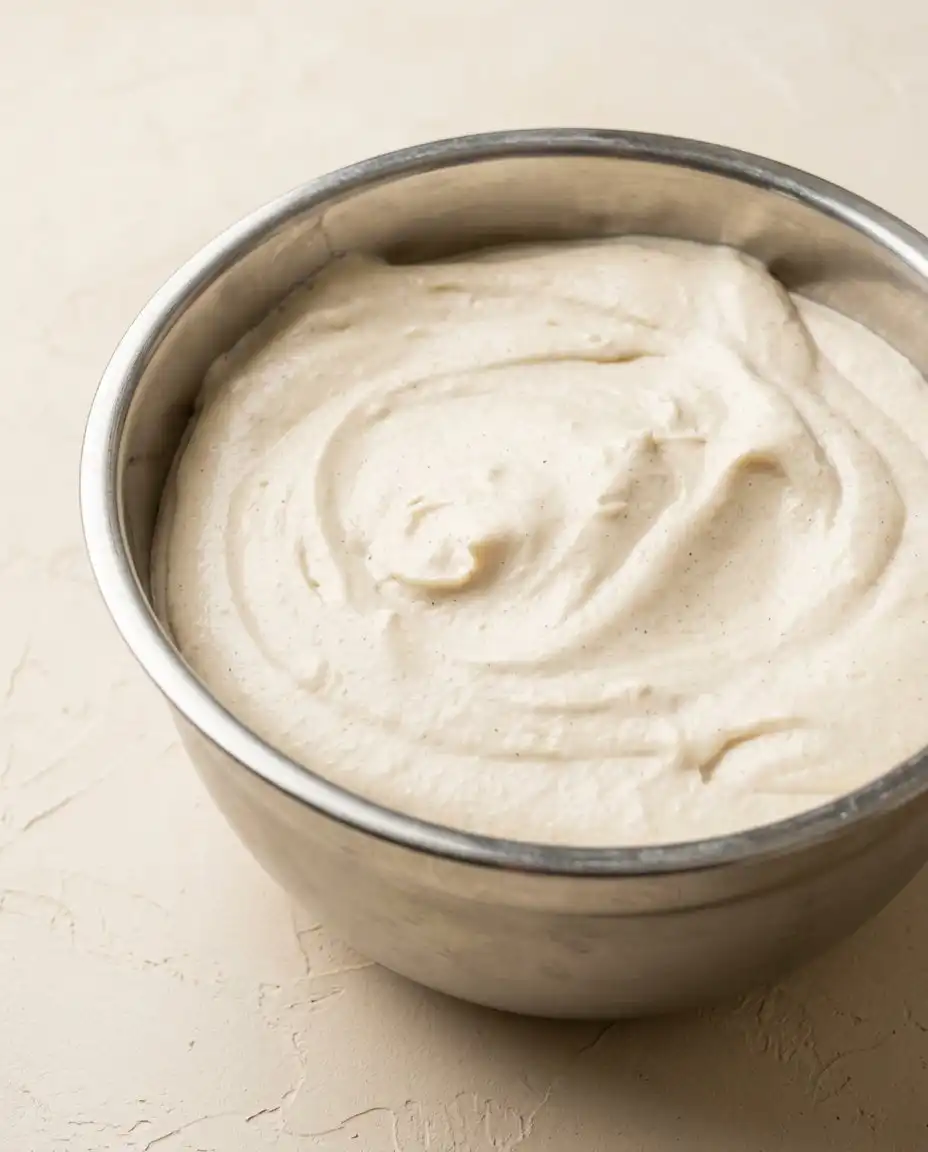
Creating a cake this memorable starts with high-quality pantry staples that work together to build layers of texture and taste. We are using the reverse creaming method here, where butter meets the dry ingredients first to coat the flour and prevent excess gluten formation.
- Cake Flour: This low-protein flour is the key to a tight, velvet-like crumb that melts on your tongue. It provides the structural integrity needed for layers without the toughness often found in all-purpose varieties.
- Vanilla Bean Seeds: These tiny black specks offer a floral, earthy intensity that bottled extracts alone cannot replicate. They provide a beautiful visual cue that this is a premium, scratch-made treat.
- Almond Extract: This is our secret weapon that makes people stop and think about the flavor. It does not make the cake taste like nuts; instead, it rounds out the vanilla and makes it taste more like a professional bakery creation.
- Unsalted Butter: Using room temperature butter allows it to incorporate smoothly into the flour mixture. This creates a waterproof barrier around the proteins, resulting in a moisture-rich bite every time.
- Egg Whites: By using only the whites in the cake batter, we keep the color snowy white and the texture remarkably light. This allows the vanilla and almond notes to shine without being masked by the richness of yolks.
- Cornstarch: Added to the pastry cream, this acts as the thickening agent that creates that nostalgic, pudding-like center. It ensures the filling stays put between the layers rather than sliding out when you slice it.
| Ingredient | Why It Matters |
|---|---|
| Vanilla Bean Paste | Provides concentrated floral notes and elegant specks |
| Cream of Tartar | Stabilizes the egg whites for a glossy meringue |
| Whole Milk | Adds necessary fat for a tender, moist crumb |
| Kosher Salt | Balances the sugar and heightens the vanilla profile |
| Cake Flour | Creates the softest possible texture for layering |
Building the Flavor
Step 1: Prep Your Pans and Oven
Begin by preheating your oven to 350°F to ensure a steady, even rise for your layers. Lightly butter two 8-inch round cake pans and line the bottoms with parchment paper before buttering the paper itself. This double-layer of protection ensures your delicate vanilla sponges release cleanly without any tearing or sticking to the edges.
Step 2: Incorporate Butter and Dry Ingredients
In your electric mixer, combine the cake flour, granulated sugar, baking powder, and salt on a low setting. Add the room temperature butter one tablespoon at a time, allowing each piece to disappear into the flour for thirty seconds. When finished, the mixture should look like coarse cornmeal, which indicates the flour is properly coated in fat to prevent a tough texture.
Step 3: Whisk the Egg Whites
In a separate bowl, whisk your large egg whites until they become frothy and light, which takes about two minutes of steady motion. This step introduces air into the whites before they even hit the batter, helping to lift the cake during the baking process. You will see small bubbles forming on the surface as the proteins begin to structure themselves.
Step 4: Mix the Liquid Base
Combine the whole milk with the vanilla bean seeds, vanilla extract, and that crucial splash of almond extract. Use a small whisk to ensure the vanilla seeds are distributed throughout the liquid rather than clumping together in one spot. This scented milk will carry the aromatic profile through every inch of the Classic Vanilla Bean Layer Cake batter.
Step 5: Combine Batter and Bake
With the mixer on low, alternate adding the frothy egg whites and the scented milk in two batches. Mix for only thirty seconds after the last addition until the batter looks smooth and cohesive. Divide the batter evenly between your prepared pans and bake for 25-30 minutes until a skewer comes out with just a few moist crumbs clinging to it.
Step 6: Prepare the Pastry Cream
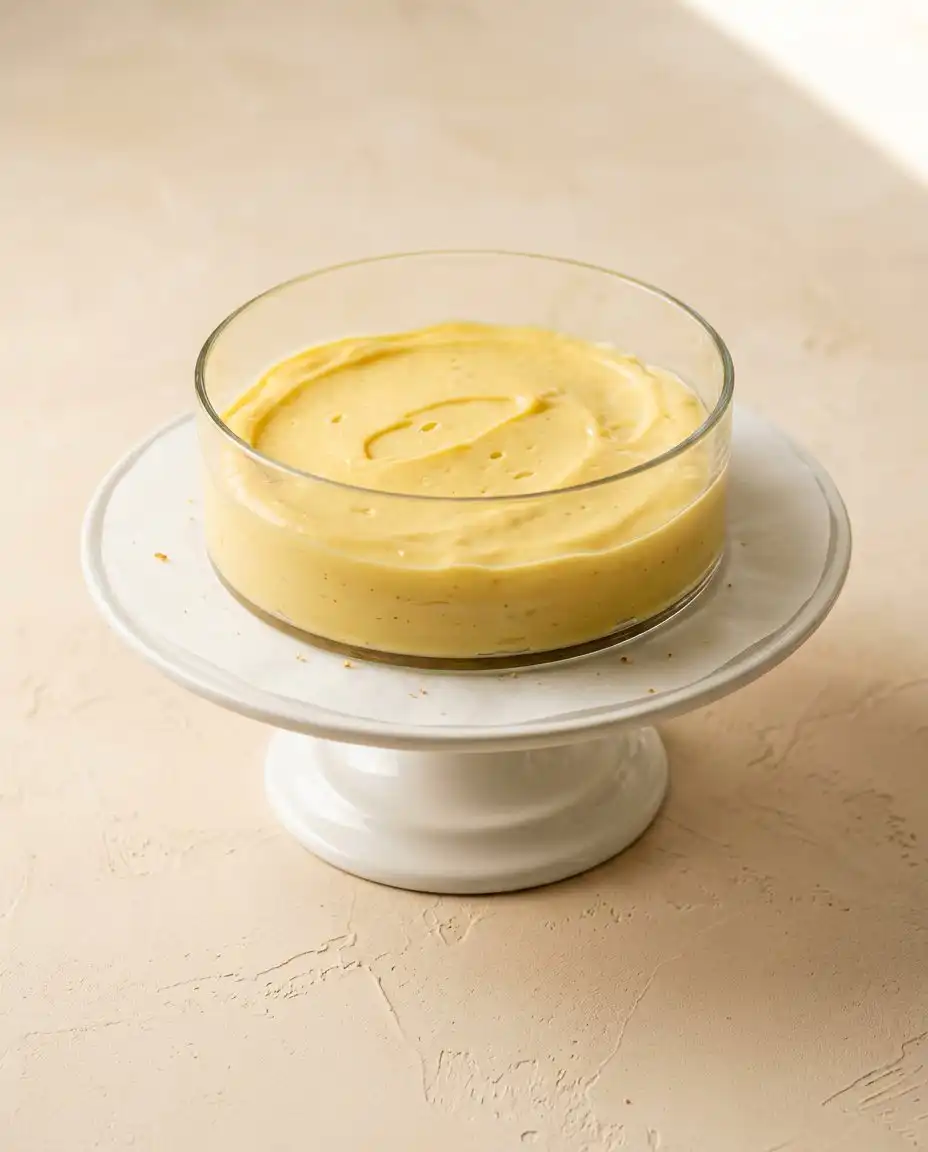
Whisk egg yolks, sugar, salt, milk, and cornstarch in a saucepan over medium-low heat until the mixture thickens into a heavy pudding. Remove it from the heat and stir in the vanilla bean paste and cold butter until the surface is glossy and smooth. Press plastic wrap directly onto the cream to prevent a skin from forming and chill it thoroughly for two hours.
Step 7: Create the Swiss Meringue
Whisk egg whites, sugar, cream of tartar, and salt over a water bath until the sugar dissolves and the temperature hits 160°F. Transfer this to your mixer and whip on high speed until the meringue is stiff, glossy, and completely cool to the touch. This cooling period is vital because adding butter to a warm meringue will result in a soupy, melted mess.
Step 8: Emulsify the Frosting
Once the meringue is cool, add the room temperature butter one tablespoon at a time while the mixer runs on medium speed. The frosting might look curdled for a moment, but keep mixing until it transforms into a thick, silky cloud. Stir in the vanilla bean paste and almond extract at the very end to lock in those bright, floral aromatics.
Step 9: Assemble Your Masterpiece
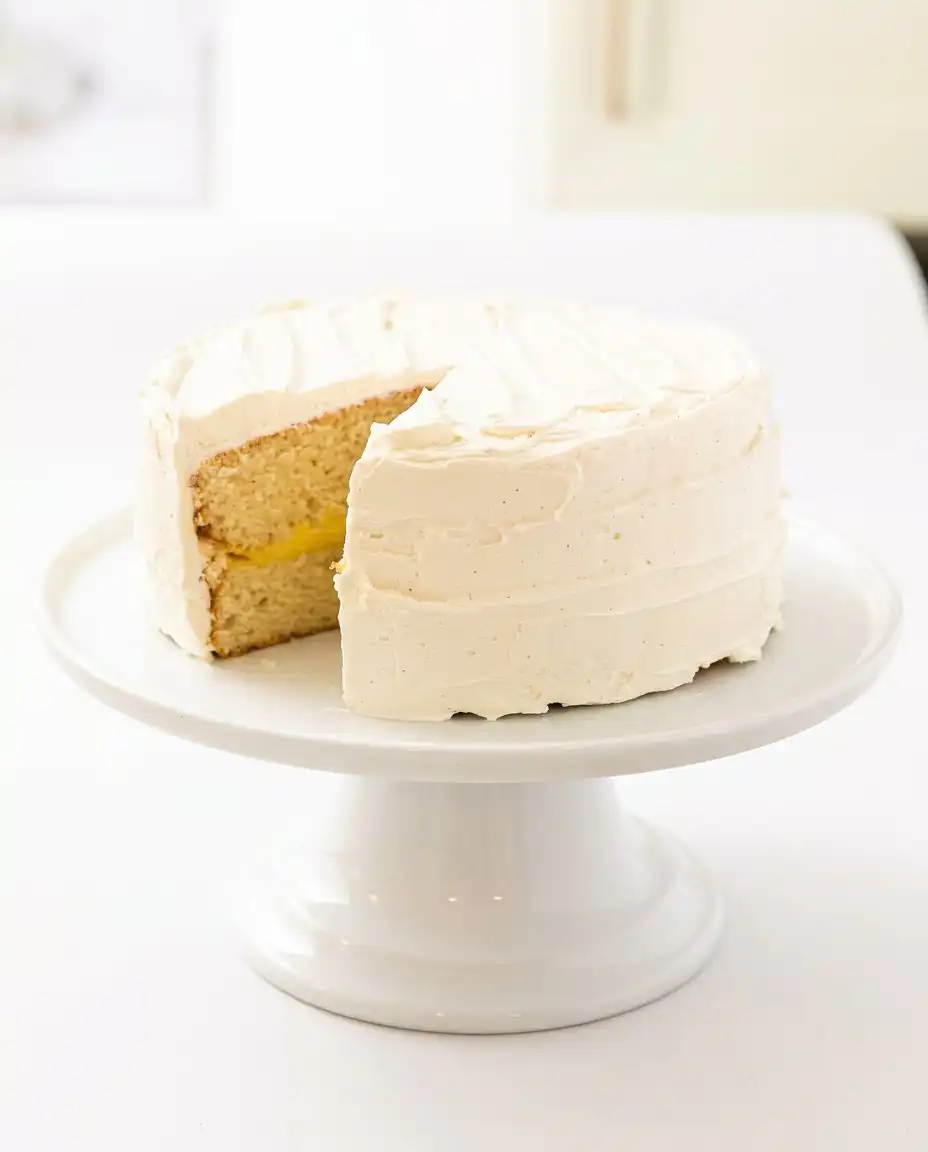
Trim any domes off your cooled cakes with a serrated knife to create flat surfaces for stacking. Place one layer down, spread the chilled pastry cream in the center leaving a border, and top with the second cake. Apply a thin crumb coat of frosting to seal everything in, chill for fifteen minutes, and then finish with a thick, decorative layer of the remaining Swiss meringue.
Small Tweaks, Big Wow
Temperature is your most important ingredient when working with Swiss meringue frosting. If your frosting looks soupy or liquid after adding the butter, your meringue was likely still too warm. Simply pop the mixing bowl into the fridge for fifteen minutes and whip it again; it will come together beautifully once the butter firms up slightly.
Always sift your cake flour even if the box says it was pre-sifted at the factory. Cake flour is notoriously prone to clumping in the pantry, and those small lumps can survive the mixing process and leave white spots in your baked layers. A quick pass through a fine-mesh sieve ensures a uniform crumb that feels like silk on the tongue.
For the most vibrant flavor pop, scrape the vanilla bean seeds directly into the milk rather than the dry ingredients. The fats in the milk help to carry the aromatic compounds from the vanilla throughout the entire batter more effectively than if they were trapped in the flour. You can find more reliable vanilla bean baking methods to help you master this delicate ingredient.
If you find your pastry cream has small lumps after cooking, do not panic or start over. Immediately pour the warm cream through a fine-mesh strainer into a clean bowl to remove any cooked egg bits or cornstarch clumps. This extra minute of effort ensures the center of your cake has a professional, pudding-like consistency.
Always use a scale to measure your ingredients if you want to replicate the perfect buttermilk vanilla cake texture every time. Volume measurements with cups can vary by as much as twenty percent depending on how tightly you pack the flour. Precision is the difference between a cake that is merely good and one that is truly memorable.
When adding the butter to your flour mixture during the reverse creaming step, make sure the butter is truly room temperature. It should yield easily to a light press of your finger without being greasy or melting. If the butter is too cold, it will not coat the flour particles properly, and you will lose that signature tender texture.
Frequently Asked Questions
Can I make this cake ahead of time?
Yes, you can bake the cake layers up to one week in advance if you wrap them tightly in plastic and store them in the freezer. The pastry cream can also be made two days ahead and kept in the refrigerator. Assemble the cake the day you plan to serve it for the best texture.
Why did my Swiss meringue frosting turn out grainy?
Graininess usually happens if the sugar was not fully dissolved in the egg whites during the water bath step. Make sure to rub a bit of the mixture between your fingers; it should feel completely smooth. If you feel any granules, continue whisking over the heat until they disappear.
What is the best way to store leftovers?
Because of the pastry cream center and the butter-rich frosting, this cake should be stored in the refrigerator in an airtight container. It will stay fresh and moist for up to three days. Always let the cake sit at room temperature for thirty minutes before serving so the frosting can soften.
Can I use all-purpose flour instead of cake flour?
While you can substitute it, the texture will be significantly denser and less tender. If you must use all-purpose, remove two tablespoons of flour from every cup and replace them with two tablespoons of cornstarch. Sift this mixture several times to mimic the light consistency of true cake flour.
My pastry cream is too thin to stay in the cake. What happened?
This usually occurs if the mixture was not brought to a full boil for at least one minute. The heat is necessary to activate the thickening power of the cornstarch. If it is too thin, you can gently reheat it with a small amount of extra cornstarch dissolved in milk.
Why is almond extract used in a vanilla cake?
Almond extract serves as a flavor enhancer that mimics the complex aromatic profile of high-end bakery cakes. It adds a certain ‘je ne sais quoi’ that heightens the floral notes of the vanilla bean. Even a small amount makes the vanilla taste more intense and sophisticated.
Where to Take It Next
Once you master the basic structure of this recipe, you can easily shift the flavor profile to suit different seasons. Try swapping the vanilla bean seeds for two teaspoons of toasted chai spice to create a warm, cozy version for autumn gatherings. The almond extract still works beautifully here, acting as a bridge between the spicy ginger and the floral cardamom.
If you prefer a more traditional texture without the pudding center, you can omit the pastry cream and use a classic vanilla butter cake filling like raspberry jam or lemon curd. The bright acidity of fruit provides a lovely contrast to the rich, buttery Swiss meringue frosting. This allows you to play with different color palettes for birthdays or weddings.
For a deeply toasty and nutty variation, try browning the butter for the cake batter and letting it solidify back to room temperature before use. This adds a layer of caramel-like depth that pairs wonderfully with the floral vanilla notes. You can also look at other professional vanilla bean layering techniques to see how different fats affect the final rise and crumb.
Bringing the Wow to the Table
When it comes time to slice this beauty, use a long serrated knife dipped in warm water and wiped clean between every cut. This ensures the pastry cream center stays neatly tucked between the layers rather than smearing down the sides. Serving this on a simple white pedestal allows the elegant vanilla bean specks to be the star of the show.
This cake pairs beautifully with a glass of chilled sparkling wine or a light floral tea like Earl Grey. The tannins in the tea provide a clean finish that prepares your palate for another bite of the rich Swiss meringue. If you are looking for a simpler presentation, check out this vanilla cake recipe for a single-layer version that works for casual afternoons.
For a summer garden party, surround the base of the cake with fresh, tart raspberries or sliced strawberries. The fruit adds a pop of color and a necessary burst of acidity that cuts through the buttery sweetness of the frosting. This is the moment where you make it yours and turn a simple cake into an unforgettable flavor experience for your guests.
Your Turn to Riff
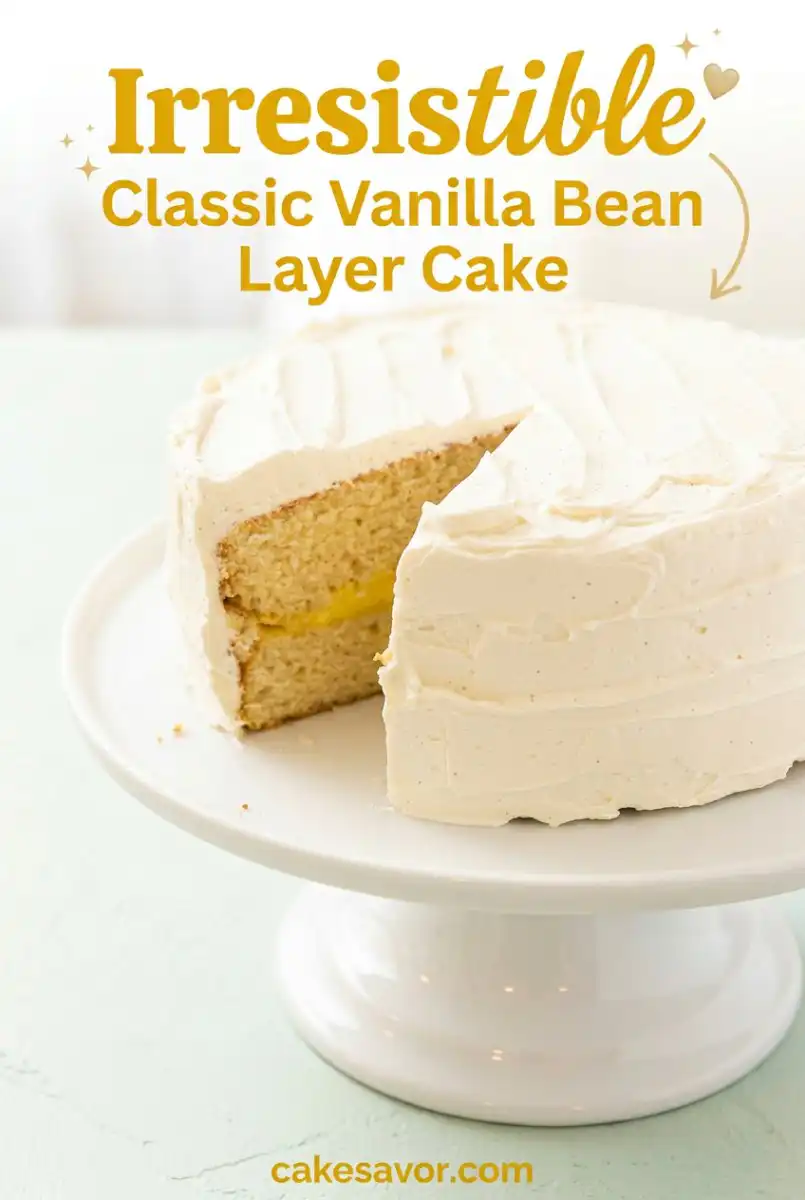
Baking this Classic Vanilla Bean Layer Cake is about more than just following a recipe; it is about embracing the small details that create a big impact. From the floral specks of the vanilla bean to that mysterious hint of almond, every element is designed to make your guests pause and appreciate the craft. It is a simple cake with unforgettable flavor that you can serve with pride at any gathering.
I hope you feel encouraged to take this recipe into your own kitchen and see how a few smart additions can change your baking game. If you want to continue your journey into classic desserts, you might enjoy trying this yellow cake recipe next. Remember that flavor is a form of play, and there are no wrong answers when you start with high-quality ingredients and a curious spirit.
Please share your beautiful cake photos with us and let us know how your guests reacted to that secret almond twist! You can find more inspiration and connect with our community on Pinterest, Facebook, or Telegram. We cannot wait to see how you bring this flavor pop to your own table.