A warm baking dish of Peach Cobbler with Yellow Cake Mix sits on the counter after dinner, and by the time the coffee is poured, half the pan has already vanished.

This recipe is for those nights when you want a warm, bubbly dessert without the stress of measuring every tiny gram of flour or cutting cold fat into a dough. It relies on a few reliable staples to create a golden, buttery crust that pairs beautifully with sweet peaches. You only need one baking dish and a few minutes of prep to get this into the oven, making it a reliable choice for busy families or last-minute guests. This version of the classic dessert offers that nostalgic fruit flavor we all crave with the convenience of a modern pantry.
What Makes This Easy Cake Shine
Prep: 20 min · Serves: 8 · Difficulty: Easy
- Requires only one common baking dish
- Uses basic staples found in any pantry
- Produces a golden buttery crust every time
- Saves hours of prep on busy weeknights
- Works perfectly for feeding a large crowd
If you have twenty minutes of hands-on time, you can have this old fashioned oven baked peach cobbler style dessert ready for the oven before the kids finish their homework. Simple can be spectacular.
Get The Full Cake Recipe
Print
Peach Cobbler with Yellow Cake Mix
- Total Time: 1 hour 20 mins
- Yield: 8 servings
Description
This easy peach cobbler delivers a warm, golden, buttery crust paired with sweet, spiced fruit using only a few pantry staples. It is the perfect stress-free dessert for busy weeknights or feeding a hungry crowd.
Ingredients
- 3 cans (15 oz each) sliced peaches in heavy syrup
- 1 box yellow cake mix
- 1 cup unsalted butter, chilled and sliced thin
- 1 tablespoon lemon juice
- 2 tablespoons brown sugar
- 1 teaspoon ground cinnamon
- 0.5 teaspoon ground nutmeg
- 0.25 teaspoon ground cloves
Instructions
- Preheat and prep. Preheat your oven to 350°F and lightly grease a 9×13 baking dish with butter or non-stick spray.
- Layer the fruit. Drain the syrup from one can of peaches, then pour all peaches and the syrup from the remaining two cans into the prepared dish.
- Season the filling. Sprinkle the lemon juice, brown sugar, cinnamon, nutmeg, and cloves over the peaches and stir gently until evenly coated.
- Add cake mix. Evenly sprinkle the dry yellow cake mix over the peach layer, using a fork to smooth the surface without mixing it into the fruit.
- Top with butter. Arrange the thin pads of cold butter in rows across the top of the cake mix, ensuring they are close together to cover the surface.
- Bake and cool. Bake for one hour until golden brown and bubbling, then let the cobbler rest for at least 20 minutes before serving to allow the sauce to thicken.
Notes
- Ensure the peaches are in heavy syrup for the best texture and sweetness.
- Keep the cake mix as a distinct, unmixed layer to ensure a crisp crust forms.
- Slice the butter into very thin, uniform pads to ensure even hydration of the cake mix.
- Allow the cobbler to rest after baking to achieve a clean, professional-looking scoop.
- Tent the dish with aluminum foil if the top browns too quickly before the fruit is bubbling.
- Prep Time: 20 mins
- Cook Time: 1 hour
- Category: Dessert
- Method: Baking
- Cuisine: American
Pantry Lineup

This recipe focuses on high-quality pantry staples that combine to create a texture similar to a traditional cobbler but with a fraction of the effort. Each item plays a specific role in ensuring the base is juicy while the topping remains crisp and flavorful.
- Canned Peaches: Using fruit in heavy syrup provides the necessary moisture and sweetness to hydrate the dry topping during the baking process.
- Yellow Cake Mix: This acts as the structural base for the crust, offering a hint of vanilla and a tender crumb that browns beautifully.
- Unsalted Butter: Sliced thin and placed on top, the fat melts down to create a rich, shortbread-like texture on the surface.
- Ground Cinnamon: This warm spice complements the sweetness of the fruit and provides a classic aromatic profile to the kitchen.
- Lemon Juice: A small amount of acidity balances the sugar in the heavy syrup and brightens the overall flavor of the filling.
| Ingredient | Why It Matters |
|---|---|
| Heavy Syrup | Hydrates the cake mix without extra water |
| Sliced Butter | Creates a crisp, golden brown topping |
| Nutmeg | Adds a deep, earthy note to the peaches |
| Brown Sugar | Helps the fruit layer caramelize in the oven |
The Easy Method
Step 1: Prepare the Baking Dish and Oven
Begin by preheating your oven to 350 degrees Fahrenheit so it reaches the correct temperature before the dish is ready to enter. Take a standard 9×13 baking dish and apply a light coating of butter or non-stick spray to the bottom and sides to prevent the fruit from sticking. This preparation helps the edges of the cobbler develop a slightly chewy, caramelized texture that many people enjoy.
Step 2: Prepare the Fruit Filling
Open all three cans of peaches and carefully drain the syrup from only one of them, discarding that liquid. Pour all the peaches, including the syrup from the two remaining cans, into the prepared baking dish and spread them into an even layer. This specific ratio of fruit to liquid is vital because too much syrup will make the dessert soupy, while too little will leave the cake mix dry and powdery.
Step 3: Add Flavor Accents to the Peaches
If you want to add more depth to the flavor, sprinkle the lemon juice, brown sugar, cinnamon, nutmeg, and cloves over the top of the fruit. Use a wooden spoon to stir these additions gently until the peaches are well coated and the spices are distributed. You will notice the aroma of the spices immediately, which signals that the fruit layer is properly seasoned and ready for the topping.
Step 4: Add the Peach Cobbler with Yellow Cake Mix Layer
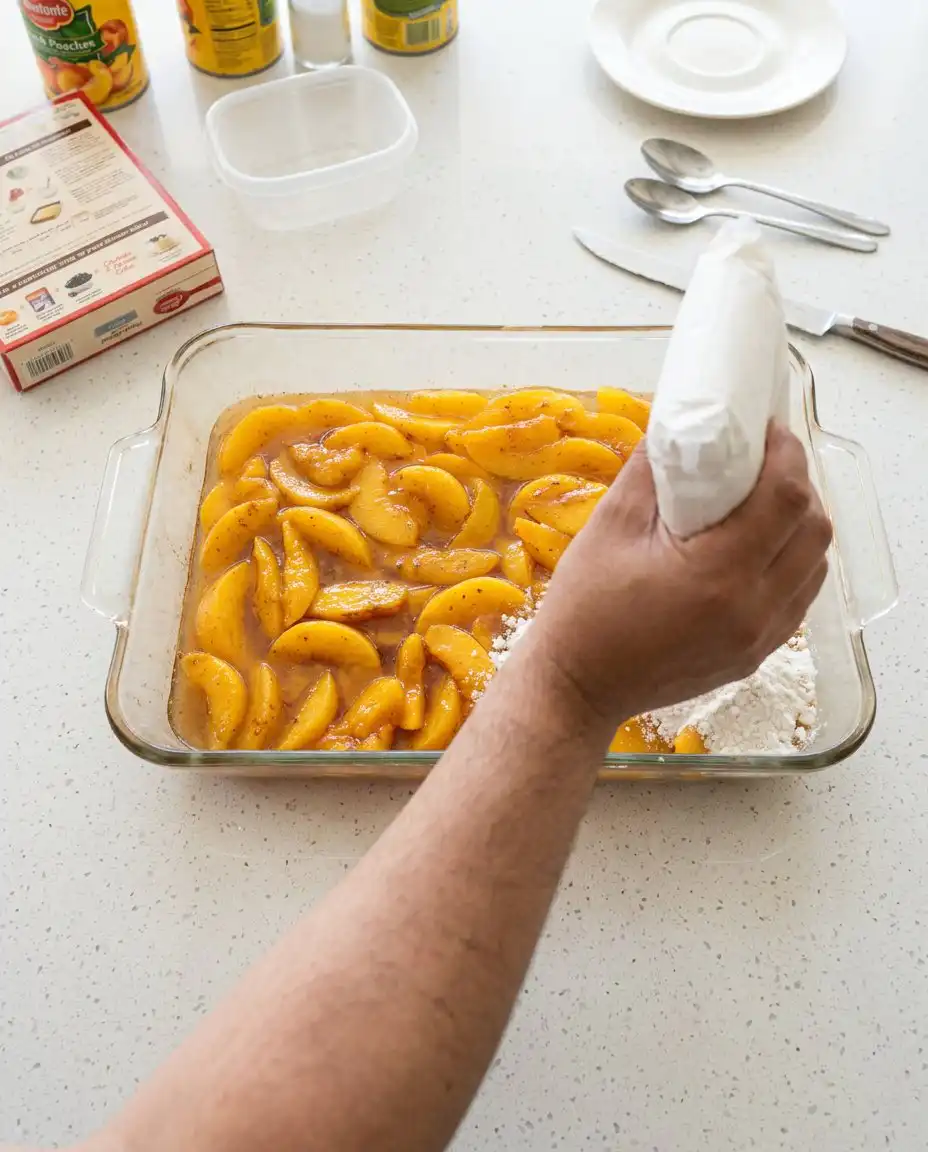
Open the box of yellow cake mix and sprinkle the dry powder evenly over the top of the peach layer until the fruit is completely covered. Use a clean fork to smooth out the surface, gently breaking up any large clumps of dry mix so the butter can penetrate the layer evenly. It is very important that you do not stir the cake mix into the fruit; it must remain as a distinct layer on top to form the crust correctly.
Step 5: Apply the Butter Topping
Take your two sticks of chilled butter and slice them into thin pads, approximately one-eighth of an inch thick. Place these butter slices on top of the dry cake mix in rows, making sure they are almost touching and cover as much surface area as possible. As the dish bakes, these slices will melt and soak into the dry powder, transforming it into a rich, golden crust that tastes like a homemade biscuit.
Step 6: Bake and Cool the Cobbler
Place the dish in the center of the oven and bake for approximately one hour, or until the top is bubbling and the crust has turned a deep golden brown. Remove the pan from the oven and let it sit on a wire rack for at least fifteen to thirty minutes before you try to serve it. This resting period allows the syrup to thicken and the crust to set, ensuring you get a clean scoop that holds its shape on the plate.
Little Things That Help
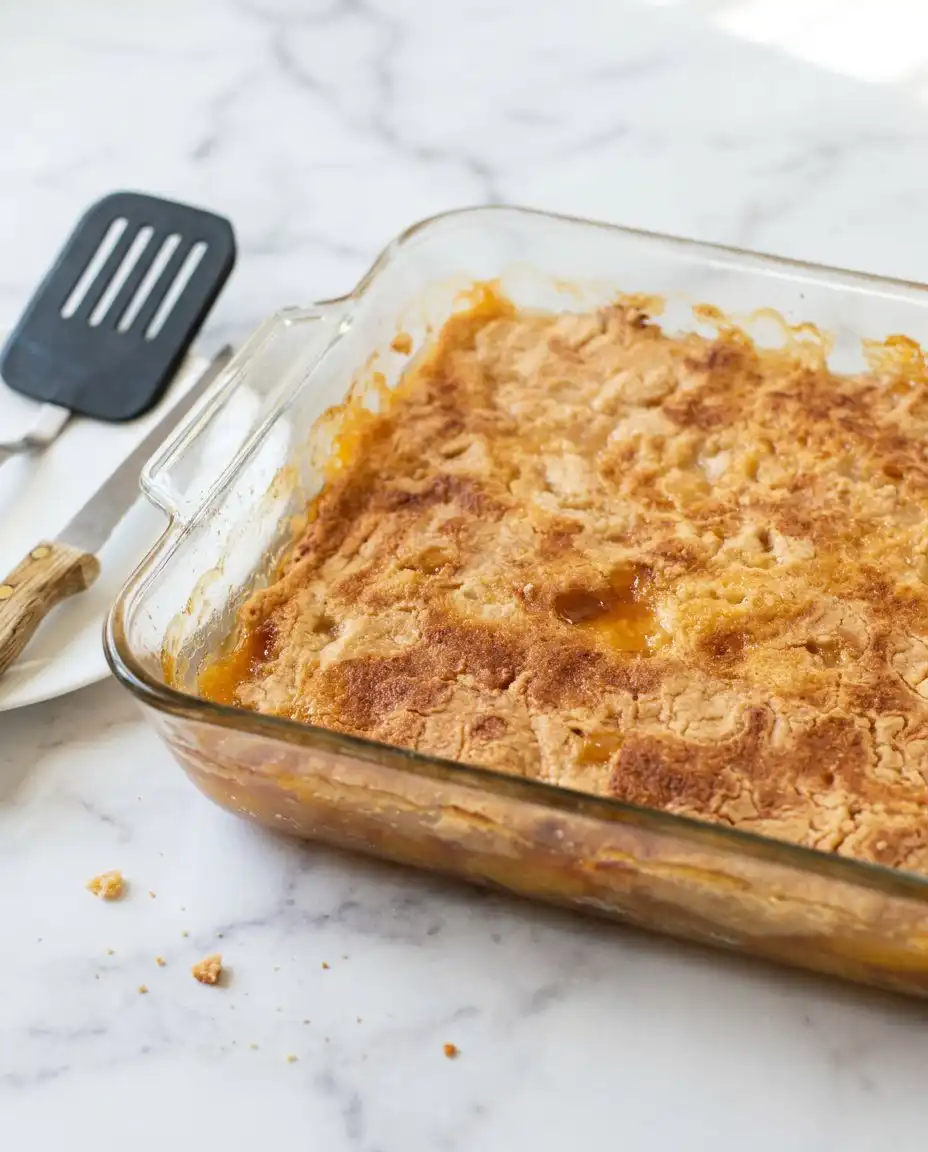
When you are slicing your butter, try to keep the pieces as uniform as possible to ensure that every inch of the dry mix gets hydrated. If you notice dry patches of flour after forty minutes of baking, you can carefully place a tiny extra bit of butter on those spots to help them melt down. This attention to detail prevents any sandy textures in your finished dessert.
For the best results, always use a yellow cake recipe style mix rather than a white cake mix if you want a richer, more buttery flavor profile. The yellow mix contains more egg yolk solids which contribute to that classic golden color and a sturdier crumb that stands up well to the heavy fruit.
If the top of your cobbler is browning too quickly before the fruit is bubbling, here is why and how to fix it. This often happens if the oven rack is too high or the butter slices were too thick in certain areas; simply tent a piece of aluminum foil loosely over the dish for the remaining ten minutes. This reflects the direct heat away from the crust while allowing the internal temperature to keep rising.
Avoid using canned peaches in light syrup or water because they do not contain enough sugar to create the thick, jam-like consistency required for this method. If you only have light syrup peaches, you will need to add an extra quarter cup of sugar and a teaspoon of cornstarch to the fruit layer. This adjustment helps replicate the viscosity of heavy syrup and prevents a watery result.
Make sure your cake mix is fresh by checking the expiration date on the box before you begin the assembly. Old cake mix can lose its leavening power, which results in a flat, dense topping rather than the light and tender crust that makes this dish so enjoyable. You can learn more about how to make peach dump cake with canned fruit to see different brand comparisons.
Always allow the dish to cool for the full thirty minutes if you intend to serve it in clean slices for a dinner party. While it is tempting to scoop into it immediately, the starches in the cake mix need time to firm up as the temperature drops. A patient baker is rewarded with a much better texture and a dessert that looks as good as it tastes on the plate.
Frequently Asked Questions
What Kind of Cake Mix Works Best for Peach Dump Cake?
Yellow cake mix is the preferred choice because it has a richer flavor and provides a beautiful golden color once baked. White cake mix can be used in a pinch, but it tends to be slightly more bland and may look paler on top. The extra fat content in the yellow mix helps create a more traditional cobbler texture.
Can You Use Peaches in Juice Instead of Heavy Syrup for Dump Cake?
It is not recommended to use peaches in juice because the liquid is too thin to properly hydrate the cake mix and create a thick sauce. Heavy syrup contains the sugar and viscosity needed to turn the dry mix into a crust. If you must use juice, you will need to add extra sugar and a thickening agent like cornstarch.
What Are The Most Common Mistakes When Making Peach Dump Cake?
The most frequent error is stirring the cake mix into the fruit, which results in a soggy, doughy mess rather than a crisp crust. Another mistake is using melted butter instead of sliced pads, as melted butter often runs to the edges and leaves dry spots in the middle. Finally, failing to drain at least one can of fruit can lead to a soupy consistency.
Should I Mix Peach Dump Cake?
No, you should never mix the layers of a dump cake if you want the correct texture. The beauty of this recipe is that the butter and fruit juices work together to hydrate the dry mix from the top and bottom simultaneously. Stirring the layers together prevents the top from becoming crisp and golden.
Can You Make Dump Cake with Peach Pie filling?
Yes, you can substitute the canned peaches and syrup for two cans of peach pie filling. Since pie filling is already very thick and sweet, you will not need to add any extra sugar or spices. This variation produces a much thicker and more fruit-forward dessert that feels more like a traditional pie.
Can You Make Peach Dump Cake with Fresh Peaches?
You can use fresh peaches, but you will need to macerate them in sugar for at least an hour to create enough liquid. Without that extra syrup, the cake mix will remain dry and powdery after baking. Add about half a cup of water or peach nectar to the pan to ensure there is enough moisture to hydrate the topping.
Should You Refrigerate Peach Dump Cake?
Yes, once the cobbler has cooled to room temperature, you should cover the dish and store it in the refrigerator. The fruit and sugar can spoil if left out for more than a few hours, especially in warm kitchens. It will stay fresh for up to four days and can be easily reheated in the microwave or oven.
Simple Swaps
If you want a different flavor profile, you can easily substitute the fruit for a peach dump cake variation using cherries or blueberries. Simply replace the three cans of peaches with your preferred canned fruit in syrup, keeping the liquid ratios the same. This allows you to use the same basic method for whatever fruit is currently in your pantry or whatever flavor your family prefers that week.
For a crunchier texture, try sprinkling half a cup of chopped pecans or walnuts over the butter layer before placing the dish in the oven. The nuts will toast as the cake bakes, providing a salty contrast to the sweet peaches and a delightful crunch in every bite. This version is especially popular during the autumn months when warm spices and toasted nuts feel most appropriate for the season.
Another wonderful option is to use a spice cake mix instead of the yellow version to create a deeper, more aromatic dessert. This swap eliminates the need for adding extra cinnamon or nutmeg, as the mix already contains a blend of ginger, cloves, and cinnamon. It pairs exceptionally well with the peaches and creates a flavor profile that tastes very much like a traditional southern cobbler made from scratch.
Slice & Serve
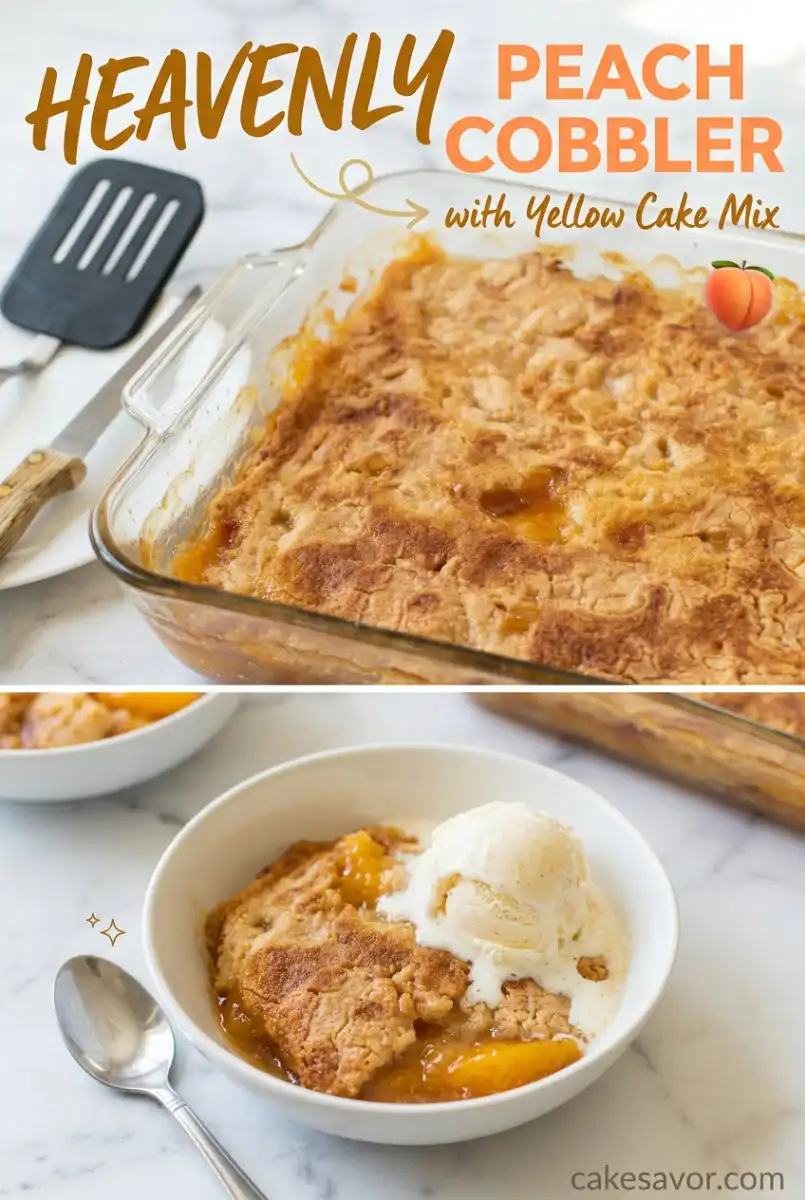
This dessert is best enjoyed while it is still warm, especially when topped with a generous scoop of cold vanilla bean ice cream. The contrast between the hot, bubbly peaches and the melting cream creates a classic experience that feels like a peach cake from a specialized bakery. If you prefer something lighter, a dollop of fresh whipped cream or a drizzle of heavy pouring cream is a traditional and sophisticated choice.
For a weekend morning treat, you can even serve a smaller portion of the cold cobbler with a cup of strong coffee. The buttery crust holds up well even after being refrigerated, making it a delicious companion to a bitter brew. It is the kind of baking that fits your life, whether you are hosting a formal dinner or just craving a sweet bite on a Tuesday night between chores.
If you are bringing this to a potluck or a family gathering, consider serving it straight from the baking dish to keep it warm for as long as possible. Place the dish on a decorative trivet and provide a large serving spoon so guests can help themselves to the crispy edges or the saucy center. The rustic look of the golden crust and the bright orange fruit is naturally inviting and requires no extra decoration to look spectacular.
The Wrap-Up
Baking this cobbler is a wonderful way to fill your home with the scent of warm spices and sweet fruit without spending your whole Saturday in the kitchen. It proves that you do not need fancy equipment or difficult techniques to create a dessert that everyone will remember. This recipe is a staple for a reason; it is reliable, fast, and uses the kinds of ingredients we all keep on our shelves for emergencies.
I hope you find this method as helpful as I do when life gets busy and you still want to share something homemade with your loved ones. There are so many cake mix recipes that make life easier, but this one remains a personal favorite for its honest flavor and simple preparation. Give it a try next time you have a craving for something sweet and warm.
Please share your results with me and let me know how your family enjoyed this quick treat. You can find more easy baking inspiration and videos of these recipes on our social channels. Connect with us on Pinterest, Facebook, or Telegram to join our community of home bakers.