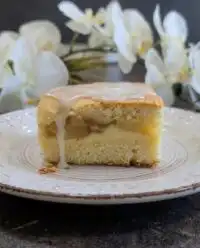
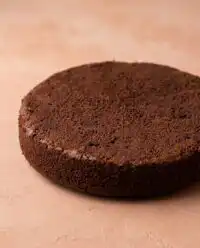
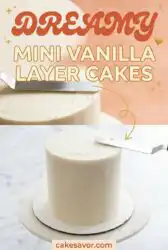
There is a quiet beauty in seeing these Mini Vanilla Layer Cakes sitting under a glass dome on the counter, just waiting for a neighbor to stop by for a chat and a small slice.

I remember my Aunt Pearl always kept a small cake ready for unexpected company because a little something sweet makes anyone feel welcome. These tiny tiers offer that same hospitable spirit without needing a massive crowd to finish a whole large cake. You get all the tender crumb and rich flavor of a traditional dessert in a size that feels special for a quiet Sunday afternoon at home.
What Makes Mini Vanilla Layer Cakes Comfort
Prep: 15 min · Serves: 8 · Difficulty: Easy
- Small size makes every celebration feel personal.
- Pantry staples create a reliable tender crumb.
- No fancy stand mixer is required here.
- Flavor improves after resting for one day.
- Plain ingredients provide real honest flavor.
This recipe reminds me of the perfect buttermilk vanilla cake my grandmother kept on her sideboard for every Sunday visitor.
Get The Full Cake Recipe
Print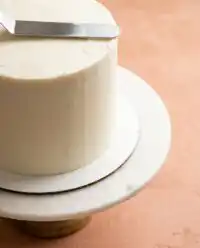
Mini Vanilla Layer Cakes
- Total Time: 45 mins
- Yield: 8 servings
- Diet: Vegetarian
Description
These charming mini vanilla layer cakes offer a tender crumb and rich, buttery flavor in a petite size perfect for intimate gatherings. They are a timeless, reliable dessert that brings a sense of hospitable comfort to any afternoon tea or celebration.
Ingredients
- 1 1/2 cups all-purpose flour
- 1 cup granulated sugar
- 1 1/2 teaspoons baking powder
- 1/4 teaspoon salt
- 1/4 cup melted butter
- 2 tablespoons vegetable oil
- 1 large egg
- 1/2 cup buttermilk
- 1 teaspoon vanilla extract
- 1 cup powdered sugar
- 2 tablespoons heavy cream
Instructions
- Prepare oven and pans. Preheat oven to 350°F, line cake pans with parchment paper, and grease thoroughly with non-stick spray.
- Whisk dry ingredients. Combine flour, sugar, baking powder, and salt in a large mixing bowl using a sturdy hand whisk.
- Incorporate fats and egg. Stir in the melted butter, vegetable oil, and room temperature egg until the mixture is thick and consistent.
- Finish the batter. Gradually stir in the buttermilk and vanilla extract, whisking for thirty seconds to incorporate air.
- Bake the cakes. Divide batter evenly into pans and bake on the middle rack for approximately 30 minutes until a toothpick comes out clean.
- Cool completely. Allow cakes to rest in pans for 10 minutes before transferring to a wire rack; chill in the freezer for 20 minutes before frosting.
- Prepare the frosting. Beat softened butter with powdered sugar and heavy cream on low speed until smooth and spreadable.
- Stack and frost. Layer the cooled cakes with frosting between each, covering the exterior with a final layer and smoothing with a spoon.
Notes
- Ensure all dairy and egg components are at room temperature to avoid a heavy or greasy cake texture.
- Use a spoon to fill your measuring cup with flour and level it off with a knife to prevent dry, dense layers.
- Keep baking powder fresh by checking expiration dates regularly to ensure your cakes achieve the proper lift.
- Chill assembled cakes briefly before serving to help the buttercream set firmly between the layers.
- Prep Time: 15 mins
- Cook Time: 30 mins
- Category: Dessert
- Method: Baking
- Cuisine: Southern
Pantry Basics
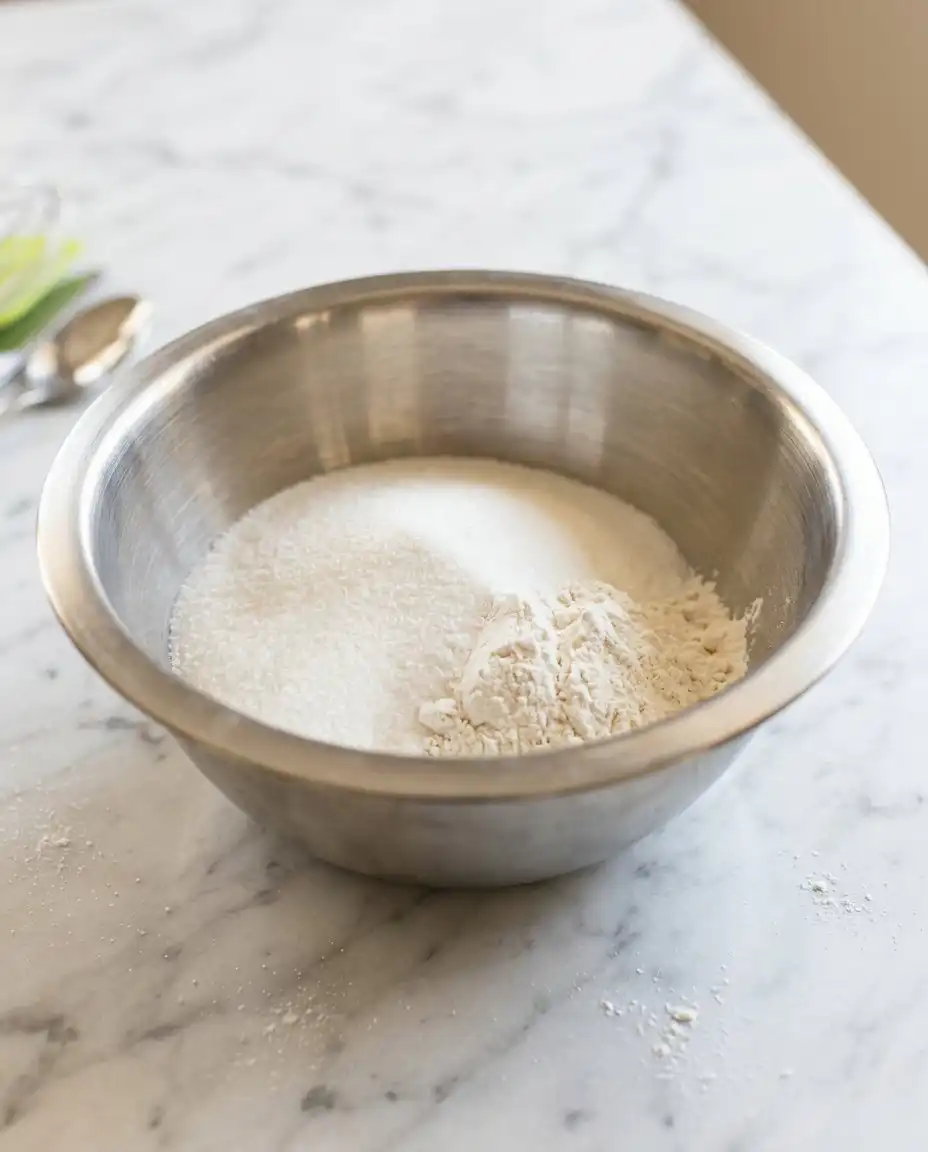
This recipe relies on the basics you likely already have tucked away in your kitchen cabinets. Using real butter and a splash of oil ensures the cake stays soft even if you don’t eat it all in one sitting. The buttermilk is the secret to that classic tang and a crumb that melts in your mouth with every forkful.
- All-Purpose Flour: This provides the sturdy structure needed for stacking these small layers without them crumbling.
- Granulated Sugar: It adds the sweetness we want while helping the edges brown into a buttery crust.
- Buttermilk: The acidity in the buttermilk reacts with the baking powder to make the cake light and airy.
- Butter and Oil: Using both gives you the rich flavor of butter and the lasting moisture from vegetable oil.
- Vanilla Extract: A good quality extract makes the simple vanilla flavor stand out as the star of the show.
- Powdered Sugar: This creates a smooth and velvety frosting that holds its shape between the tiny layers.
| Ingredient | Why It Matters |
|---|---|
| Buttermilk | Keeps the crumb tender and moist |
| Vegetable Oil | Ensures the cake stays soft for days |
| Baking Powder | Provides the lift for fluffy layers |
| Melted Butter | Offers that classic rich bakery flavor |
The Simple Method
Step 1: Prepare the Oven and Pans
Start by heating your oven to 350°F so it is good and hot when the batter is ready. Line your small cake pans with parchment paper and grease them well with a bit of non-stick spray. Using aluminum pans helps the heat distribute evenly so the edges don’t get too dark before the middle is done.
Step 2: Whisk the Dry Ingredients
In a large bowl, whisk together your flour, sugar, baking powder, and salt until they are well combined. You don’t need a fancy machine for this part; a sturdy hand whisk does the job perfectly. This ensures there are no lumps of baking powder hidden in the flour which could cause uneven rising.
Step 3: Combine the Fats and Egg
Pour in your melted butter and oil, then add the room temperature egg to the dry mixture. Stir these together until the batter looks thick and consistent throughout. It might look a bit heavier than you expect at this stage, but that is exactly how it should be.
Step 4: Finish the Batter with Buttermilk
Slowly stir in the buttermilk and vanilla extract until the batter becomes smooth and pourable. I like to whisk it for about thirty seconds more to get a little air into the mix for a lighter texture. The batter should smell sweet and clean, like a proper country kitchen on a baking day.
Step 5: Bake Your Mini Vanilla Layer Cakes with Care
Divide the batter evenly between your prepared pans and slide them onto the middle rack of your oven. Bake them for about half an hour or until a wooden toothpick comes out with just a few crumbs attached. Your kitchen will start to smell like warm sugar and butter as the cakes finish their time in the heat.
Step 6: Cool the Layers Thoroughly
Let the cakes rest in their pans for ten minutes before you try to move them. Run a small knife around the edges to loosen them, then flip them onto a wire rack to cool completely. Putting them in the freezer for twenty minutes after they reach room temperature makes them much easier to handle when you start frosting.
Step 7: Mix the Vanilla Buttercream
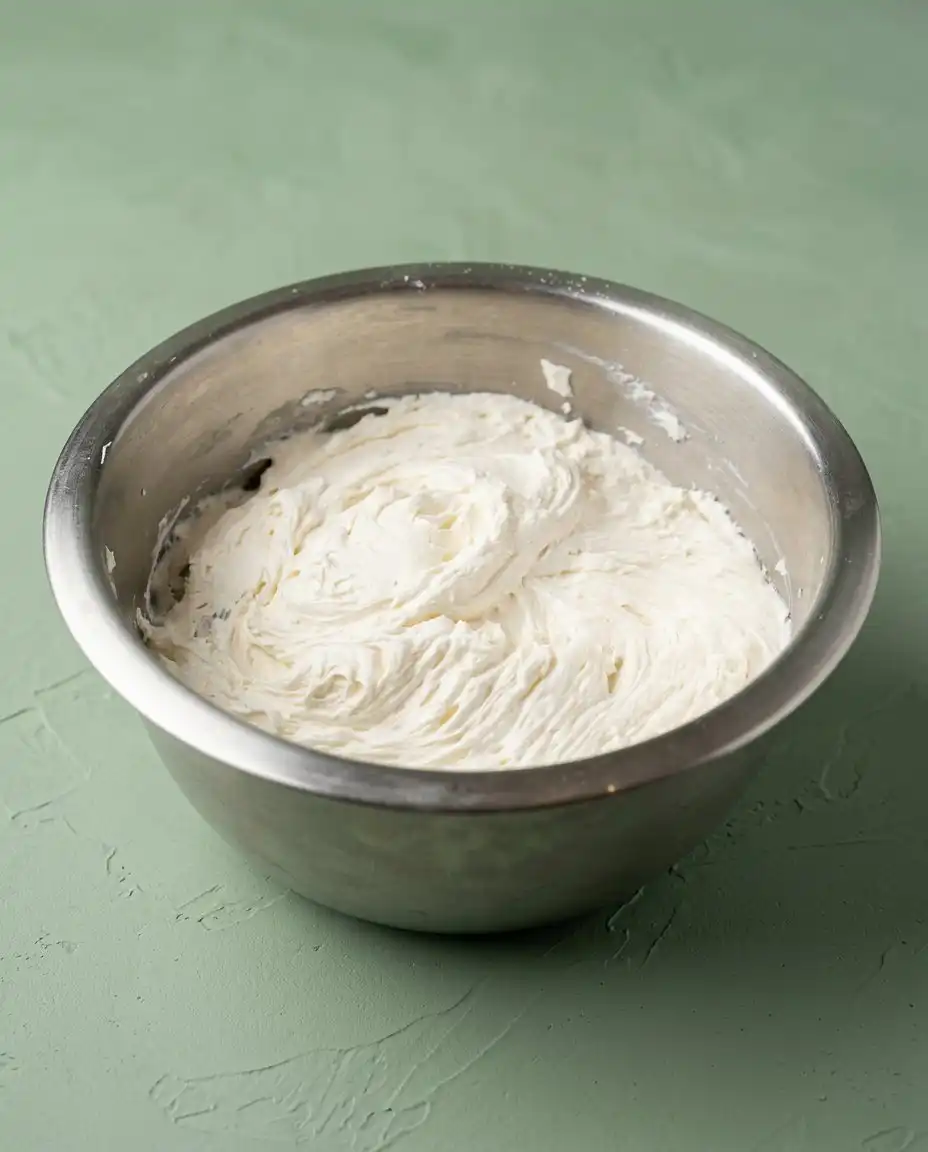
Beat your softened butter until it is smooth, then slowly add in the powdered sugar and cream. Use a low speed so the sugar doesn’t fly out of the bowl and cover your counters. You want a consistency that is thick enough to hold its shape but soft enough to spread without tearing the cake.
Step 8: Stack and Frost the Tiers
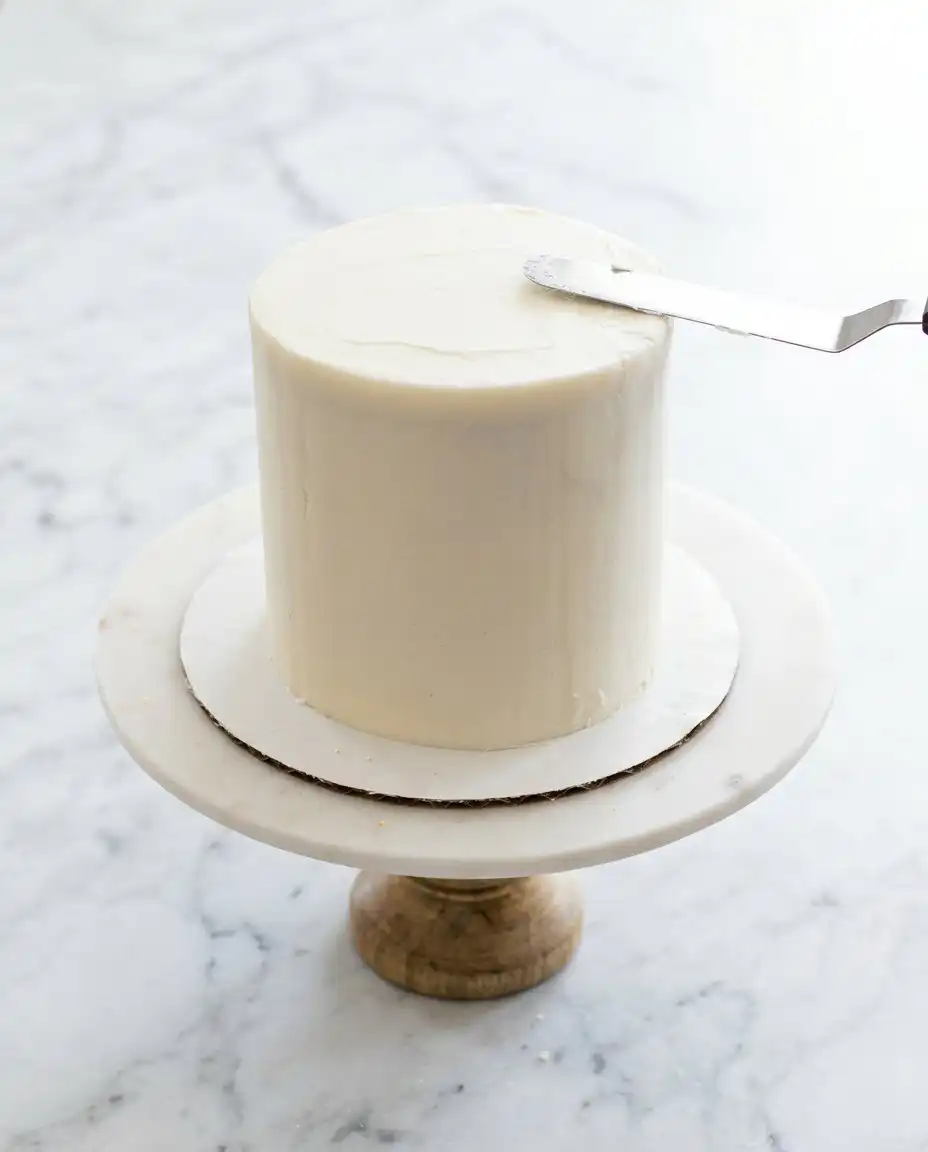
Place one layer on a small plate and spread a generous amount of frosting over the top. Repeat this with the remaining layers, then cover the whole thing in a thin coat of buttercream to lock in the crumbs. Finish with a thicker layer of frosting and use the back of a spoon to create pretty swirls and peaks.
Plain-Kitchen Notes
Always make sure your egg and buttermilk are at room temperature before you start mixing your batter. Cold ingredients don’t emulsify well with melted butter, which can lead to a heavy or greasy cake layer. Setting them out on the counter an hour before you bake is a small habit that makes a big difference in the final texture.
Measuring your flour correctly is the most important part of keeping this recipe reliable and consistent. Instead of scooping the measuring cup into the bag, use a spoon to fill the cup and then level it off with a flat knife. This prevents you from packing too much flour into the cup, which often makes a cake dry and crumbly.
If the cake sinks in the middle after you take it out of the oven, it usually means the middle wasn’t quite done or the baking powder has lost its strength. Check the expiration date on your box of baking powder every few months to be sure it is still active. You can also follow this guide on how to make small cakes from scratch to see how different pan sizes affect the rise.
Using a combination of butter and oil is a trick I learned from a handwritten recipe card years ago. The butter provides that nostalgic flavor we all love, while the oil keeps the crumb soft even when the cake is cold. It is the best of both worlds for a cake that needs to last for a few days on the counter.
If you have trouble getting the frosting smooth, try dipping your metal spatula or knife in warm water and wiping it dry before smoothing the sides. The warmth helps the butter in the frosting glide into a perfectly flat surface. For more help with the basics of mixing, my vanilla cake recipe covers these techniques in more detail.
Wait until the layers are completely cold before you even think about reaching for the frosting bowl. Even a little bit of warmth will melt the butter in your buttercream, causing the layers to slide right off each other. Patience is the most valuable tool in any baker’s kitchen when it comes to assembly.
Frequently Asked Questions
Can I bake this in a standard loaf pan instead?
You certainly can use a small loaf pan, but you will need to adjust the baking time since the batter will be deeper. Check it after thirty-five minutes and keep a close eye on it until a tester comes out clean. The texture will be just as tender, though it won’t have the same layered look as the tiny round pans.
How should I store the leftover cake?
Keep any remaining slices under a cake dome or in an airtight container at room temperature for up to three days. The buttercream acts like a seal to keep the moisture inside the cake layers. If your kitchen is very warm, you might want to move it to the fridge, but let it come back to room temperature before eating.
Is it possible to make the layers in advance?
This is a great cake to make ahead of time because it actually tastes better the next morning. You can bake the layers, wrap them tightly in plastic, and keep them in the freezer for up to a month. Just thaw them on the counter for an hour before you plan to frost and serve them to your guests.
Why did my frosting turn out too thin?
Frosting usually gets too thin if the butter was too soft or if you added a bit too much cream. You can easily fix this by whisking in an extra quarter cup of powdered sugar at a time until it reaches the right thickness. If the kitchen is hot, putting the bowl in the fridge for ten minutes can also help it firm up.
Can I use whole milk instead of buttermilk?
Whole milk will work in a pinch, but the cake won’t be quite as light or have that signature subtle tang. If you don’t have buttermilk, you can make a quick substitute by adding a teaspoon of lemon juice to a half cup of regular milk. Let it sit for five minutes until it curdles slightly before adding it to your batter.
Do I really need to use parchment paper?
I strongly recommend using parchment paper for these small pans because they can be tricky to turn out without breaking. The paper ensures the bottom of the cake releases perfectly every single time without leaving half the crumb stuck to the pan. It is a small step that saves a lot of frustration during the assembly process.
Easy Switch-Ups
You can easily turn this into a bright lemon cake by adding the zest of one lemon to the sugar before you whisk in the wet ingredients. The citrus oil in the peel rubs into the sugar and gives the whole cake a fresh, sunny flavor that pairs beautifully with the buttermilk. It is a simple change that makes the recipe feel brand new for a spring afternoon.
For those in your family who prefer cocoa over vanilla, my chocolate layer cake is a wonderful alternative to keep in your rotation. You can also simply swap out the vanilla buttercream here for a rich chocolate version to create a black-and-white effect. These tiny tiers are very forgiving and handle different flavors of frosting without any fuss at all.
Try adding a handful of colorful sprinkles to the batter right before you pour it into the pans for a celebratory feel. This creates a fun look that kids especially love when they help out in the kitchen on a rainy day. It keeps the same honest flavor while adding a bit of visual cheer to the dessert table.
At the Kitchen Table
These tiny cakes look best when served on a simple white pedestal or a vintage glass plate that lets the layers shine. I like to set them out in the middle of the table with a pot of hot tea or a fresh carafe of coffee for a mid-afternoon break. Because they are so small, they make a beautiful centerpiece for a small bridal shower or an intimate birthday dinner.
When it comes time to slice, use a sharp serrated knife and clean the blade between every cut to keep the frosting looking neat. You can get about eight modest slices from one of these cakes, which is just enough for a small gathering. These mini cakes prove that you don’t need a massive dessert to make a lasting impression on your family.
If you want to be a bit more indulgent, serve each slice with a small dollop of lightly sweetened whipped cream on the side. A few fresh berries scattered around the plate also add a nice touch without requiring any extra baking or complicated decorating skills. It is the kind of presentation that feels thoughtful and warm without being overdone.
Keep This One Close
Baking these small cakes is a reminder that the best things in life don’t have to be complicated or large. This recipe relies on the same honest techniques that have been used in Southern kitchens for decades to bring comfort to the table. Whether you are celebrating a small win or just want a sweet bite with your morning coffee, this cake will never let you down.
This recipe is as reliable as my classic vanilla butter cake and will quickly become a favorite in your own handwritten collection. I hope you find as much peace in the process of whisking and frosting as I do on a quiet Sunday afternoon. Please share your baking results with us and keep the tradition of home-baked comfort alive in your own kitchen.