Banana pudding has always held a special place at our family table, often marking the sweet end to a long Sunday dinner. There is something undeniably comforting about that classic combination of vanilla wafers, sweet custard, and fluffy cream that brings everyone together. This recipe captures all that nostalgic magic and settles it into a simple 9×13 pan, making it easier than ever to share. It is the kind of honest, no-fuss dessert that reminds us that the best treats often come from the simplest ingredients.

This cake is one of those wonderful desserts that actually tastes better the next day, making it perfect for busy schedules. The banana pudding has time to soak deep into the yellow cake, creating a tender, moist crumb that practically melts in your mouth. It is straightforward, reliable, and exactly the kind of sweet comfort food you want waiting for you in the refrigerator after a long day.
Simple Comfort in Every Bite
There are so many reasons this cake has become a regular in my kitchen, but mostly, it comes down to reliable comfort. It strips away the complexity of layer cakes and the fuss of tempering eggs for custard, giving you a dessert that is practically foolproof. This is the kind of cake you eat standing at the counter, enjoying a quiet moment of sweetness.
Here is why this recipe is a keeper:
- It Improves with Time: Like many of the best comfort foods, letting this cake sit allows the flavors to meld and the moisture to distribute perfectly.
- Crowd-Pleasing Flavor: It combines the familiar warmth of yellow cake with the beloved taste of banana pudding—a duo that rarely sees leftovers.
- No Special Equipment: You don’t need fancy mixers or piping bags here; just a wooden spoon and a trusty baking pan.
- Cool and Creamy: It is served cold, making it a refreshing treat that balances richness with a light, airy texture.

Banana Pudding Poke Cake
- Total Time: 2 hours 45 mins
- Yield: 15 servings
- Diet: Vegetarian
Description
This classic Banana Pudding Poke Cake combines a buttery yellow cake base with a creamy, deep-set banana pudding filling. Topped with light whipped cream and crunchy vanilla wafers, it is the ultimate nostalgic dessert for any gathering.
Ingredients
- 1 (15.25 oz) box yellow cake mix
- Eggs, oil, and water as required by the cake mix package
- 2 (3.4 oz) packages instant banana pudding mix
- 4 cups cold whole or 2% milk
- 1 (8 oz) tub frozen whipped topping, thawed
- 1 cup vanilla wafers, crushed
Instructions
- Preheat your oven according to the cake mix package instructions and grease a 9×13-inch baking pan.
- Prepare the yellow cake batter using the eggs, oil, and water specified on the box, then bake until a toothpick inserted into the center comes out clean.
- Remove the cake from the oven and let it sit for 2 minutes. While still warm, use the handle of a wooden spoon to poke holes across the entire surface of the cake, spaced about an inch apart.
- In a medium bowl, whisk together the instant banana pudding mix and cold milk for about 2 minutes until smooth but not fully set.
- Immediately pour the pudding mixture over the warm cake, using the back of a spoon to guide the pudding into the holes and spreading any extra over the top.
- Refrigerate the cake for at least 2 hours to allow the pudding to set and the flavors to meld.
- Just before serving, spread the thawed whipped topping over the cake and garnish with crushed vanilla wafers.
Notes
For the best texture, ensure you use instant pudding rather than the cook-and-serve variety so it properly hydrates the cake. If you are preparing this in advance, wait to add the crushed vanilla wafers until right before serving to ensure they maintain their signature crunch.
- Prep Time: 15 mins
- Cook Time: 30 mins
- Category: Dessert
- Method: Baking
- Cuisine: American
What You’ll Need for This Classic

We are sticking to basic pantry staples for this recipe. There is no need to hunt for obscure items; everything here is likely already in your cupboard or easily found at the corner store. We rely on these simple ingredients to deliver honest flavor.
- Yellow Cake Mix: This provides a buttery, sturdy base that holds up well to the filling without turning to mush. You’ll also need the eggs, oil, and water listed on the box instructions.
- Instant Banana Pudding: Be sure to grab the instant variety (3.4-ounce boxes), not the cook-and-serve kind. This sets up quickly and creates that signature creamy interior.
- Milk: Cold milk is essential for the pudding to set properly. I prefer using whole milk or 2% for a richer mouthfeel; skim milk can be a bit too thin for this dessert.
- Whipped Topping: A tub of frozen whipped topping (like Cool Whip), thawed, is my go-to here. It holds its shape in the fridge much better than fresh whipped cream, which can weep over time.
- Vanilla Wafers: These add the necessary crunch and nostalgic vanilla flavor. Crushing them over the top gives a lovely texture contrast to the soft cake.
The Simple Way to Make It
Step 1: Bake the Base
Start by preheating your oven according to the cake mix package directions. Prepare the yellow cake mix in a large bowl, combining it with the eggs, oil, and water as directed on the box. Whisk until the batter is smooth. Pour it into a greased 9×13-inch baking pan and bake until a toothpick inserted in the center comes out clean. Be mindful not to overbake it; we want a tender crumb to start with.
Step 2: Poke the Holes
Once the cake comes out of the oven, place it on a wire rack and allow it to cool for just a couple of minutes. It should still be warm. Take the handle of a wooden spoon—this is the perfect tool for the job—and begin poking holes all over the cake. You want these holes to be fairly large so the pudding has plenty of room to get down in there. Press the handle right down to the bottom of the cake, spacing the holes about an inch apart.
Step 3: Mix and Pour
In a medium mixing bowl, whisk together the two packages of instant banana pudding with the four cups of cold milk. You need to work somewhat quickly here. Whisk until the lumps are gone, but pour the mixture over the cake *before* it starts to set and get thick. Pour slowly, aiming to get as much liquid into the holes as possible. Use the back of your spoon to gently push the pudding down into the holes and spread the excess over the top.
Step 4: Chill and Top
Place the cake into the refrigerator to set and cool completely. This usually takes about 2 hours, but you can leave it longer. Once the cake is fully chilled, spread the thawed whipped topping evenly over the surface. Just before serving, crush the vanilla wafers and sprinkle them generously over the top. Keep the cake refrigerated until you are ready to slice.
Jesse’s Simple Tips for Success

Over the years, I’ve learned a few simple tricks to make sure this cake turns out perfect every time. The most important thing is the size of the holes. If you use a fork or a toothpick, the pudding won’t penetrate deep enough. A round wooden spoon handle creates the perfect reservoir for that banana goodness.
Another key is speed when mixing the pudding. Instant pudding sets up fast! Have your cake poked and ready before you even open the milk. If the pudding becomes too thick in the bowl, it will just sit on top of the cake like frosting rather than soaking in. If you are looking for more reliable bases for simple desserts, our yellow cake with chocolate frosting recipe offers great tips on getting a moist crumb from a box mix.
Easy Swaps and Changes
While I love the classic version, this recipe is incredibly flexible. If you want to change the flavor profile, you can easily swap the yellow cake mix for a butter pecan mix, which adds a lovely nutty depth that pairs well with banana. You could also use a white cake mix for a lighter, sweeter base.
For a bit more texture, try adding sliced fresh bananas on top of the pudding layer before adding the whipped topping. Just be sure to toss the banana slices in a little lemon juice first to keep them from browning. If you prefer desserts with a brighter, fruity kick, you might also enjoy the simplicity of our lemon yogurt cake, which shares that same moist, tender quality.
Simple Enjoyment

This cake is all about casual comfort. It needs to be kept cold, so pull it from the fridge right when you are ready to serve. It slices beautifully into squares, revealing those lovely stripes of pudding running through the crumb.
I love serving this on a warm afternoon with a glass of iced tea or hot coffee. It’s also a fantastic addition to a summer potluck spread. If you are serving a crowd and want to offer a variety of fruit-forward desserts, this pairs wonderfully alongside our fresh fruit garden recipes.
Honest Comfort
There is a simple truth to baking: sometimes the most memorable desserts are the easiest to make. This banana pudding poke cake is proof that you don’t need complicated techniques to create something wonderful. It is simple, reliable, and brings a smile to everyone’s face with every cool, creamy bite.
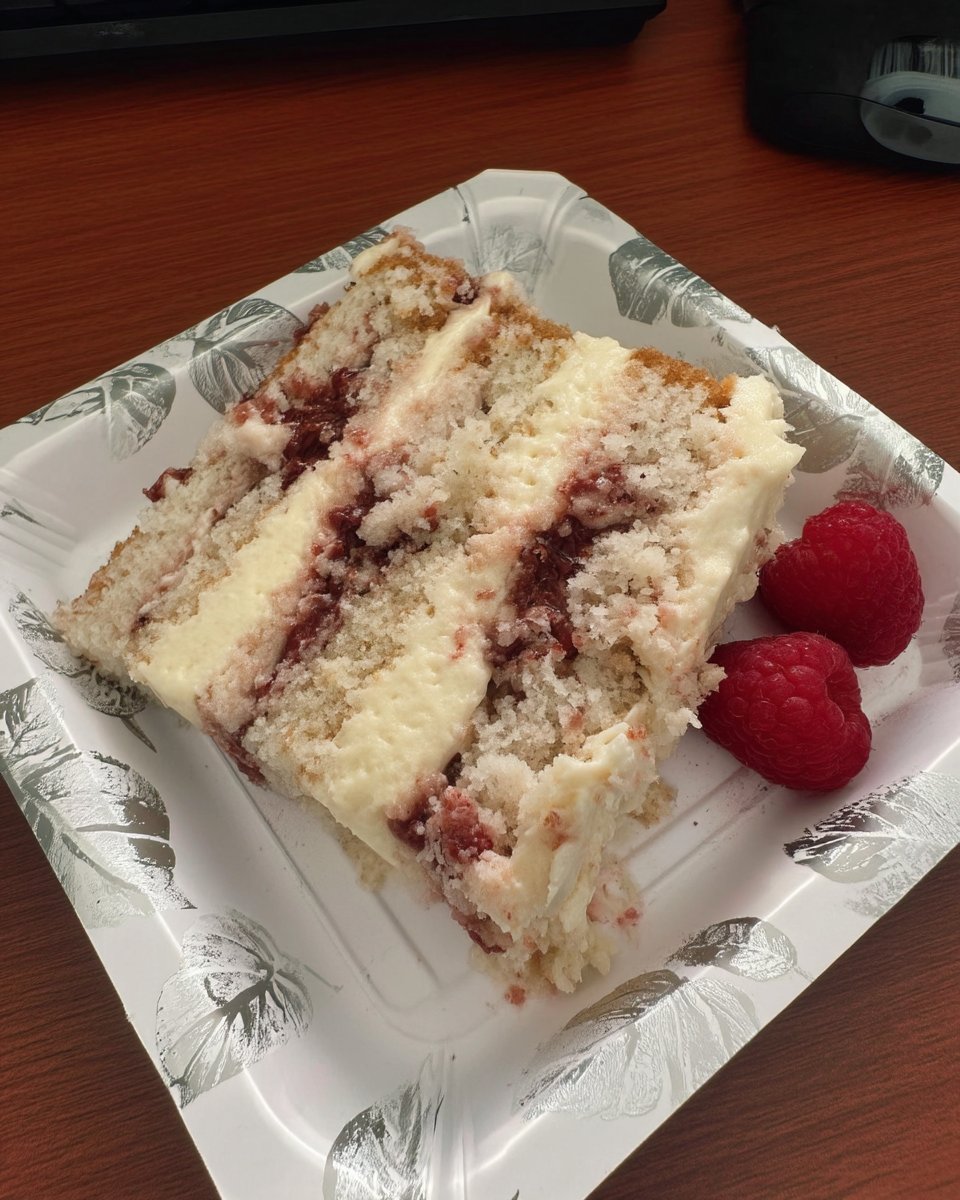
I hope this recipe brings a little bit of that simple Southern comfort to your kitchen. If you love cakes that soak up delicious flavors, be sure to try our strawberry tres leches cake next.
Don’t forget to share your baking on Pinterest and Facebook!
