I still remember the first time I saw a doll cake at a birthday party—it looked like pure magic, something only a professional bakery could pull off. But here is the secret I love sharing: you can make this spectacular centerpiece right in your own kitchen with zero fancy equipment. All you need is a trusty Pyrex bowl and a little imagination to create a memory that lasts forever.

This Barbie cake recipe is the definition of low-stress baking with high-impact results. We are skipping complex carving and special molds in favor of a standard glass bowl and a reliable boxed mix. It is fun, nostalgic, and honestly, the decorating part is better than therapy.
Why This Recipe is a Keeper
This cake proves that you don’t need a degree in pastry arts to make a child’s day (or your own!). It uses a standard oven-safe glass bowl to create that perfect dome shape for the skirt, meaning you don’t have to buy a single-use pan that will just clutter your cabinets.
Plus, it is incredibly versatile. While we are using a classic yellow cake and vanilla frosting here, you can easily swap flavors to suit the birthday guest. It is sturdy enough to hold the doll but stays moist and delicious. It is the perfect balance of “wow factor” and “Tuesday night ease.”
Print
Barbie Cake
- Total Time: 4 hours 20 mins
- Yield: 12 servings
- Diet: Vegetarian
Description
Create a stunning, nostalgic centerpiece using a simple glass bowl to form a perfect ballgown shape. This beginner-friendly method transforms a standard cake mix into a magical Barbie doll cake that is as delicious as it is impressive.
Ingredients
- 1 (18.25-ounce) package yellow cake mix
- 2 (16-ounce) tubs vanilla frosting
- Red food coloring (gel preferred)
- Shortening and flour for greasing the bowl
- 1 (11.5-inch) fashion doll
Instructions
- Preheat oven to 350°F (175°C) and grease a 2-quart ovenproof glass bowl with shortening and a dusting of flour.
- Prepare the yellow cake mix according to package directions and pour into the prepared bowl.
- Bake for 50 to 60 minutes or until a skewer inserted into the center comes out clean.
- Cool in the bowl for 15 minutes, then invert onto a cake plate and allow to cool completely for at least 3 hours.
- Wrap the doll’s legs in plastic wrap and insert her into the center of the cooled cake up to her waist.
- Tint the frosting pink, apply a thin crumb coat to the skirt, and chill for 10 minutes.
- Pipe star-tip rosettes over the skirt and a decorative bodice onto the doll to finish the gown.
Notes
To ensure a clean release, don’t skip the shortening and flour step, even if using a non-stick bowl. If your cake dome isn’t tall enough for the doll’s legs, you can easily add height by placing the dome on top of a standard 8-inch round cake layer.
- Prep Time: 20 mins
- Cook Time: 1 hour
- Category: Dessert
- Method: Baking
- Cuisine: American
Simple Ingredients

- Yellow Cake Mix: One standard 18.25-ounce package works perfectly here. It provides a sturdy structure that holds the dome shape well without crumbling.
- Vanilla Frosting: You will need two 16-ounce tubs (or about 4 cups of homemade). You need plenty to cover the “skirt” and pipe the decorative swirls.
- Red Food Coloring: Just a drop creates that classic Barbie pink. Gel coloring works best if you want a vibrant hue without thinning the frosting.
- Shortening & Flour: Essential for greasing the glass bowl so the cake slides out seamlessly.
- The Doll: A standard 11.5-inch fashion doll works best. Make sure she is clean!
Equipment Note: A 2-quart ovenproof Pyrex glass mixing bowl is the key tool here. It naturally creates the perfect ballgown shape.
How to Make It
Step 1: Prep the Bowl
Preheat your oven to 350°F (175°C). This step is crucial: grease your 2-quart ovenproof glass bowl generously with shortening, then dust it with flour. Shake out the excess. This ensures your cake releases perfectly later.
Step 2: Mix and Bake
Prepare the yellow cake mix according to the package directions. Pour the batter right into your prepared bowl. Bake for 50 to 60 minutes. Because the bowl is deeper than a standard pan, it takes a bit longer. Test it by inserting a long skewer or cake tester into the center; it should come out clean.
Step 3: Cool and Invert
Let the cake cool in the bowl for about 15 minutes. This helps it set. Then, carefully invert it onto your cake plate so the widest part is on the bottom. Let it cool completely—I usually wait about 3 hours—before you even think about frosting. If it’s warm, the icing will slide right off.
Step 4: Assemble the Doll
While the cake cools, wrap the doll’s legs in plastic wrap (safety first!). Once the cake is cool, insert the doll into the center of the cake up to her waist. If the cake is a little too tall, you can trim the top (which is now the bottom) slightly to lower the height.
Step 5: Decorate
Tint your frosting with the red food coloring to reach your desired shade of pink. Spackle a “crumb coat” over the skirt first to catch loose crumbs, then chill for 10 minutes. Use a piping bag with a star tip to pipe rosettes or stars all over the skirt. Don’t forget to pipe a bodice onto the doll herself to complete the dress!
Meagan’s Easy Wins

- Wrap the Legs: Always wrap the doll’s lower half in plastic wrap before inserting her into the cake. It keeps the doll clean for playing with later and ensures the cake stays food-safe.
- Freezer Friend: If you have time, pop the baked and cooled cake in the freezer for 30 minutes before decorating. A slightly firm cake is much easier to frost, and it reduces crumbs significantly.
- Check the Depth: Different bowls vary in depth. If your cake dome isn’t quite tall enough to cover the doll’s legs, you can bake an extra 8-inch round layer to place underneath the dome for added height.
- Flavor Swaps: If you are making this for an adult gathering, you might enjoy the flavor profile of our pink-champagne-cake as a base instead of plain yellow cake.
Make It Yours
- Different Themes: You aren’t limited to Barbie! You can use this same method with other characters. For a gaming fan, you could adapt the colors and toppers similar to our roblox-cake ideas.
- Fancy Frocks: Use different piping tips to create different fabric textures. A petal tip can make ruffles, while a leaf tip can create a jagged, fairy-like skirt.
- Candy Embellishments: Press silver dragées, sprinkles, or edible glitter into the frosting for a sparkly evening gown look.
- Alternate Methods: If you don’t have a Pyrex bowl, some bakers stack round cakes and carve them. For another perspective on construction, you can check out In The Kitchen With Matt’s version.
Simple Serving

Serving this cake is always a dramatic moment! I recommend removing the doll before you start slicing to make things easier. Cut the skirt into wedges just like a regular round cake.
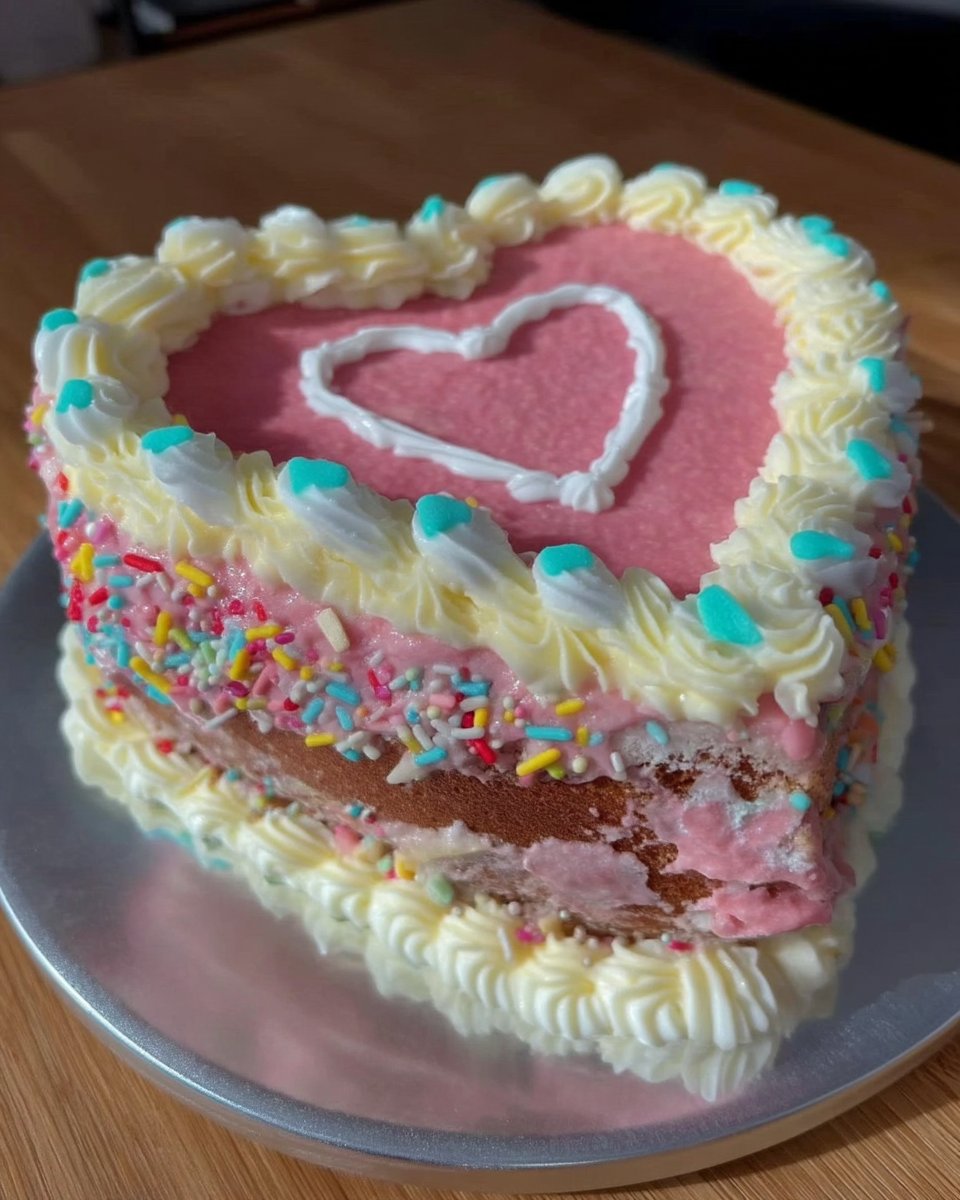
Since this is a sweet, frosting-heavy treat, it pairs beautifully with a cold glass of milk or a scoop of vanilla bean ice cream. If you love cute, themed presentations, you might also like serving this alongside our heart-cake for a “Love & Fashion” dessert table.
The Sweet Spot
There is something so joyful about placing this finished Barbie cake on the table and seeing eyes light up. It is a reminder that the best treats often come from simple ingredients and a little bit of creativity. Whether it is for a fifth birthday or a nostalgic thirty-fifth, this cake delivers happiness in every slice.
For more blast-from-the-past baking ideas, check out our vintage-cake recipe next. Happy baking!
