There is something so special about a tiny cake meant for just one or two people. I first made this Bento Cake on a rainy Tuesday when I had a simple craving for something sweet without the commitment of a giant tiered dessert. It is the ultimate simple joy in a box and feels like a warm hug from your oven.

This recipe focuses on a light-as-air vanilla sponge and a creamy Oreo frosting that tastes like a childhood dream. Whether you are celebrating a small win or just want to practice your piping, these mini cakes are incredibly approachable and fun to assemble. You do not need fancy equipment to make this look spectacular.
Simple Bento Cake Perfection
You will love this recipe because it strips away the stress of traditional cake decorating. Since these cakes are meant to be small and rustic, there is no pressure to make them look like a professional bakery display. It is the perfect project for a quiet weekend afternoon when you want to feel creative.
Everything about this cake is designed for ease. From the one-pan bake to the simple buttercream mix, it is baking that fits your life. It is honest flavor without the fuss, making it a great choice for gifting to a friend or enjoying as a personal treat.
Print
Bento Cake
- Total Time: 32 mins
- Yield: 2 mini cakes
- Diet: Vegetarian
Description
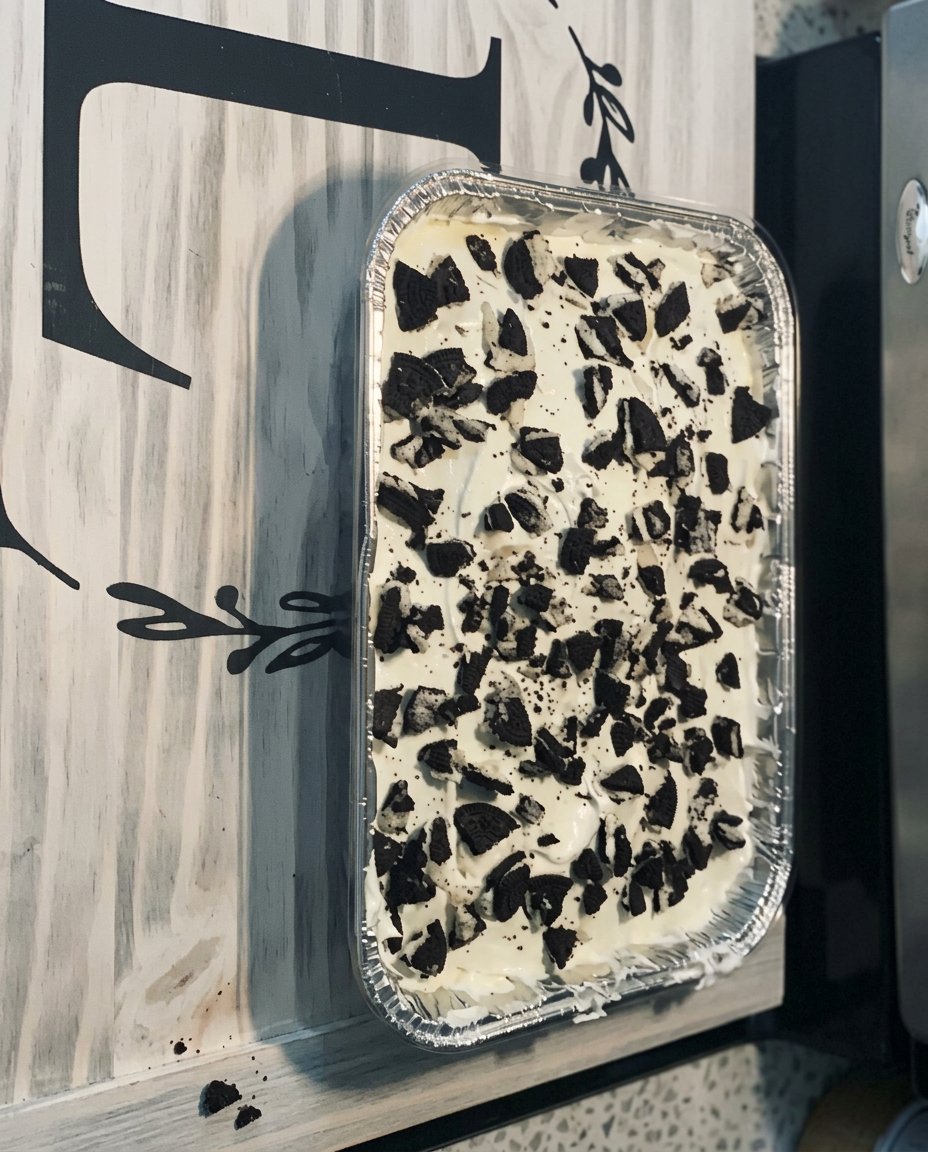
Create a charming and personal dessert with this light vanilla sponge cake paired with a velvety Oreo-infused buttercream. Perfect for small celebrations or a thoughtful gift, these mini cakes are as fun to decorate as they are to eat.
Ingredients
- 4 large eggs
- 125g granulated sugar
- 125g all-purpose flour
- 1 teaspoon vanilla liquid
- 125g FunCakes buttercream mix
- 150g unsalted butter, softened to pommade consistency
- 1 teaspoon Oreo flavoring or crushed cookies
Instructions
- Preheat your oven to 180°C (350°F) and line a flat baking sheet with parchment paper.
- In a large bowl, whisk the eggs and sugar together until the mixture is thick, pale, and leaves a ribbon trail when the whisk is lifted.
- Sift the flour into the egg mixture and add the vanilla liquid, then gently fold everything together with a spatula using light, circular motions.
- Spread the batter evenly onto the prepared baking sheet and bake for 10-12 minutes until the top is golden and springs back when touched.
- Prepare the buttercream by combining the mix with water, then beat in the softened butter and Oreo flavoring until the frosting is light and fluffy.
- Use a small circular cutter to create mini cake layers from the cooled sponge, then stack them with frosting and apply a simple outer coat.
Notes
To ensure a perfectly smooth finish on your mini cakes, chill the sponge layers for 30 minutes before cutting and frosting. This prevents crumbs from mixing into your buttercream and helps the layers maintain their shape while you assemble the minimalist design.
- Prep Time: 20 mins
- Cook Time: 12 mins
- Category: Dessert
- Method: Baking
- Cuisine: International
Simple Ingredients

Most of these items are probably already in your pantry, keeping this project as straightforward as possible. We use a few staples to create a sponge that is both sturdy and soft, perfect for these mini creations.
- Eggs: Four large eggs provide the structure and lift for our genoise sponge.
- Sugar: Standard granulated sugar adds just the right amount of sweetness.
- Flour: All-purpose flour gives us a tender crumb that holds up to frosting.
- Vanilla Liquid: A good splash of vanilla makes the whole kitchen smell wonderful.
- Buttercream Mix: I use FunCakes mix to keep things quick and reliable.
- Butter: Softened to a pommade consistency for a velvety finish.
- Oreo Flavor: This adds that classic cookies-and-cream vibe we all love.
Easy Steps
Step 1: Prepare the Oven and Pan
Start by preheating your oven to a moderate temperature. Line a flat baking sheet with parchment paper so your sponge releases easily without any sticking or mess.
Step 2: Whisk the Eggs and Sugar
In a large bowl, whisk your eggs and sugar together until the mixture is thick and pale. You want it to reach a point where the batter leaves a ribbon trail when you lift the whisk.
Step 3: Fold in Flour and Vanilla
Sift your flour into the mixture gently to keep the air inside. Add the liquid vanilla and fold everything together with a spatula using light, circular motions until just combined.
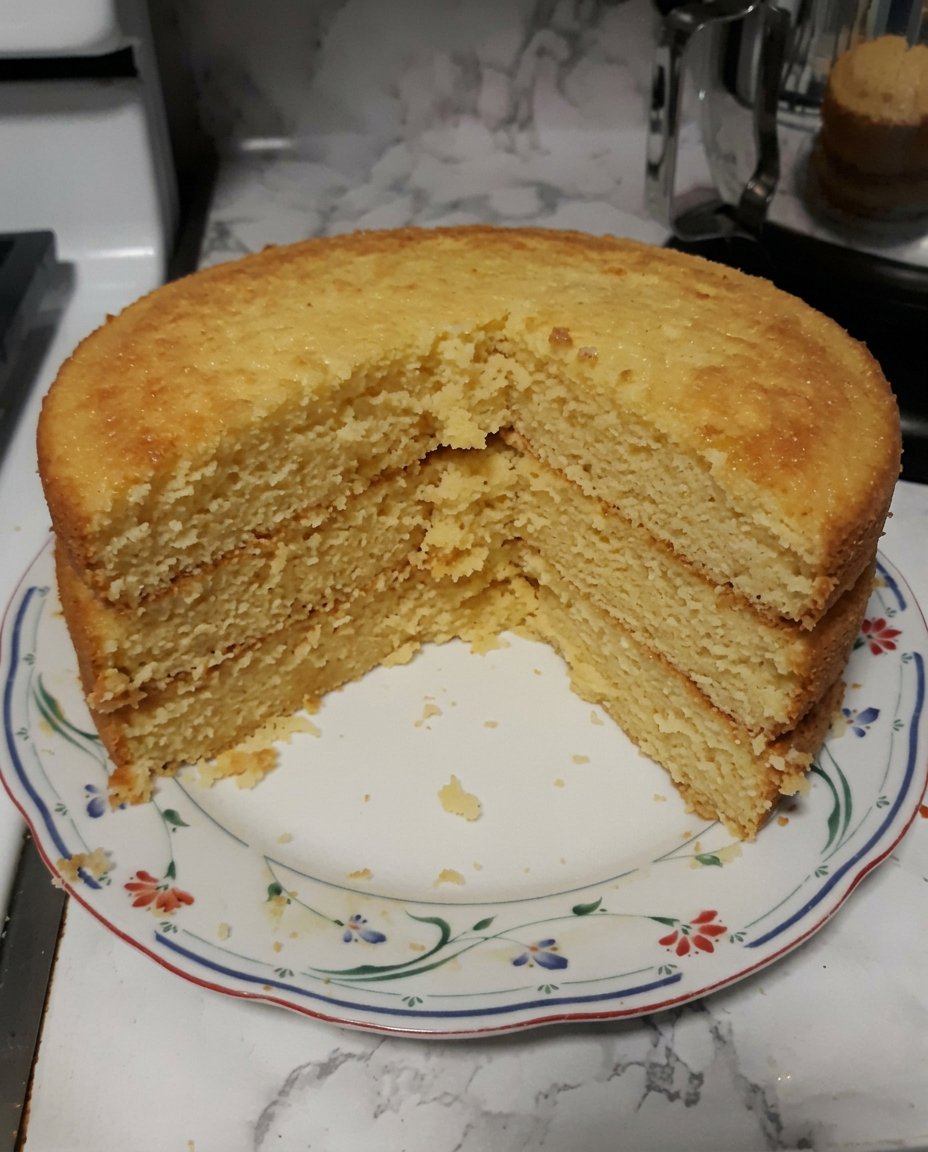
Step 4: Bake the Sponge
Spread the batter evenly onto your prepared baking sheet. Bake for a few minutes until the top is golden and springs back when touched lightly, then let it cool completely.
Step 5: Mix the Buttercream
Combine your buttercream mix with water and let it sit for a moment. Beat in your softened butter until the frosting is light and fluffy, then stir in that delicious Oreo flavoring.
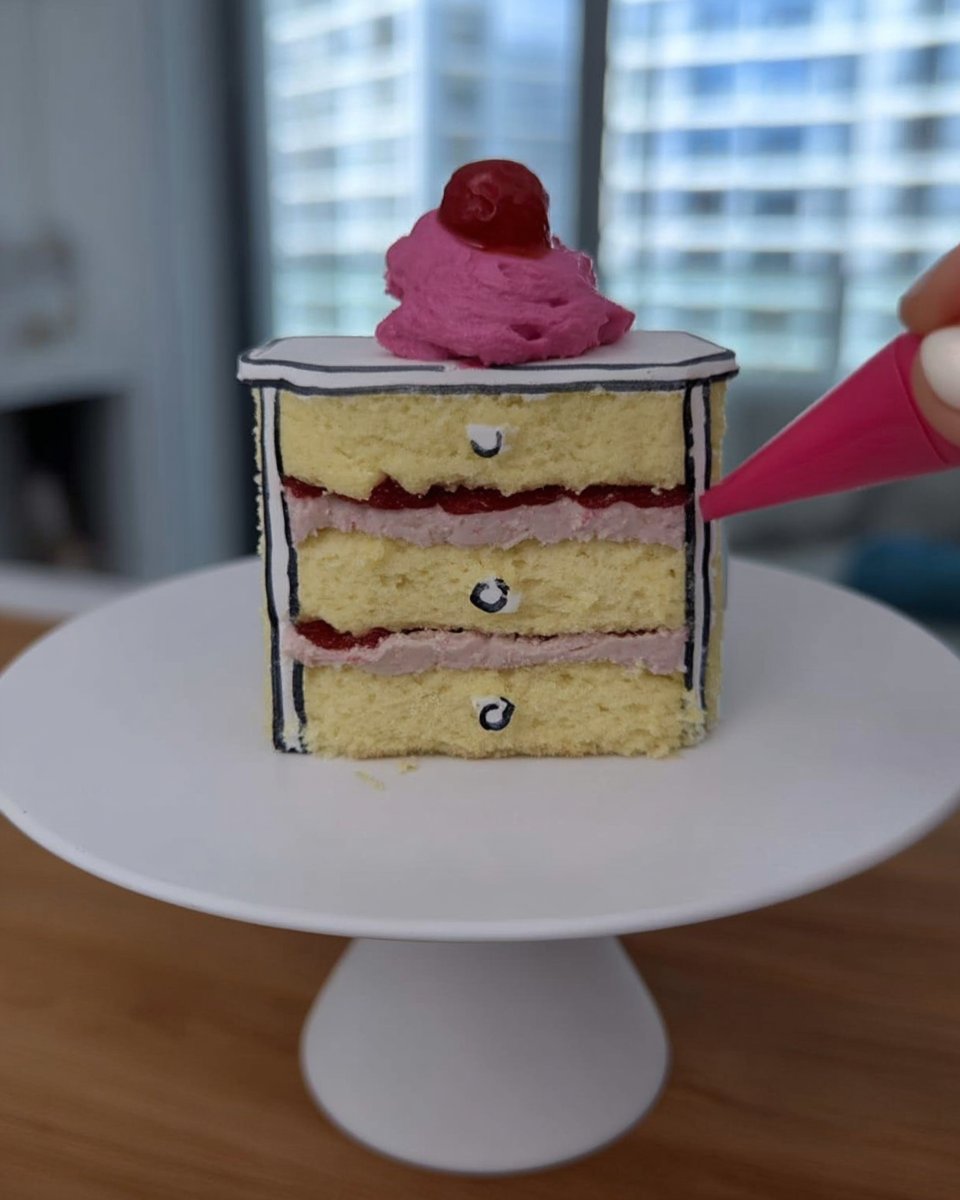
Step 6: Cut and Assemble
Use a small circular cutter to create your mini cake layers. Stack them with plenty of frosting in between, then finish with a simple coat on the outside for that iconic minimalist look.
Meagan’s Tips

To get the best results, make sure your eggs are at room temperature before you start whisking. This helps them gain more volume, resulting in a lighter sponge that is never dense or heavy. If you are new to working with small desserts, check out our guide on mini-cakes for more helpful tricks.
When you are preparing your batter, it helps to see how the texture should look. You can see a helpful visual of the mixing process to get a feel for it. Always remember to fold your flour in by hand rather than using a mixer to avoid overworking the gluten.
Simple Swaps
You can easily make this recipe your own by changing up the frosting flavors. Try a simple strawberry jam filling or even a light lemon zest in the sponge for a bright, seasonal twist. For those who prefer a more stripped-back aesthetic, our minimalist-cake ideas offer great inspiration for clean designs.
If you do not have Oreo flavoring, you can crush real cookies into the buttercream for a bit of crunch. You could also swap the vanilla liquid for almond extract if you want a deeper, nutty flavor profile. The beauty of these cakes is how much they welcome your own personal touch.
Everyday Enjoyment

These cakes are best served at room temperature so the buttercream stays soft and creamy. They look adorable when tucked into a small compostable box with a bit of twine or a colorful ribbon. If you want to see how to pack these for a picnic, our lunch-box-cake post has all the details.
I love serving these alongside a hot cup of coffee on a slow weekend morning. They are also wonderful as a surprise dessert for a friend’s birthday when you cannot meet for a big party. Just a small fork and a bit of curiosity are all you need to enjoy this treat.
The Sweet Spot
Making a Bento Cake is such a rewarding way to spend an hour in the kitchen. It proves that you do not need a massive occasion to bake something beautiful and delicious for yourself or someone you love. If you enjoyed this tiny treat, be sure to look at our other cake-bento variations for more simple ideas.
I would love to see your creations, so please share them with me! You can find more easy baking inspiration on my Pinterest, Instagram, and Facebook pages. Happy baking, and remember that simple is always spectacular!
