I remember a busy Tuesday afternoon when I wanted to make something special but didn’t want to spend hours with complicated frosting. That’s when I discovered the joy of this Cake Draw method, which lets you put your own personality right into the batter. It’s one of those simple revelations where you realize that baking doesn’t have to be a chore to be beautiful.

This recipe is all about simple ingredients and honest flavor, resulting in a sponge that is light as air. By using a few easy techniques, you can create professional-looking mini cakes in your own kitchen. Whether it’s a birthday or just a quiet weekend morning, these treats fit perfectly into any part of your life.
Why You’ll Love This Simple Cake Draw
You are going to love how this Cake Draw recipe turns a basic sponge into a work of art. It’s the perfect project for when you want to feel creative without needing a cabinet full of specialized tools. Since we use every part of the egg, there’s no waste, and the whipped cream filling adds just the right amount of sweetness.
- Easy Base: The batter comes together quickly without any fuss.
- Totally Customizable: You can draw anything from simple hearts to complex characters.
- Pantry Staples: No need for a special trip to the store; you likely have everything you need right now.
- Kid-Friendly: It’s a wonderful way to get the little ones involved in the kitchen.

Cake Draw
- Total Time: 40 mins
- Yield: 12 mini cakes
- Diet: Vegetarian
Description
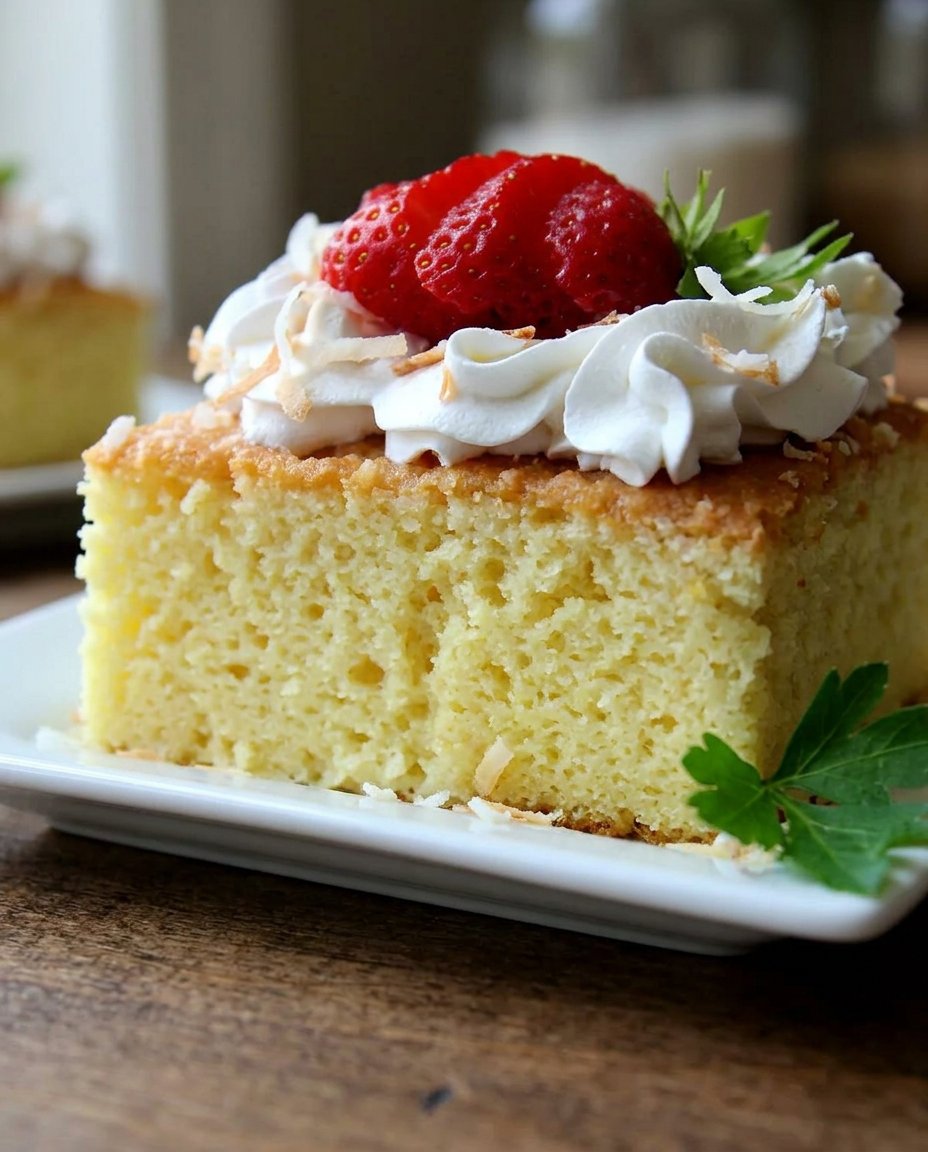
Create stunning, personalized treats with this creative baking method that allows you to bake intricate designs directly into light sponge cakes. Filled with a cloud-like vanilla whipped cream, these mini cakes are as impressive to look at as they are delightful to eat.
Ingredients
- 4 Large eggs (separated)
- 1 cup Granulated sugar (divided)
- 1/4 cup Vegetable oil
- 1/4 cup Milk
- 2 tsp Vanilla extract (divided)
- 3/4 cup All-purpose flour
- 1 tbsp Cornstarch
- 1 tsp White vinegar
- Gel food dye (various colors)
- 1 cup Heavy whipping cream
Instructions
- Preheat your oven to 375 degrees F (190 degrees C) and prepare 24 parchment circles for 4-inch molds, drawing designs on half of them with an edible marker.
- In a large bowl, whisk the egg yolks with half a cup of sugar, vegetable oil, milk, and vanilla until smooth; sift in the flour and cornstarch and whisk until no lumps remain.
- Whip the egg whites until frothy, then slowly add the remaining sugar and white vinegar, continuing to whisk until stiff peaks form.
- Gently fold the whipped egg whites into the yolk batter using a wide spatula, stopping as soon as the white streaks disappear to keep the batter airy.
- Transfer small portions of batter into bowls to dye with gel food coloring, then pipe your designs onto the parchment circles inside greased molds and chill for 5 minutes.
- Pipe the uncolored batter over your chilled designs and bake for 8 to 10 minutes; immediately remove from molds and peel off the parchment to reveal the art.
- Once the cakes have cooled completely, whip the heavy cream with sugar and vanilla to stiff peaks and assemble by piping cream between a plain cake base and a designed top.
Notes
For the best results, ensure your eggs are at room temperature before starting to achieve maximum volume in your sponge. When piping your designs, keep the lines relatively thick to ensure they stand out clearly against the base batter after baking.
- Prep Time: 30 mins
- Cook Time: 10 mins
- Category: Dessert
- Method: Baking
- Cuisine: American
Simple Ingredients for Success

Most of these items are probably already in your pantry. We use basic staples to create a texture that is light, fluffy, and stable enough for intricate designs.
- Egg Yolks and Whites: We separate these to get the best of both worlds—richness from the yolks and lift from the whites.
- Vegetable Oil: This is my go-to for moisture. It keeps the cake soft even after it spends some time in the fridge.
- All-Purpose Flour and Cornstarch: Sifting these together creates a tender crumb that feels like it came from a high-end bakery.
- Gel Food Dye: Make sure to use gel rather than liquid dye. Liquid can change the consistency of your batter, making it harder to pipe your designs.
- Heavy Whipping Cream: For a filling that is fresh and light, nothing beats homemade whipped cream with a touch of vanilla.
The Simple Process
Step 1: Prep Your Templates
Begin by tracing your 4-inch cake molds onto parchment paper and cutting out 24 circles. On half of the circles, draw your designs using an edible marker. Preheat your oven to 375 degrees F (190 degrees C) so it is ready when you are.
Step 2: Mix the Yolk Batter
Separate your egg whites and yolks. In a large bowl, whisk the yolks with half a cup of sugar, vegetable oil, milk, and vanilla until smooth. Sift in the flour and cornstarch, then whisk until the batter is thick and without lumps.
Step 3: Whip the Egg Whites
In a stand mixer or with a hand whisk, beat the egg whites until frothy. Slowly add the remaining sugar and a teaspoon of white vinegar. Continue whisking until you see stiff peaks that stand straight up when you lift the whisk.
Step 4: Fold Gently
Add the egg whites to the yolk mixture. Use a wide spatula to gently fold them in. Be careful here—over-mixing will deflate the air you just worked so hard to get. Stop as soon as the streaks of white disappear.
Step 5: Color and Design
Scoop a few tablespoons of batter into small bowls to dye for your designs. Use a toothpick to add a tiny bit of gel dye. Transfer these to piping bags and trace your designs onto the parchment circles inside the greased molds. Chill the molds for 5 minutes.
Step 6: Bake and Reveal
Pipe the remaining uncolored batter over your designs. Bake for 8 to 10 minutes. Once they have a slight bounce, remove them and run a knife along the edges. Flip them onto parchment and peel back the circles immediately to see your art!
Step 7: Assemble
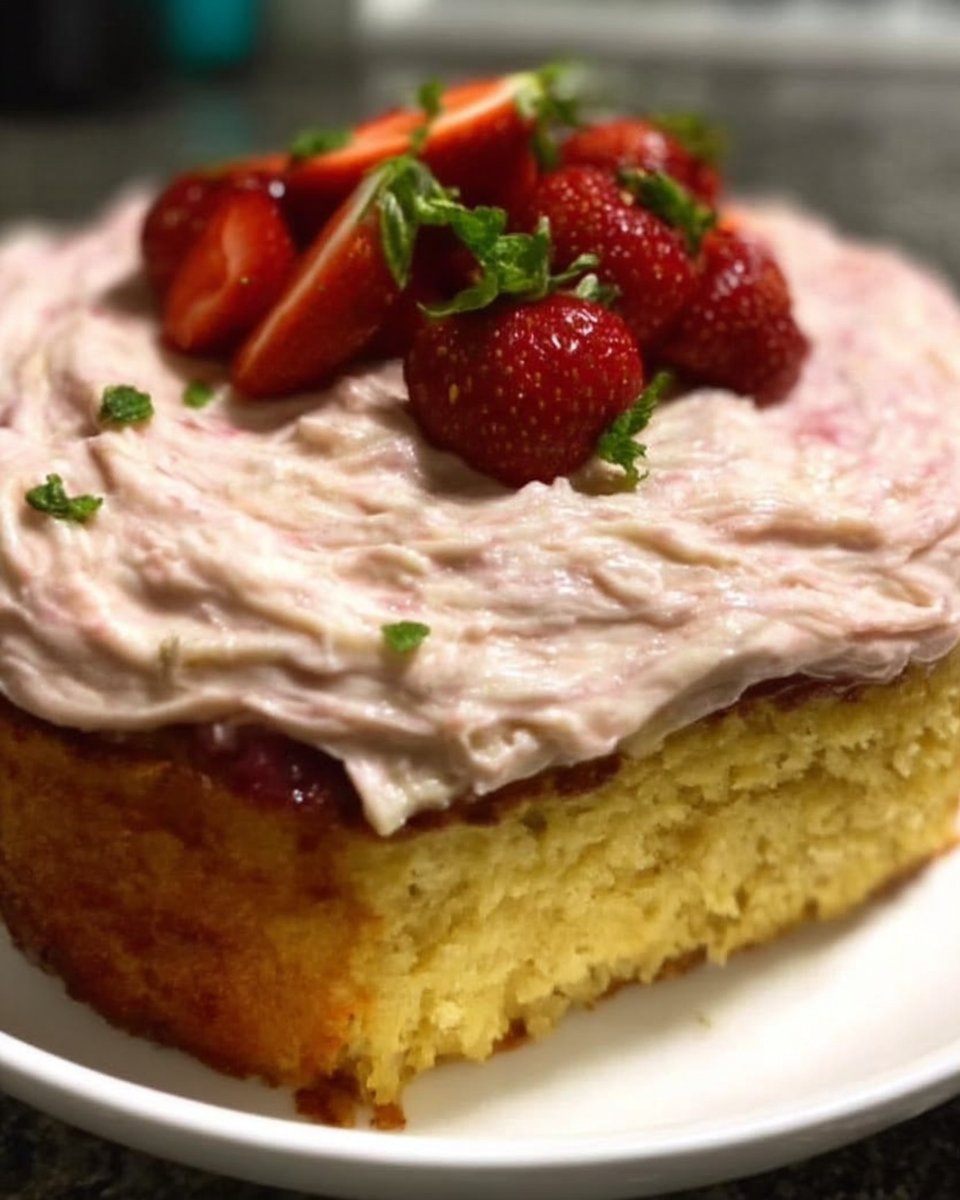
Once the cakes are cool, whip your heavy cream, sugar, and vanilla until stiff. Pipe a layer of cream onto a plain cake base and top it with one of your designed cakes. You can even add fresh fruit or jam for an extra treat.
Meagan’s Easy Wins

To make this process as smooth as possible, make sure your eggs are at room temperature before you start. Cold eggs don’t whip up as well, and we want all the volume we can get for that airy sponge. If you are nervous about the drawing part, try our anime cake guide to see how to simplify complex characters into easy shapes. Also, remember to grease your molds lightly; too much oil can cause the batter to slide around, blurring your beautiful designs.
Easy Twists to Try
If you want a different look, you can try the comic cake 2d cake style by using black cocoa powder in a small amount of batter to create bold, cartoon-like outlines. You can also swap the vanilla extract for lemon or almond extract to change the flavor profile. For a festive touch, try folding some sprinkles into the whipped cream filling for a fun surprise inside.
Simple Serving Ideas

These mini cakes look wonderful on a simple white platter where the designs can really shine. I love serving them with a small glass of cold milk or a hot cup of coffee for a cozy afternoon snack. If you’re looking for more ways to present your creations, check out our cartoon cake ideas for fun plating inspiration. They are perfect for birthday parties or as a thoughtful homemade gift for a friend.
The Sweet Spot
Baking should always be about the joy of creating something delicious for the people you love. This Cake Draw recipe proves that you don’t need to be a professional artist to make something truly spectacular. For even more technical help with these designs, you can check out this complete guide for extra support. If you’re looking for your next project, take a look at our new cake design page. Happy baking!
Find more inspiration on Pinterest, Instagram, and Facebook.
