My grandmother always believed that a kitchen was a place for honest work and simple beauty. I remember watching her use a small brush to add tiny floral details to her Sunday bakes, proving that you do not need fancy tools to make something special. This approach to cake painting is all about finding joy in the quiet moments of creating something by hand.

This recipe pairs a nostalgic graham cracker sponge with a silky Swiss buttercream that serves as a perfect, smooth canvas. It is a reliable choice for anyone who wants a cake that stays moist and actually tastes better the next day. Whether you are a beginner or a seasoned baker, this method for cake painting is straightforward and rewarding.
Simple Comfort and Honest Art
You will love this recipe because it strips away the complexity of professional decorating and focuses on the heart of home baking. The graham cracker crumbs in the batter provide a warm, honey-like depth that feels familiar and comforting. Because we use a sturdy Swiss buttercream, the surface is stable and forgiving, making the cake painting process a relaxing activity rather than a stressful task. It is an honest, delicious cake that brings a bit of artistic flair to your table without any fuss.
Print
Cake Painting
- Total Time: 2 hours 15 mins
- Yield: 12 servings
- Diet: Vegetarian
Description
Create a stunning edible masterpiece with this unique graham cracker sponge cake topped with silky Swiss buttercream. It is the perfect canvas for your artistic expression, offering both a nostalgic, honeyed flavor and a smooth surface for painting beautiful designs.
Ingredients
- 2 1/2 cups all-purpose flour
- 1 cup graham cracker crumbs
- 1 teaspoon baking powder
- 1/2 teaspoon baking soda
- 1 teaspoon ground cinnamon
- 1/2 teaspoon ground allspice
- 1/2 teaspoon salt
- 1 cup unsalted butter, room temperature
- 1 cup granulated sugar
- 1/2 cup light brown sugar, packed
- 3 large eggs
- 1 large egg white
- 1 cup buttermilk
- 1/2 cup sour cream
- 1 teaspoon vanilla extract
- 5 large egg whites (for frosting)
- 1 1/2 cups granulated sugar (for frosting)
- 1/2 teaspoon salt (for frosting)
- 2 cups unsalted butter, room temperature (for frosting)
- Gel food coloring
Instructions
- Preheat your oven to 350°F (175°C) and carefully butter and flour four 6-inch cake pans.
- In a medium bowl, whisk together the flour, graham cracker crumbs, baking powder, baking soda, cinnamon, and allspice.
- In a separate small bowl, stir the buttermilk, vanilla, and sour cream together until the mixture is smooth.
- Using a stand mixer, beat the room temperature butter and both sugars on medium-high until the mixture is light and fluffy.
- Add the three large eggs and the single egg white one at a time, ensuring each is fully incorporated before adding the next.
- Add the flour mixture and the buttermilk mixture to the butter base in alternating batches, beginning and ending with the dry ingredients.
- Divide the batter between pans and bake for 30 minutes or until a toothpick comes out clean, then let them cool completely.
- Whisk egg whites, sugar, and salt over a simmer until it reaches 160°F, whip to glossy peaks, then slowly beat in chunks of butter for the frosting.
- Stack and frost the cake layers, chill for at least one hour until firm, and use food coloring with small brushes to paint your artwork.
Notes
To ensure the most vibrant colors when painting, use high-quality gel food coloring diluted with a tiny drop of clear vanilla extract or vodka. This helps the pigment glide smoothly across the chilled buttercream without making it too runny. Always keep your brushes clean between color changes for the crispest artwork.
- Prep Time: 45 mins
- Cook Time: 30 mins
- Category: Dessert
- Method: Baking
- Cuisine: American
Simple Pantry Ingredients

Most of what you need for this cake is likely already sitting in your cupboard. We use basic staples to create a refined texture and a flavor that reminds me of cozy afternoons.
- All-Purpose Flour: The reliable base for our tender crumb.
- Graham Cracker Crumbs: These add a lovely toasted flavor and a unique texture that sets this cake apart.
- Unsalted Butter: Always use room temperature butter for the best creaming results.
- Buttermilk and Sour Cream: This duo is my secret for a cake that is incredibly moist and stays fresh for days.
- Egg Whites: Essential for the light, airy structure of the Swiss buttercream.
- Food Coloring: Just a few drops are all you need to start your art.
The Simple Way to Bake and Paint
Step 1: Prep Your Kitchen
Set your oven to 350°F (175°C). Butter and flour four 6-inch cake pans carefully. I often use cake strips around the pans to help the layers bake up flat and even, which makes stacking much easier later on.
Step 2: Mix the Dry and Wet Bases
In a medium bowl, whisk together the flour, graham cracker crumbs, baking powder, baking soda, cinnamon, and allspice. In a separate small bowl, stir the buttermilk, vanilla, and sour cream together until the mixture is smooth.
Step 3: Cream the Butter and Sugars
Using a stand mixer, beat the room temperature butter until it is smooth. Add both the granulated and light brown sugars and mix on medium-high until the mixture looks light and fluffy. This step is key for a good rise.
Step 4: Incorporate the Eggs
Add the three large eggs and the single egg white one at a time. Make sure each egg is fully mixed in before adding the next one so the batter stays smooth and does not break.
Step 5: Combine Everything
Add the flour mixture and the buttermilk mixture to the butter base in alternating batches. Always start and end with the flour. Mix until just combined, then give the bowl a final scrape with a spatula to catch any stray flour at the bottom.
Step 6: Bake the Layers
Divide the batter evenly between your prepared pans. Bake for about 30 minutes. You will know they are done when a knife or toothpick inserted into the center comes out clean. Let them cool completely before you even think about frosting.
Step 7: Prepare the Silky Buttercream
Whisk egg whites, sugar, and salt in a bowl over a pan of simmering water. Whisk constantly until the mixture reaches 160°F or feels smooth between your fingers. Transfer to a mixer and whip until you have glossy peaks. Switch to a paddle attachment and slowly add chunks of room temperature butter until the frosting is thick and silky.
Step 8: Assemble and Paint
Stack your cooled layers with a good amount of buttercream in between. Smooth a final coat over the outside and chill the cake in the fridge for at least an hour. Once the surface is firm, use food coloring and a small brush to start your cake painting.
Jesse’s Simple Tips

One of my favorite comfort secrets is to always work on a chilled surface. If the buttercream is soft, your brush will dig into the frosting rather than gliding over it. For more ideas on how to manage your canvas, you might find our guide on simple white cake decorating very helpful. Also, remember that this cake is very forgiving; if you make a mistake while painting, you can usually gently wipe it away with a damp paper towel or just smudge it into a new shape.
Easy Changes
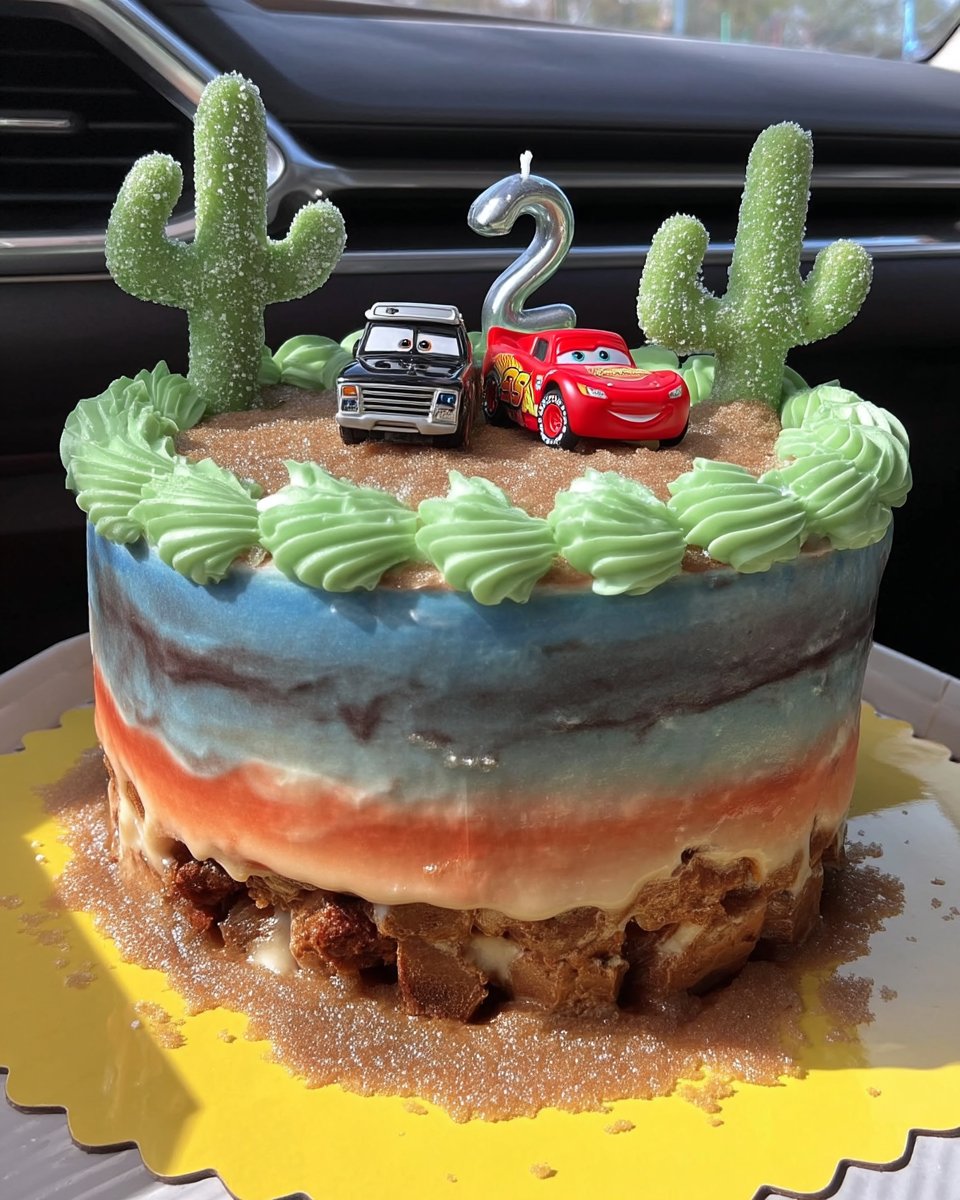
If you want to try something a little different, you can swap the cinnamon and allspice for a bit of cardamom for a brighter, floral note. You can also use Greek yogurt if you do not have sour cream on hand; it provides the same moisture and tang. For those who enjoy a more whimsical look, checking out a cartoon cake style can give you a different direction for your artwork. You can also find great inspiration for different styles at Preppy Kitchen if you want to see more floral patterns.
Simple Enjoyment

This cake is best served at room temperature so the buttercream is soft and the graham cracker flavors are prominent. I love serving a thick slice with a hot cup of black coffee or a glass of cold milk. If you are looking for more visual inspiration to match your serving style, take a look at our hyperrealistic cake examples for some truly amazing designs. It is the kind of dessert that invites people to linger at the table long after the meal is over.
Simple Truth from the Heart
Baking should always be about the joy of the process and the comfort of the results. This cake painting project is a wonderful way to slow down and enjoy the simple beauty of a handmade treat. If you are looking for another fun project, you might enjoy our comic cake 2d cake tutorial. Please share your creations with us on Pinterest and Instagram. Happy baking, and remember that the most important ingredient is always a little bit of love.

