There was a Tuesday last month where everything felt a bit much, and all I wanted was a kitchen win that didn’t involve three hours of scrubbing pans. I pulled some vanilla layers out of the freezer, whipped up a quick buttercream, and used this exact cake snap method to find my zen. It is amazing how a few simple movements can turn a messy countertop into a moment of pure, sugary pride that feels totally manageable.

This guide is all about taking the intimidation out of layer cakes and making the process feel like a breeze. We are not aiming for a museum piece here; we are aiming for a cake that tastes like home and looks like you actually had fun making it. With these easy stacking and frosting steps, you will be snapping photos of your masterpiece in no time.
Simple Perfection
You will love this method because it respects your time and your pantry. There is something deeply satisfying about watching a cake come together with just a spatula and a little patience, proving that you do not need a professional pastry kitchen to get great results. It is about honest flavor and the kind of baking that fits into your actual life, not just a curated feed.
This approach is perfect for busy parents, weekend hobbyists, or anyone who has ever felt defeated by a lopsided dessert. We focus on stability and ease, making sure the cake stays upright and looks beautiful without the stress of complicated techniques. It is baking that builds your confidence, one layer at a time.
Print
Cake Snap
- Total Time: 1 hour 10 mins
- Yield: 12 servings
Description
Master the art of assembling a stable and beautiful layer cake with this straightforward cake snap technique. Perfect for any home baker, this method ensures professional results through simple leveling, stacking, and crumb coating steps.
Ingredients
- 2 to 3 baked cake layers (vanilla, chocolate, or preferred flavor), completely cooled
- 4.5 to 6 cups frosting (buttercream or preferred type)
- Cake scraps or crumbles for garnish (optional)
Instructions
- Level the completely cooled cake layers by slicing off the domed tops with a cake leveler or a serrated knife to create a flat surface.
- Place the bottom layer on a cake turntable or stand, spread 3/4 to 1 cup of frosting to the edges, and place the next layer upside down on top for a perfectly flat base.
- Apply a very thin crumb coat of frosting over the top and sides of the cake to lock in loose crumbs, then refrigerate for 20 to 60 minutes.
- Apply a thicker final layer of frosting for a smooth or textured finish, add optional decorative borders, and chill for 20 more minutes before slicing.
Notes
Using a rotating cake turntable is highly recommended as it allows for a continuous motion when smoothing the sides of the cake. For the cleanest slices, dip your knife in hot water and wipe it dry between every single cut.
- Prep Time: 30 mins
- Cook Time: 0 mins
- Category: Dessert
- Method: Assembly
- Cuisine: American
The Pantry Basics

When we talk about the cake snap, we are focusing on the architecture of the dessert using simple items you likely already have or can easily grab at the store. You do not need exotic extracts or rare flours here—just good, reliable basics.
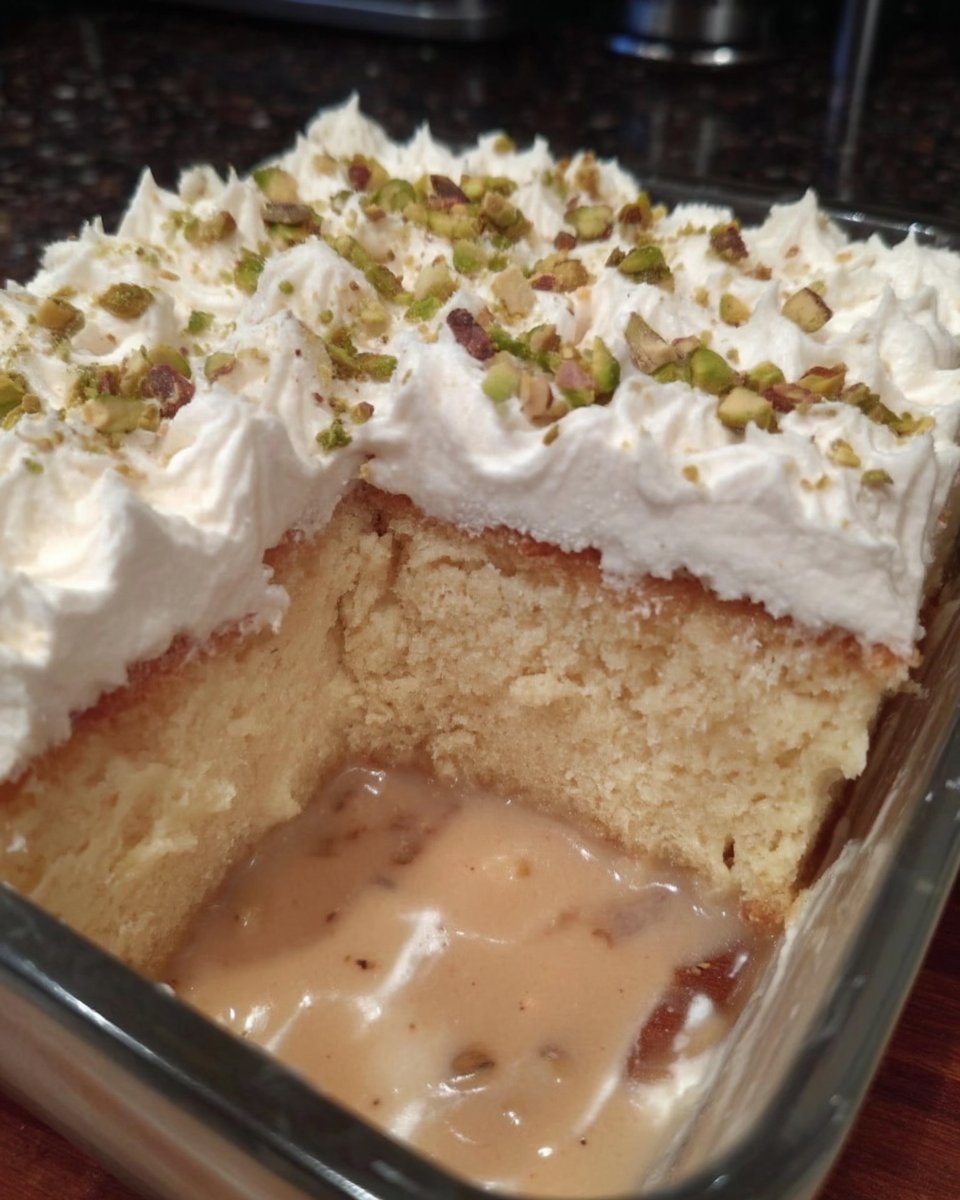
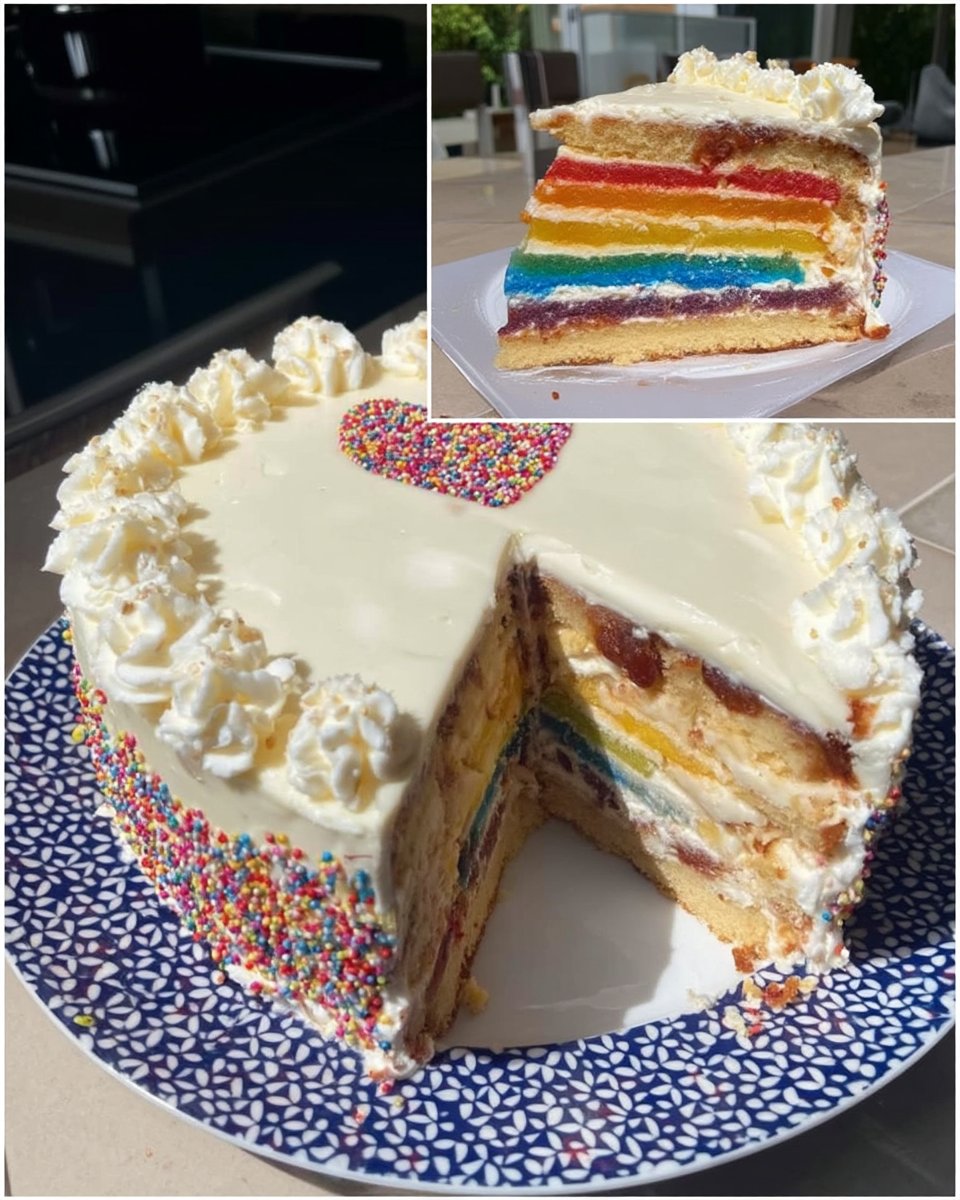
- Baked Cake Layers: You can use any flavor you like, such as a classic vanilla or a rich chocolate. The key is making sure they are completely cool so they do not melt your hard work.
- Frosting: You will need about 4.5 cups for a standard two-layer cake. If you are going big with three layers, aim for 5 to 6 cups to make sure you have plenty for the middle and the outside.
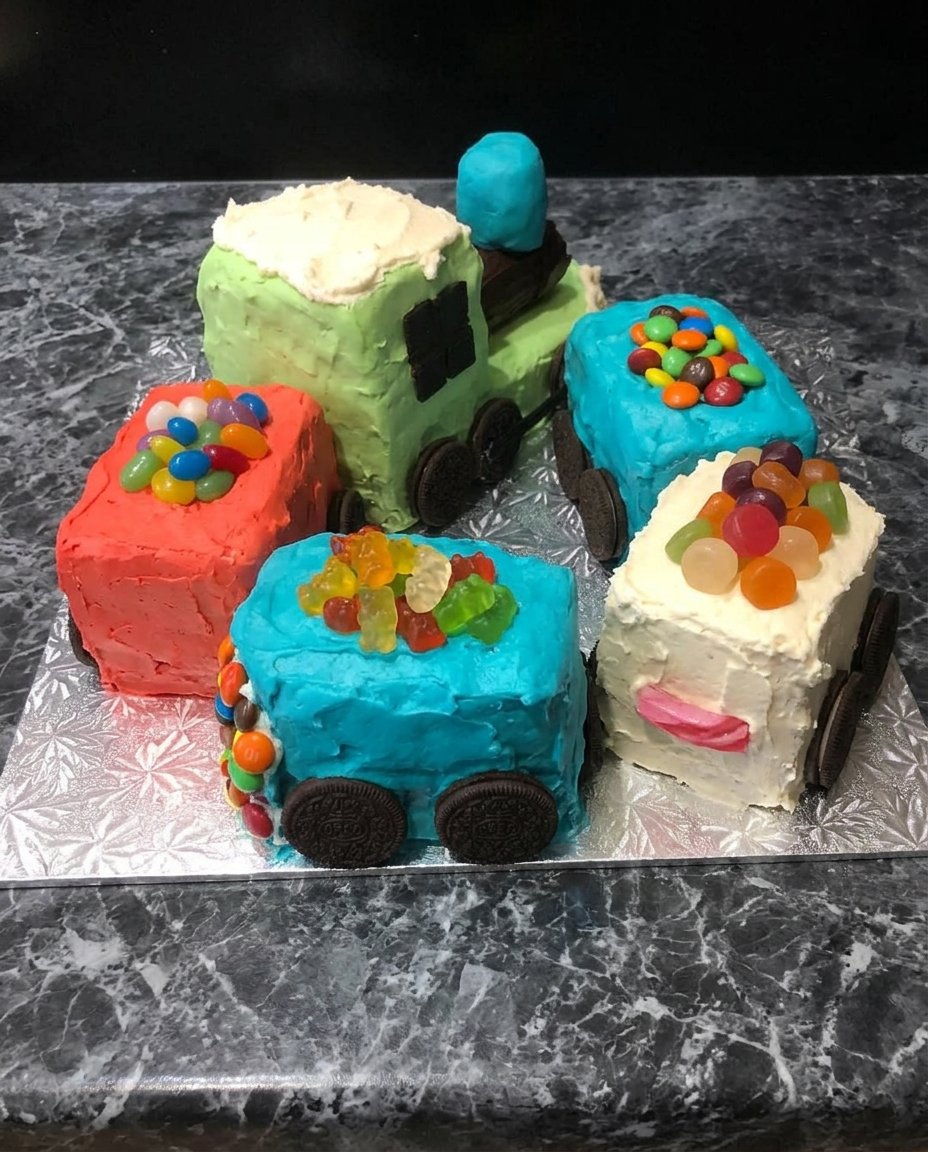
- Optional Garnishes: Think about using the cake scraps you trim off. Crumbled cake makes a wonderful, rustic decoration that costs nothing extra.
How to Make It
Step 1: Level Your Layers
It is important your cake layers are level so your finished creation has plenty of stability. Make sure the cakes are completely cool before you start. You can use a tool called a cake leveler or a simple serrated knife. Slice off the domed top of your cakes so the surface is flat. You can discard the bit you sliced off, or crumble it up to use as garnish. My personal favorite is enjoying those warm cake crumbles over a bowl of vanilla ice cream!
Step 2: Stack with Intention
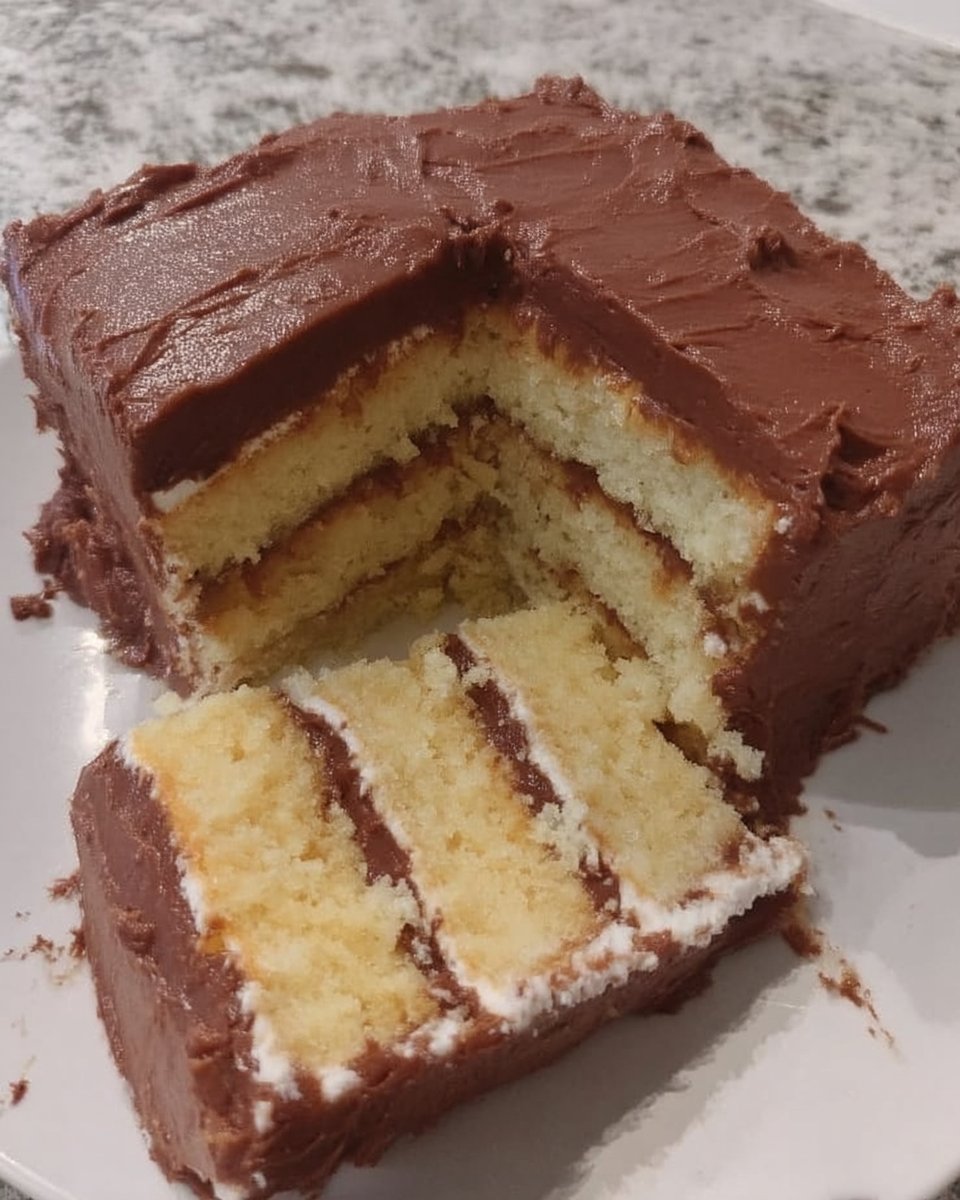
Place the bottom layer right side up on a cake turntable or a flat cake stand. Scoop about 3/4 to 1 cup of frosting onto the center. Using an offset spatula or a regular butter knife, spread the frosting all the way to the edges. Place the second cake layer upside down on top. This creates a perfectly flat base for the top of your cake. If you are doing three layers, repeat the frosting and stacking. Check as you go to make sure everything is straight and not leaning to one side.
Step 3: The Crumb Coat Secret
A crumb coat is an extremely thin layer of frosting applied to the top and sides. This step is a total game changer because it locks in any loose crumbs and adds stability. Use about 1 cup of frosting for this thin layer and spread it all over. To get it smooth, run a bench scraper or the flat edge of a knife around the sides. Put the cake in the fridge uncovered for 20 minutes to an hour to let this layer set.
Step 4: Final Flourishes
Once your crumb coat is firm, finish the cake with a thicker layer of frosting. You can use your scraper again for smooth sides or keep it textured for a cozy, homemade look. If you have extra frosting, fill a piping bag and add a border around the top. When you are finished, let the cake chill in the fridge for another 20 minutes before slicing. This helps the frosting stay neat when you cut into it.
Meagan’s Easy Wins

To make the process even smoother, I always recommend working with chilled cake layers. If you bake them the day before and wrap them tightly in plastic wrap, they will be much firmer and easier to handle when it is time to stack. If you are looking for more ways to make your desserts look professional, check out our guide on the photo-cake for more visual inspiration. Also, do not worry if your frosting isn’t perfectly smooth on the first try; a few sprinkles or cake crumbles can hide a lot of little mistakes while adding a lot of charm.
Simple Swaps
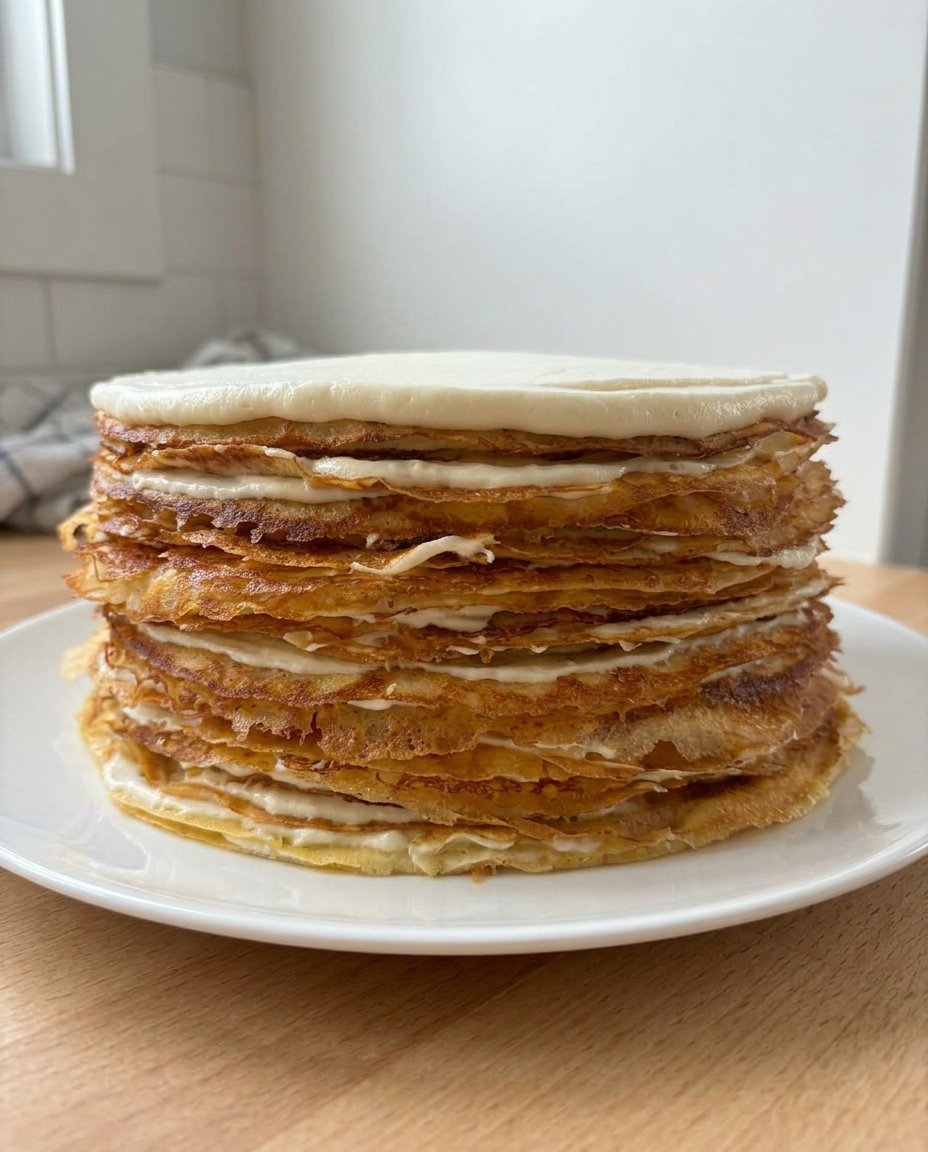
You can easily change the personality of your cake by switching up the frosting styles. For a whimsical look, try a comic-cake-2d-cake style using bold outlines. You can also try a naked cake variation by skipping the final thick layer of frosting and letting the crumb coat show the cake layers through the sides. This gives it a very rustic, garden-party feel that is perfect for summer gatherings. If you want a different flavor profile, try adding a thin layer of jam or lemon curd between the cake layers for a bright, fruity surprise.
Everyday Enjoyment

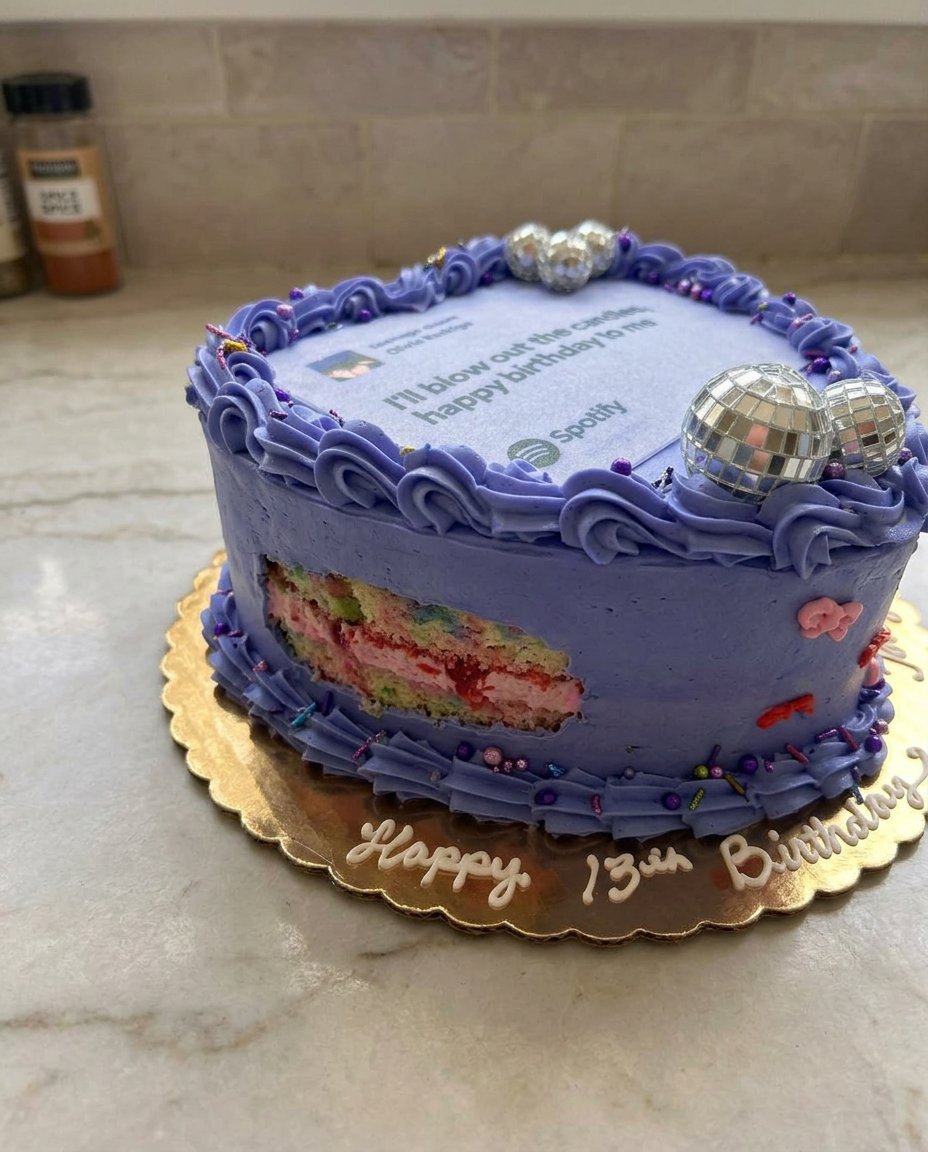
This cake is best served at room temperature so the frosting is soft and the cake is moist. I love serving a thick slice alongside a hot cup of coffee on a quiet weekend morning. If you are hosting a party, you can get really creative with your presentation, almost like a hyperrealistic-cake that looks too good to eat. For a casual Tuesday night treat, just a simple plate and a fork are all you need to enjoy the fruits of your labor.
The Sweet Spot
Baking should be a joy, not a chore. This cake snap method is my favorite way to bring a little bit of bakery magic into my own kitchen without the headache. If you are looking for your next project, you might want to try a new-cake-design to keep things fresh. I would love to see your creations, so please share them with me! For a bit of extra fun, you can check out this great cake video for more inspiration. Happy baking, friends!
