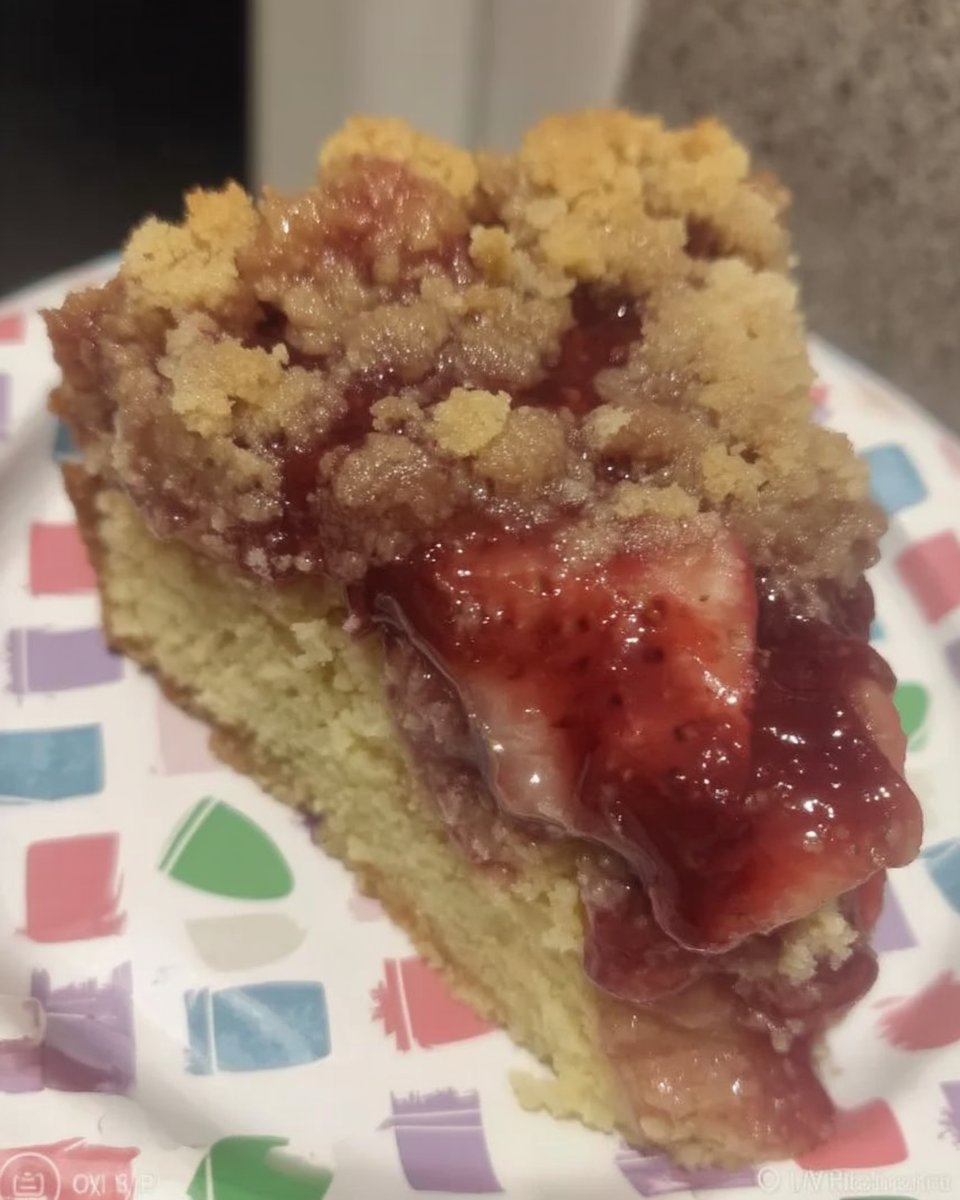
There is nothing like the smell of fresh berries filling the kitchen on a busy Tuesday afternoon, and this Cake Strawberry 2 recipe is my favorite way to bring that joy to the table. I remember the first time I realized that a simple reduction could turn a standard sponge into a burst of summer flavor without any fancy equipment. It was a total one-bowl revelation that changed how I think about fruit cakes forever.

This cake is all about honest flavor and everyday ingredients, using a homemade strawberry reduction to get that deep pink color and intense taste. It’s a reliable, approachable bake that fits perfectly into a hectic schedule while still feeling like a special treat for your family.
Simple Perfection in a Pink Cake
You are going to love this recipe because it proves that you don’t need a bakery to create a show-stopping dessert. The secret is the strawberry reduction, which packs a massive punch of flavor without making the cake batter too wet or heavy.
It is incredibly versatile and straightforward, making it the perfect choice for someone who wants a high-quality result without the stress of complex techniques. Whether it is a birthday or just a simple craving for something sweet, this cake delivers a moist, tender crumb and a creamy frosting that everyone will ask for seconds of. It’s the kind of baking that fits your life, no matter how busy you are.
Print
Strawberry Cake
- Total Time: 1 hour 35 mins
- Yield: 12 servings
- Diet: Vegetarian
Description
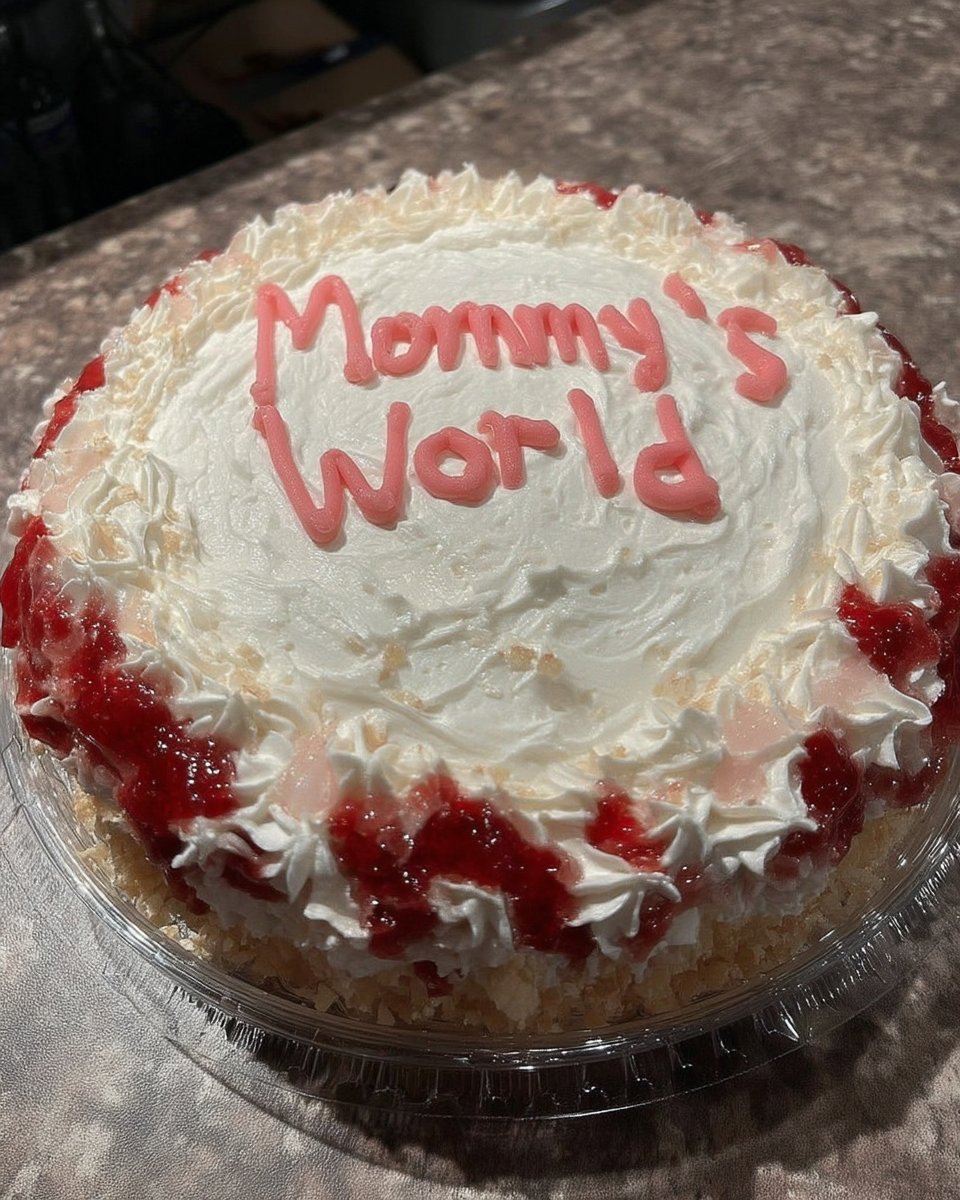
This vibrant strawberry cake uses a homemade fruit reduction to achieve a deep, natural flavor and a beautiful pink hue without relying on box mixes. Topped with a silky strawberry buttercream, it is a moist and tender dessert perfect for birthdays or summer gatherings.
Ingredients
- 32 ounces fresh or frozen strawberries
- Unsalted butter, room temperature
- Granulated sugar
- Egg whites
- Whole milk, room temperature
- Vegetable oil
- Strawberry emulsion or extract
- Lemon juice and zest
- All-purpose flour
- Baking powder
- Baking soda
- Salt
- Pink food coloring (optional)
- Powdered sugar
- Vanilla extract
Instructions
- Puree the strawberries and simmer in a saucepan with sugar, lemon juice, and zest for 40-60 minutes until reduced to 2 cups; let cool completely.
- Whisk together milk, oil, strawberry reduction, emulsion, vanilla, lemon zest, juice, and food coloring in a medium bowl.
- In a separate bowl, sift together the flour, baking powder, baking soda, and salt.
- Cream the butter and sugar for 3-5 minutes until light and fluffy, then add egg whites one at a time.
- Alternate adding the dry and wet ingredients into the butter mixture, mixing until just combined.
- Divide the batter into two greased 8-inch pans and bake at 350ºF (176ºC) for 30-35 minutes.
- For the frosting, whip egg whites and powdered sugar for 5 minutes, beat in butter for 8-10 minutes, and fold in the remaining reduction and vanilla.
Notes
Always measure your reduction after cooling to ensure you have exactly two cups, as the moisture level is critical for the cake’s structure. If your buttercream appears to curdle while adding the butter, continue whipping at high speed; it will eventually emulsify into a smooth, shiny frosting. Store the assembled cake in the refrigerator but serve at room temperature for the best texture.
- Prep Time: 1 hour
- Cook Time: 35 mins
- Category: Dessert
- Method: Baking
- Cuisine: American
The Pantry Basics for Strawberry Bliss

Most of what you need for this cake is likely already in your kitchen. We focus on simple ingredients that work together to create something spectacular.
- Strawberries: You can use 32 ounces of fresh or frozen berries. The reduction process concentrates their sweetness, so even out-of-season berries work great.
- Unsalted Butter: Make sure this is at room temperature so it creams perfectly with the sugar.
- Granulated Sugar: Provides the sweetness and helps create that light, fluffy texture.
- Egg Whites: Using just the whites keeps the cake light and allows the pink color to really shine.
- Milk and Oil: This combination provides the moisture and fat needed for a tender crumb that stays fresh for days.
- Strawberry Emulsion: I use LorAnn oils for an extra boost, but a good strawberry extract works well too.
- Lemon Juice and Zest: A little hit of acid brightens the fruit flavors and keeps the cake from being too sweet.
The Simple Process
Step 1: Prepare the Strawberry Reduction
Blend your strawberries until smooth, then simmer them in a saucepan with sugar, lemon juice, and zest. Cook this down over medium-low heat for about 40-60 minutes until it is thick like tomato sauce and you have exactly two cups. Let it cool completely before using.
Step 2: Mix Your Liquid Ingredients
In a medium bowl, whisk together your room-temperature milk, vegetable oil, strawberry reduction, emulsion, vanilla, lemon zest, juice, and a drop of pink food coloring. Having these ready to go makes the mixing process much smoother.
Step 3: Whisk the Dry Ingredients
In another bowl, stir together your all-purpose flour, baking powder, baking soda, and salt. This helps distribute the leavening agents evenly so your cake rises perfectly in the oven.
Step 4: Cream Butter and Sugar
Using a stand mixer or hand mixer, beat the room-temperature butter until it is smooth and shiny. Gradually add the sugar and beat for about 3-5 minutes until the mixture looks fluffy and almost white.
Step 5: Add Egg Whites
Incorporate the egg whites one at a time, giving each about 15 seconds to fully blend. If the mixture looks a bit broken, your ingredients might be too cold, but keep going—it will come together.
Step 6: Combine and Bake
Alternate adding the dry ingredients and the milk mixture into the butter, starting and ending with the dry. Stop mixing as soon as it looks like thick ice cream. Divide the batter into two greased 8-inch pans and bake at 350ºF (176ºC) for 30-35 minutes.
Step 7: Make the Strawberry Buttercream
Whip the egg whites and powdered sugar for 5 minutes until stiff. Add the softened butter in chunks and whip for another 8-10 minutes. It might look curdled at first, but keep going until it is white and shiny. Fold in the strawberry reduction and vanilla at the end.
Meagan’s Easy Wins

The biggest secret to success with this cake is ingredient temperature. If your milk or eggs are cold, the butter will seize up and your batter won’t be smooth. I always set my ingredients out at least two hours before I start baking. If you find yourself in a rush, check out our guide on fresh strawberry sheet cake for more quick strawberry tips. Also, when making the reduction, stir it occasionally to prevent the bottom from burning, as those natural sugars can get sticky quickly.
Simple Swaps for Your Strawberry Cake
You can easily make this recipe your own with a few quick twists. If you want a more subtle flavor, you can try our strawberry vanilla cake which balances the fruit with more vanilla notes. For a citrus kick, double the lemon zest in the batter. You can even skip the pink food coloring if you prefer a more natural, muted tone, though the berries alone will give it a lovely soft hue. If you want a different texture, try adding a handful of finely chopped fresh strawberries to the batter right before baking.
Everyday Enjoyment

This cake is wonderful served slightly chilled or at room temperature. I love to serve a big slice with a cold glass of milk or a simple cup of coffee. If you are looking for a more casual way to enjoy these flavors, you might like our easy strawberry shortcake for a weekend treat. For a special occasion, garnish the top of the cake with fresh strawberry halves or even a few sprigs of mint to make the colors pop.
The Sweet Spot
Baking should always feel like a joy, not a chore. This cake is proof that simple ingredients and a little patience with a reduction can create something truly memorable. If you enjoy this style of fruit-forward baking, you must try our strawberry poke cake for another easy win. For even more detailed techniques on mastering fruit-based sponges, I recommend checking out the Sugar Geek Show. Don’t forget to share your bakes with me on Instagram, Facebook, or Pinterest. Happy baking!
