I still remember the first time I realized that a simple chocolate treat could become a magical centerpiece just by changing the way we light it up. Adding tall, flickering tapers to a deep, dark chocolate base turned a regular family dinner into an unforgettable celebration that felt like a movie scene. It was a total game-changer for me, proving that you don’t need fancy tools to create a ‘wow’ moment.

This Candle Cake is my favorite way to bring that exciting spark to your table without any stress or complicated decorating. We are using a secret splash of hot coffee to make the chocolate flavor truly sing, creating a moist and rich crumb that is absolutely fantastic. It is the perfect blend of simple baking and surprising presentation that will have everyone reaching for their cameras.
The Flavor Pop Magic
You are going to love this Candle Cake because it takes a classic chocolate base and transforms it into something truly special with minimal effort. The addition of both melted butter and neutral oil gives you the best of both worlds: a rich, buttery flavor and a texture that stays incredibly soft for days.
What makes this recipe a winner is the ‘smoky’ depth we get from the natural cocoa powder paired with that hot coffee addition. It is a simple trick that brings out the most intense chocolate notes you have ever tasted. Plus, the dramatic look of the candles makes it feel like a professional creation from a high-end boutique bakery.
Print
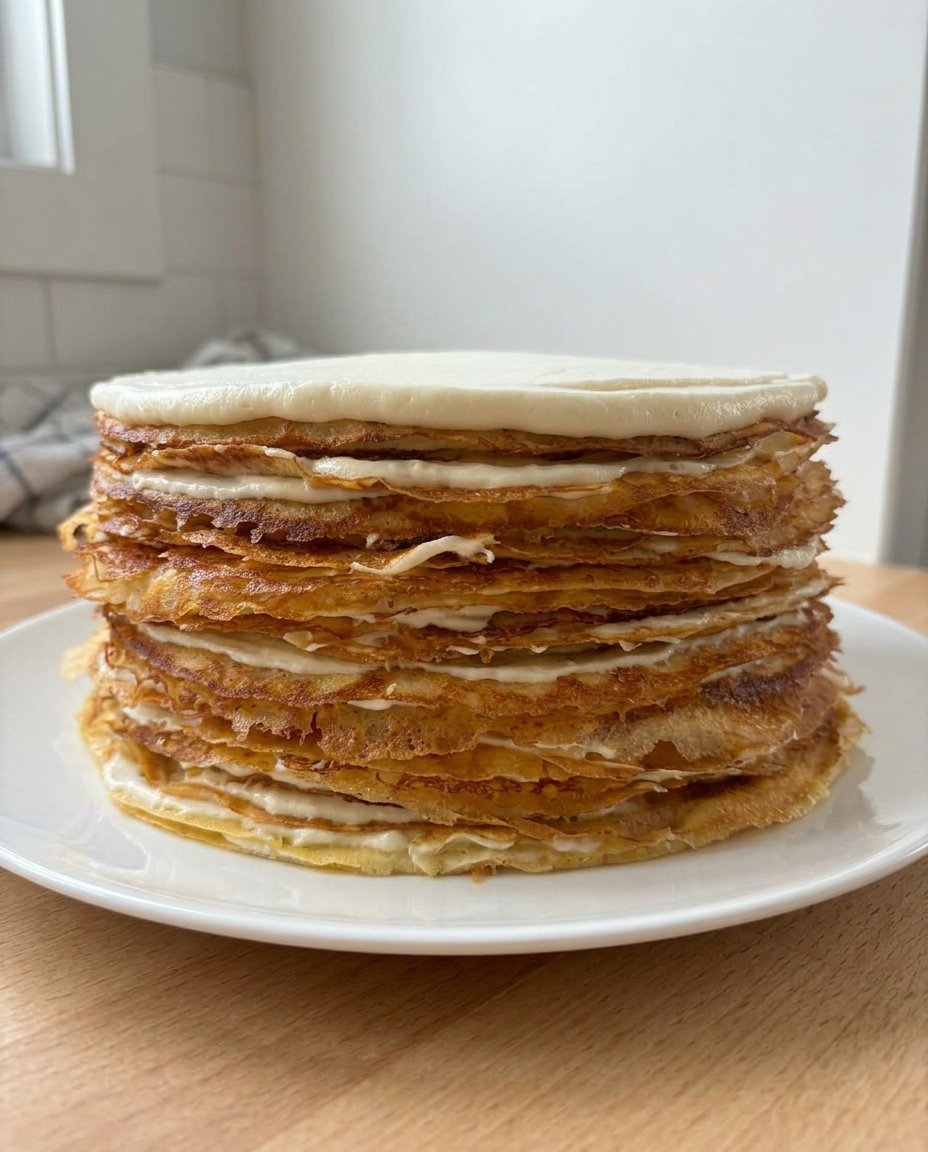
Candle Cake
- Total Time: 1 hour
- Yield: 12 servings
- Diet: Vegetarian
Description
This Candle Cake transforms a classic chocolate base into a stunning centerpiece by combining the richness of cocoa with a secret splash of hot coffee. Topped with flickering tapers, it offers a moist, tender crumb and a dramatic presentation that makes any celebration feel truly magical.
Ingredients
- Natural Cocoa Powder
- Hot Coffee
- Buttermilk
- Light Brown Sugar
- Granulated Sugar
- Vanilla Extract
- All-Purpose Flour
- Baking Soda
- Salt
- Melted Butter
- Neutral Oil
- Eggs
- Extra egg yolk
Instructions
- Preheat oven to 350F (175C) and prepare two 8-inch round cake pans by lining the bottoms with parchment paper and greasing the sides.
- In a large mixing bowl, whisk together the flour, brown sugar, granulated sugar, cocoa powder, baking soda, and salt.
- Stir in the melted butter and neutral oil until the dry ingredients are fully moistened.
- Incorporate the lightly beaten eggs, extra egg yolk, and vanilla extract, stirring until the batter is smooth.
- Gradually pour in the buttermilk while stirring to incorporate into the batter.
- Gently stir in the hot coffee or hot water until the mixture is uniform and thin.
- Divide the batter evenly between the prepared pans and bake for 35-40 minutes until a toothpick comes out clean.
- Cool in the pans for 15 minutes before transferring to a wire rack to cool completely before frosting.
Notes
To ensure the most elegant presentation, use extra-tall thin taper candles to provide a striking height contrast against the dark chocolate frosting. Additionally, ensure your eggs and buttermilk are at room temperature before mixing to achieve a perfectly emulsified and consistent cake crumb.
- Prep Time: 20 mins
- Cook Time: 40 mins
- Category: Dessert
- Method: Baking
- Cuisine: American
The Flavor Stars

To make this incredible Candle Cake, we are using simple pantry staples that work together to create a massive flavor impact. Here is what you will need to gather for your baking adventure:
- Natural Cocoa Powder: This provides that deep, dark chocolate foundation that makes the cake so satisfying.
- Hot Coffee: My favorite flavor pop! It blooms the cocoa powder, making the chocolate taste even more vibrant and intense.
- Buttermilk: This is the secret to a tender, fluffy crumb that practically melts in your mouth.
- Light Brown Sugar: Using a mix of sugars adds a hint of molasses sweetness and extra moisture.
- Vanilla Extract: A generous splash brings all the other flavors together in perfect harmony.
- All-Purpose Flour: The sturdy base that holds all this chocolatey goodness together.
The Simple Process
Step 1: Prep Your Space
Preheat your oven to 350F (175C). Prepare two 8-inch (20 cm) round cake pans by lining the bottoms with parchment paper. Lightly grease and flour the sides so your layers pop out perfectly later.
Step 2: Mix the Dry Ingredients
In a large mixing bowl, or your stand mixer, stir together the flour, brown sugar, granulated sugar, cocoa powder, baking soda, and salt. Make sure everything is well combined and there are no large lumps of sugar hiding in the mix.
Step 3: Add the Fats
Pour in the melted butter and neutral oil. Stir this together until all the dry ingredients are moistened. The batter might look a bit thick at this stage, but don’t worry—that is exactly what we want to see.
Step 4: Incorporate the Eggs and Vanilla
Add your lightly beaten eggs, the extra egg yolk, and the vanilla extract. Stir until the mixture is smooth, making sure to scrape down the sides and the bottom of the bowl so every bit of batter is included.
Step 5: The Buttermilk Boost
Gradually pour in the buttermilk while stirring. You will see the batter start to thin out and become much smoother and silkier as the acidity of the buttermilk reacts with the other ingredients.
Step 6: The Coffee Pop
Carefully stir in the hot coffee or hot water. Be gentle so you don’t splash! Keep stirring until the batter is uniform. The hot liquid will thin the batter significantly, which helps create that incredibly moist texture we love.
Step 7: Bake to Perfection
Evenly divide the batter between your two prepared pans. Bake on the center rack for 35-40 minutes. You will know it’s ready when a toothpick comes out clean or with just a few moist crumbs attached.
Step 8: Cool and Frost
Let the cakes cool in their pans for about 15 minutes before inverting them onto a wire rack. Once they are completely cool, you can frost them with your favorite chocolate frosting and get ready to add those beautiful candles!
Jasmine’s Flavor Tips

To get the most out of your Candle Cake, always use high-quality vanilla extract—it makes a world of difference in the final taste profile. If you want to take the presentation even further, think about the height of your decorations. I love using extra-tall thin tapers to create a dramatic look that really pops against the dark frosting.
For the best results, make sure your eggs and buttermilk are at room temperature before you start mixing; this helps the batter emulsify beautifully for a consistent crumb. If you are looking for more ways to dress up your bakes, check out these creative cake-toppers that can add even more personality to your creation. Also, don’t be afraid of the coffee! You won’t taste ‘coffee,’ but you will definitely notice that the chocolate tastes much more ‘wow.’
Make It Yours
You can easily put your own spin on this Candle Cake by swapping out a few simple things. If you aren’t a fan of coffee, try using a strong chai tea for a warm, spiced flavor pop that is absolutely delightful. You can also swap the vanilla extract for almond extract if you love that classic wedding cake aroma.
For a different aesthetic, you might want to try a vintage-cake piping style with the candles tucked into the ruffles for a very trendy look. Another fun idea is to add the zest of one orange to the dry ingredients; the combination of chocolate, orange, and candlelight is incredibly sophisticated and perfect for winter holidays.
Simple Serving

When you are ready to serve this masterpiece, I suggest dimming the lights first to let the candles really shine. This creates a wonderful, intimate atmosphere that makes the first slice feel like a true gift. Pair a warm slice of this cake with a scoop of cold vanilla bean ice cream or a dollop of fresh whipped cream to balance the rich chocolate.
This recipe works beautifully for a minimalist-cake setup where the focus is entirely on the quality of the chocolate and the glow of the flames. It is a fantastic choice for anniversaries, birthdays, or even just a cozy Friday night in with friends.
The Sweet Spot
I am so excited for you to try this Candle Cake and see how a few simple candles can transform a classic chocolate recipe into something legendary. It is proof that you don’t need to be a master decorator to create a moment that feels truly special and joyful. Whether you are celebrating a big milestone or just the joy of a homemade treat, this cake is sure to bring a smile to everyone’s face.
If you are planning a bigger event, you might also like my guide on choosing the perfect cake-for-birthday celebrations. Don’t forget to share your beautiful creations with me! You can find more inspiration and share your photos on Pinterest, Instagram, and Facebook. Happy baking!

