Have you ever looked at a cake and felt like your eyes were playing tricks on you? That’s exactly what happened the first time I saw a cartoon cake—it looked like a drawing popped right out of a comic book! I assumed it required advanced fondant skills or professional training, but here is the secret: it is actually just clever piping. The “pop” in this recipe isn’t just a flavor explosion; it is a visual game-changer that turns a standard vanilla cake into a viral sensation.

This recipe uses our trusty vanilla buttermilk layers and classic buttercream as the delicious canvas. The magic happens with the black outlining, which gives it that signature 2D effect. It is surprisingly simple to pull off, and the result is a cake that is as fun to look at as it is to eat. Let’s make something that looks unreal but tastes like home.
Why This Cartoon Cake is a Vibe
- The Visual Pop: This is the ultimate showstopper. By outlining the edges in black, you create an optical illusion that makes the cake look two-dimensional. It is a simple trick with a massive payoff.
- No Fondant Needed: Many novelty cakes rely on fondant, which not everyone loves to eat. This entire design is buttercream and chocolate coating, meaning it tastes as good as it looks.
- Totally Customizable: While we are using pink and green for a bright, electric look, you can use any color palette. It is the perfect creative project for a weekend bake.

Cartoon Cake
- Total Time: 1 hour 20 mins
- Yield: 12 servings
- Diet: Vegetarian
Description
This eye-popping cartoon cake transforms a classic vanilla buttermilk base into a whimsical 2D masterpiece using vibrant buttercream and clever outlining techniques. It is the perfect creative project for bakers looking to create a viral-worthy dessert without the need for fondant.
Ingredients
- Vanilla Buttermilk Cake layers
- Classic Vanilla Buttercream
- Black Gel Food Coloring (Americolor Super Black)
- Electric Green Gel Food Coloring
- Electric Pink Gel Food Coloring
- Pink Candy Coating melts
- Black Candy Coating melts
Instructions
- Melt the candy coatings in the microwave and pipe black heart outlines onto parchment paper, fill the centers with pink coating, and chill in the fridge until hard.
- Stack and fill the cake layers with buttercream, then frost the exterior with green-tinted frosting and smooth using a hot metal bench scraper for a paper-like finish.
- Pipe a scalloped design around the sides with pink frosting and smooth it flat with an offset spatula before chilling again.
- Using a small round piping tip, pipe black buttercream outlines along every edge where colors change, including the top rim, base, and scallops.
- Add buttercream dollops to the top, outline them in black, and insert the chilled candy hearts along with hand-drawn black circles for sprinkles.
Notes
For the cleanest comic book lines, ensure your cake is thoroughly chilled before you begin piping the black buttercream. If the frosting becomes too soft to work with, a quick ten-minute stint in the freezer will firm up the surface for much steadier detailing.
- Prep Time: 45 mins
- Cook Time: 35 mins
- Category: Dessert
- Method: Baking and Piping
- Cuisine: American
The Flavor Stars & Outline Essentials

To get that comic book look with a delicious base, here is what you need. It is all about the contrast!
- Vanilla Buttermilk Cake: This is our sturdy, moist base. The buttermilk adds a slight tang that balances the sweetness of the frosting.
- Classic Vanilla Buttercream: You need a frosting that crusts slightly so you can smooth it out perfectly before piping the lines.
- Black Gel Coloring: This is the non-negotiable “smart addition.” You need a super dark black to create that sharp, ink-like outline. We used Americolor Super Black.
- Candy Coating (Pink & Black): For the gravity-defying hearts on top. Candy coating sets hard and shiny, perfect for those 2D accents.
- Electric Gel Colors: To get that vibrant, cartoonish contrast against the black lines.
How to Make It
Step 1: Create the 2D Hearts
Start by melting your candy coating in small increments in the microwave. Pipe black outlines of hearts onto parchment paper—make them slightly pointed at the bottom so they stick into the cake easily. Let them set for a minute, then fill the centers with melted pink coating. Chill these in the fridge until they are snap-hard; this makes handling them much easier.
Step 2: Frost the Base
After baking and cooling your buttermilk layers, stack and fill them with vanilla buttercream. Frost the outside with your green tinted frosting. Pro tip: Chill the cake for 10 minutes, then glide over it with a hot metal bench scraper. This is how you get that super smooth, flat finish that looks like paper!
Step 3: Add the Detail Layer
Pipe a scalloped design around the sides using pink frosting and a large round tip (like a Tip 12), then smooth it flat with an offset spatula. Chill and smooth again. This layered look adds depth to the “drawing.”
Step 4: The Cartoon Outline
This is where the cartoon cake comes to life. Using a small round piping tip (Tip 3), pipe black buttercream lines along every single edge where the colors change. Outline the top rim, the bottom base, and the scallops. Add little black “movement lines” or “shine marks” to emphasize the 2D effect.
Step 5: Final Touches
Pipe dollops of frosting on top, outline them in black, and insert your chilled candy hearts. Add little black circles and fill them with color for “sprinkles.” Stand back and look at your drawing come to life!
Jasmine’s Tips for a Perfect Pop

- Chill, Chill, Chill: The secret to clean lines is a cold cake. If your hand starts to shake or the buttercream gets soft, pop the cake back in the freezer for 10 minutes. A firm canvas makes piping those black lines so much easier.
- The Blackest Black: Making black buttercream can be tricky. Start with a dark chocolate buttercream base if you can, or use plenty of gel color and let it sit for an hour—the color deepens over time. If you love creative animal themes, check out our simple-aesthetic-dog-cake for more piping fun.
- Fixing Mistakes: Did a line go squiggly? Don’t panic! Since the cake is chilled, you can often flick the mistake off with a toothpick once it hardens slightly, then just re-pipe that section.
Make It Yours
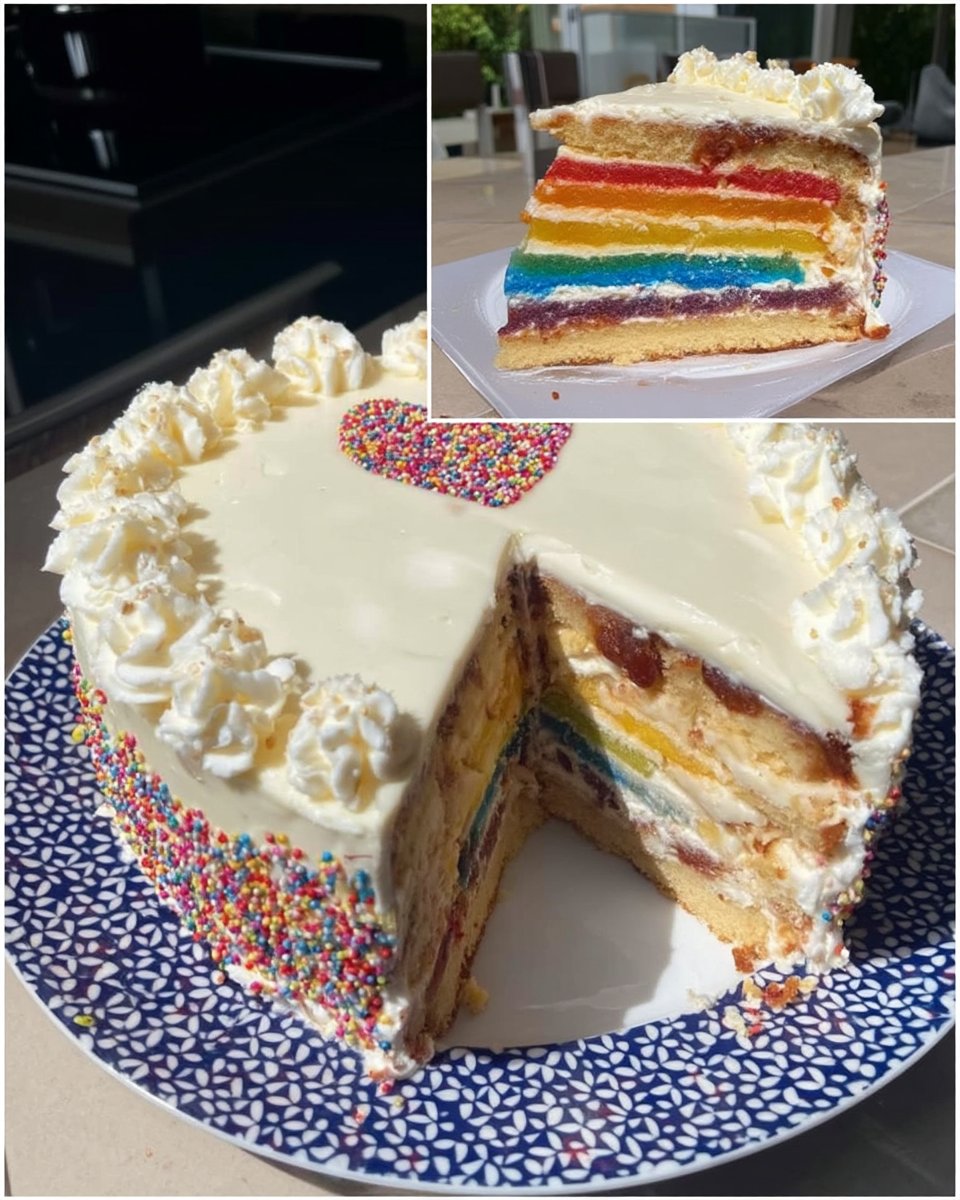
- Flavor Swaps: While we used vanilla, you can easily swap the inside for a rich chocolate or a funfetti sponge. The “cartoon” effect is all in the frosting.
- The Slice Style: Instead of a whole round cake, try the viral “cartoon slice” where you frost individual triangular slices. It looks like a piece of cake from a retro diner animation.
- Vintage Comic: Use muted, pastel colors and intricate piping like our vintage-cake but add the black outlines for a cool mashup of styles.
- Inspiration: There are so many ways to interpret this trend. For even more design ideas, you can look at different cartoon cake styles to find a color palette that screams “you.”
Serving the Comic Book Look

- Plating: To keep the illusion going, serve this on plain white plates so the cake really pops, or go wild with bright, solid-colored napkins that match your frosting.
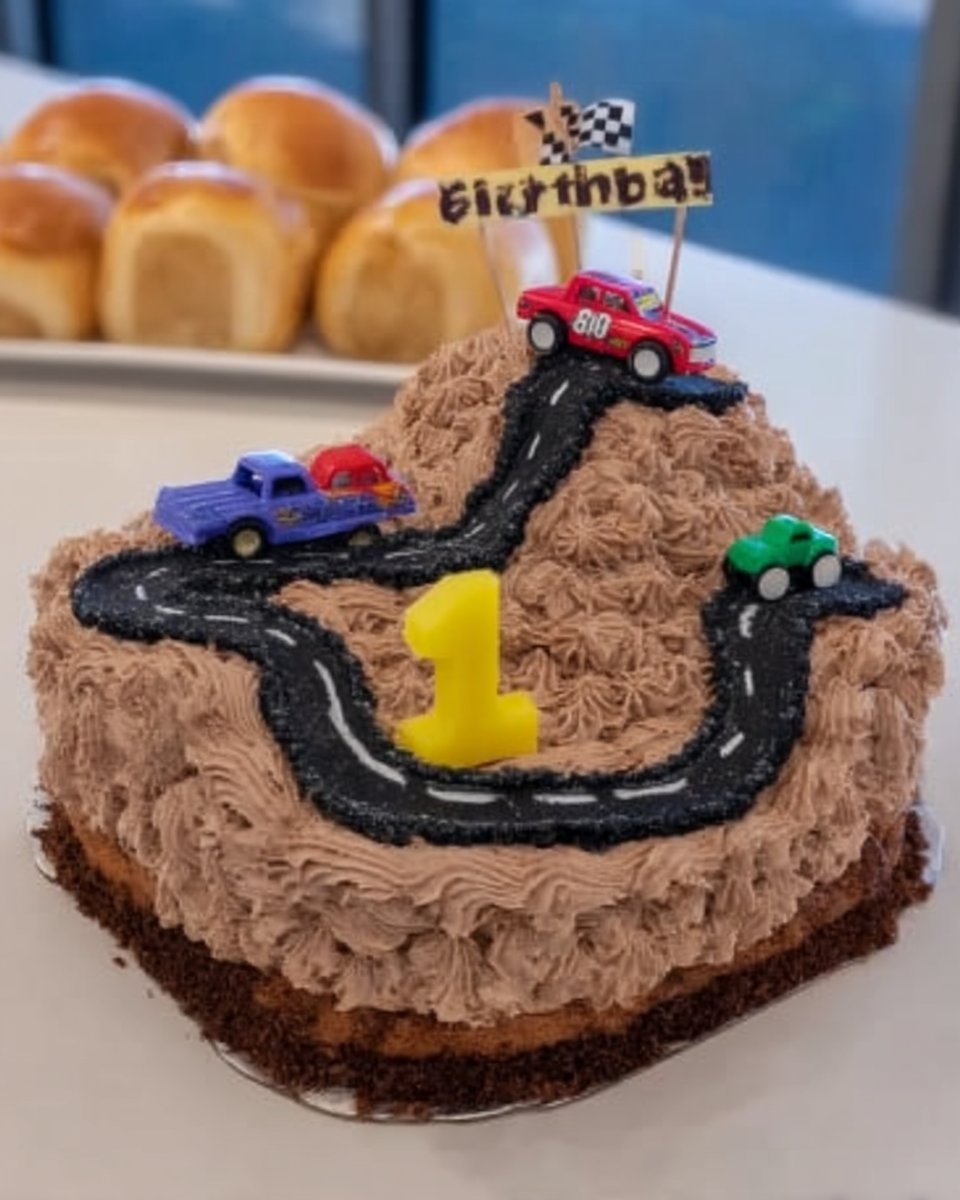
- Theme It Up: This is perfect for a themed party. If you are doing a vehicle theme, pair it with our car-cake for a garage-meets-comic-book spread.
- Beverage Pairing: A tall glass of milk or a brightly colored soda (like orange or grape) fits the fun, nostalgic vibe of this dessert perfectly.
Sweet, Simple, and 2D
There you have it—a cartoon cake that looks like it jumped straight out of a TV screen! It is amazing how one simple addition, like a black buttercream outline, can completely transform a classic recipe into something this exciting. If you are looking for more fun designs for kids (or kids at heart), definitely check out our roblox-cake next.
We would love to see your 2D creations! Did you go with pink, or maybe electric blue? Snap a photo and tag us!
