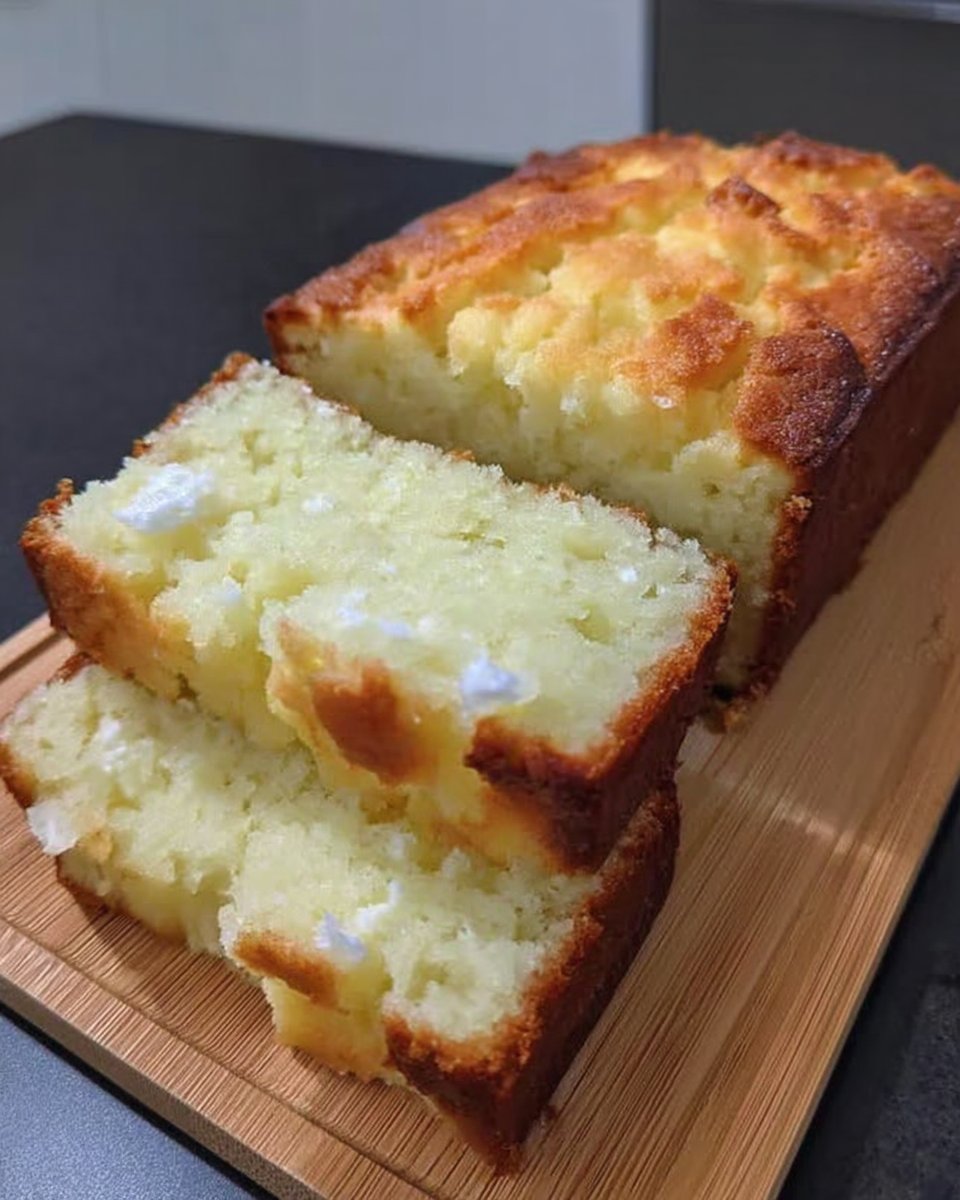
It was one of those gray, rainy Tuesdays when I decided we needed a little sunshine. Not just a glimmer, but a full-blown explosion of color. That’s when this lemon rainbow cake happened—a project that looks intimidating but is actually just a rhythmic joy to bake. It’s the kind of kitchen magic that turns a gloomy afternoon into a party.

This isn’t just about looks, though; the flavor is honest and bright. We’re talking six layers of moist lemon sponge, sandwiched with zesty lemon curd and smooth vanilla buttercream. It is a tall, impressive slice of happiness that tastes exactly as cheerful as it looks.
Why This Recipe is a Keeper
There is something undeniably special about cutting into a plain white cake to reveal a vibrant spectrum inside. It is the ultimate surprise for birthdays or just because you need a smile.
- Sunshine Flavor: The fresh lemon zest in the sponge and the sharp curd filling cut right through the sweetness of the buttercream.
- Easier Than It Looks: Yes, there are six layers, but it is just one simple batter divided up. If you can mix a bowl of batter, you can make this.
- Showstopper Status: You don’t need fancy piping skills. The layers do all the talking here.

Lemon Rainbow Cake
- Total Time: 2 hours 25 mins
- Yield: 12 servings
- Diet: Vegetarian
Description
A showstopping six-layer masterpiece featuring vibrant rainbow sponges infused with fresh lemon zest and layered with tangy lemon curd. Finished with a silky vanilla buttercream, this impressive cake is the ultimate celebratory treat for any occasion.
Ingredients
- 500g baking spread or softened unsalted butter
- 500g caster sugar
- 10 large eggs
- 500g self-raising flour
- Zest of 4 lemons
- 2 tablespoons whole milk
- Gel food coloring (red, orange, yellow, green, blue, purple)
- 500g unsalted butter, softened (for frosting)
- 1kg icing sugar
- 1 tablespoon vanilla extract
- 300g high-quality lemon curd
- Rainbow sprinkles for decoration
Instructions
- Preheat your oven to 160°C Fan (350°F) and grease and line 8-inch cake tins.
- In a very large bowl, cream together the baking spread and caster sugar until pale and fluffy.
- Whisk in the eggs, milk, and lemon zest until the mixture is fully incorporated.
- Gently fold in the self-raising flour until no white streaks remain, being careful not to overmix.
- Weigh the total batter and divide it equally into six bowls, tinting each with a different gel food color (red, orange, yellow, green, blue, purple).
- Pour the batter into the prepared tins and bake for approximately 20 minutes or until a skewer comes out clean.
- Allow the cakes to cool in the tins for a few minutes before transferring to a wire rack to cool completely.
- To make the frosting, beat the softened butter and icing sugar together with the vanilla and a splash of milk until pale and smooth.
- Assemble the cake by placing the purple layer down first, topping with a thin layer of buttercream and a drizzle of lemon curd; repeat with blue, green, yellow, orange, and red layers.
- Apply a thin crumb coat of buttercream to the entire cake and chill for one hour before finishing with a final thick layer of frosting and sprinkles.
Notes
To achieve the cleanest slices, chill the cake thoroughly before cutting and use a warm, sharp knife to glide through the six layers. If you are baking in batches due to limited tins, ensure the tins are completely cool and re-lined before adding the remaining colored batter to prevent the edges from setting too quickly.
- Prep Time: 45 mins
- Cook Time: 40 mins
- Category: Dessert
- Method: Baking
- Cuisine: British
Simple Ingredients for a Big Impact

You don’t need to hunt down strange items for this spectacular bake. It starts with the pantry basics we all know and love.
- Butter & Baking Spread: I use baking spread (like Stork) for the sponges because it makes them incredibly fluffy, but I stick to real unsalted butter for the frosting to get that superior taste and stability.
- Caster Sugar: Fine sugar dissolves quickly for a light crumb.
- Lemons: We need the zest of four lemons for the cake and a good quality lemon curd for the filling. This gives it that “honest flavor” we love.
- Eggs: You’ll need 10 large eggs. I know, it sounds like a lot! But remember, we are making six whole cakes here.
- Self-Raising Flour: Skipping the baking powder measuring makes life just a little easier.
- Gel Food Coloring: This is crucial. Use concentrated gels (like ProGel or Sugarflair) rather than liquid drops to get these vibrant colors without watering down your batter.
How to Make It
Step 1: Prep and Preheat
Start by preheating your oven to 160°C Fan (350°F). Grease and line your 8-inch cake tins. If you don’t have six tins (who does?), just prep the ones you have; we can bake in batches.
Step 2: Mix the Master Batter
In a very large bowl, cream together the butter (or baking spread) and caster sugar until pale and fluffy. Add the eggs, milk, and lemon zest. Whisk until fully incorporated. Finally, fold in the self-raising flour until you can’t see any white streaks. Don’t overmix—keep it light!
Step 3: Create the Rainbow
Weigh your total batter and divide it equally into six bowls. Now for the fun part: dye each bowl a different color of the rainbow (red, orange, yellow, green, blue, purple). Stir gently until the color is uniform.
Step 4: Bake the Layers
Pour the batter into your tins. Bake for about 20 minutes or until a skewer comes out clean. Let them cool in the tins for a few minutes before moving to a wire rack. They must be completely cool before frosting.
Step 5: Whip the Buttercream
Beat the softened unsalted butter and icing sugar together. Once it starts coming together, add the vanilla extract and a splash of milk. Beat on high speed until it is super smooth and pale.
Step 6: Stack and Fill
Place your purple layer on the board first. Spread a thin layer of buttercream, then add a generous drizzle of lemon curd (don’t skip this—it adds the moisture and tang!). Repeat with blue, green, yellow, orange, and finally red on top.
Step 7: The Final Coat
Cover the whole cake in a thin “crumb coat” of buttercream and chill it for an hour. This locks in those colorful crumbs. Finish with a final thick layer of smooth buttercream, pipe some rosettes if you like, and toss on some rainbow sprinkles.
Meagan’s Tips for Success

Making a six-layer cake can feel like a project, but these tricks keep it stress-free.
- Weigh Your Bowls: To get those perfect, even layers, use a digital scale when dividing your batter. It makes the slice look professional.
- Gel vs. Liquid: I can’t stress this enough—liquid food coloring won’t give you these deep colors and might make the sponge greasy. Gel pastes are the secret weapon.
- Batch Baking: If you only have three tins, bake three layers, wash the tins, and then bake the next three. The batter is sturdy enough to sit for a bit.
- Room Temp: Make sure your butter and eggs are at room temperature. It helps everything emulsify into a smooth batter without curdling.
For more reliable tips on mastering the basics, check out our Classic Favorites section.
Make It Yours
While the rainbow is classic, you can easily tweak this recipe to fit your theme.
- Ombre Effect: Instead of a rainbow, divide the batter and use varying amounts of the same color (like pink) for a beautiful gradient effect.
- Flavor Swaps: Not a lemon fan? Swap the lemon zest for vanilla bean paste and use raspberry jam instead of lemon curd for the filling.
- Pinata Cake: Cut a circle out of the center of the middle four layers and fill the hole with sweets before adding the top layer. It’s a fun surprise!
If you love fresh, fruity twists, browse our Fruit & Garden recipes for more inspiration.
Simple Serving Ideas

Since this cake is quite tall, you’ll want to cut thin slices. It is rich and satisfying, so a little goes a long way!
- The Perfect Cut: Use a sharp knife dipped in hot water to get clean cuts through all those layers.
- Pairings: This cake loves a simple glass of cold milk or a hot cup of tea. The creamy drink balances the zesty lemon beautifully.
This cake is a natural centerpiece. For more ideas on feeding a crowd, take a look at our Party Cakes & Events category.
The Sweet Spot
There is a real sense of accomplishment when you step back and look at this finished cake. It is big, bold, and unapologetically happy. Whether it is for a birthday or just to brighten a dull week, I hope you love making it as much as I do.
If you need something a bit quicker next time, try our Cute & Quick Bakes for faster treats. And don’t forget to snap a picture of that first slice!
*This recipe was adapted from The Baking Explorer.*
Connect with me and share your bakes on Pinterest and Instagram!
