You know those desserts that look like they took all day but actually just require a little patience? This is one of them. I used to be terrified of baked cheesecakes—the water baths, the cracking, the stress!—but this recipe changed everything for me. It’s rich, creamy, and honestly, the hardest part is just waiting for it to chill in the fridge.

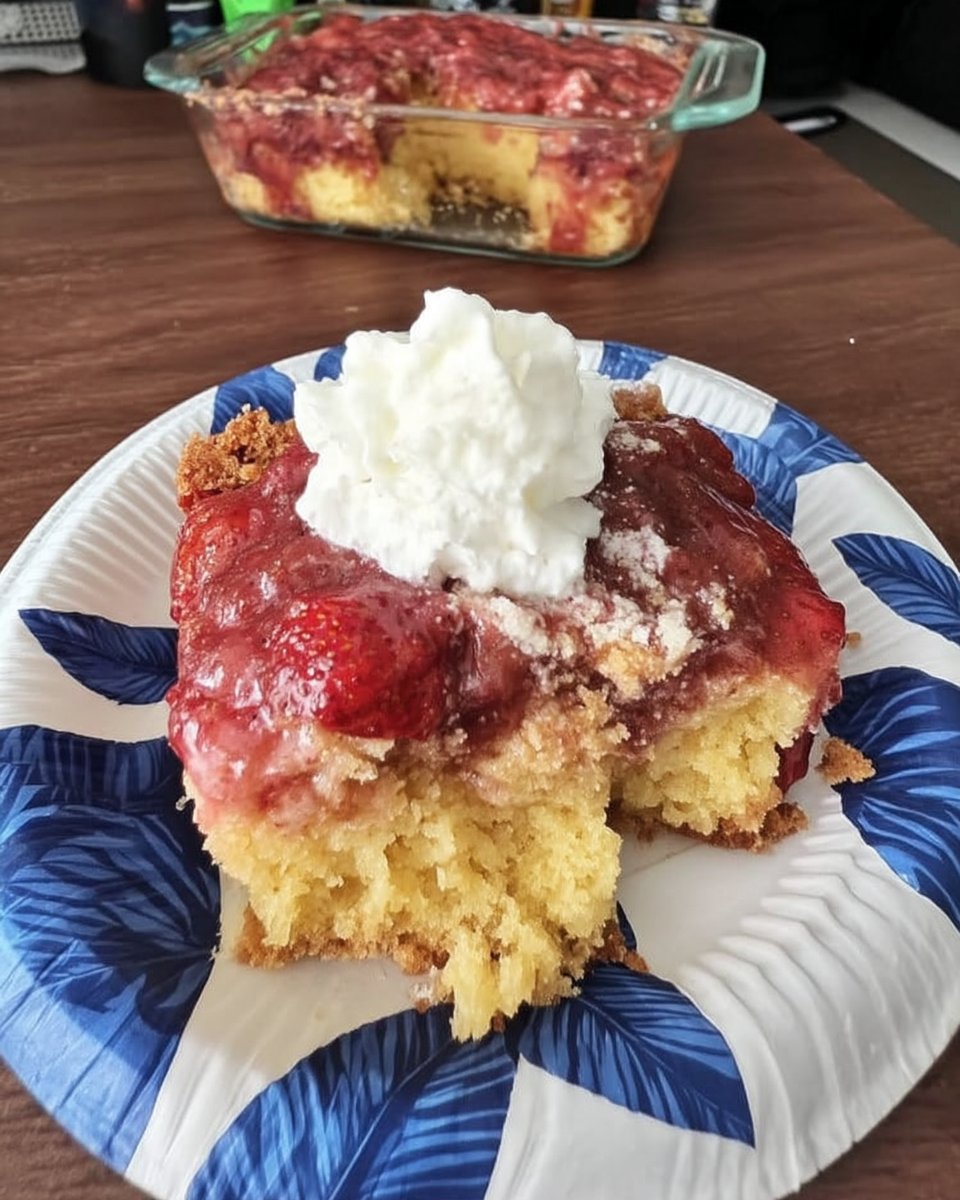
This strawberry cheesecake features a buttery biscuit base, a dense and velvety filling, and a glossy homemade strawberry topping that tastes like pure summer. It’s the kind of reliable recipe I pull out for birthdays or when I just need a win in the kitchen. No water bath needed, just a gentle bake and a slow cool.
Why This Recipe is a Keeper
No Water Bath Required: We bake this low and slow, then let it cool in the oven. It’s the low-stress way to get that perfect, crack-free top without fussing with boiling water.
Velvety Texture: Unlike fluffy Japanese cheesecakes or airy no-bake versions, this one is luxuriously dense and smooth. It melts in your mouth with every bite.
Fresh Strawberry Flavor: The topping isn’t that gloopy canned stuff. It’s made with fresh berries and a touch of lemon for a bright, tart contrast to the rich filling.
Print
Strawberry Cheesecake
- Total Time: 5 hours 15 mins
- Yield: 12 servings
- Diet: Vegetarian
Description
Indulge in a luxuriously dense and velvety strawberry cheesecake that skips the stress of a water bath for a perfectly smooth finish. Topped with a vibrant, homemade fresh strawberry glaze, this reliable dessert is the ultimate centerpiece for any celebration or summer gathering.
Ingredients
- 250g plain sweet biscuits (Graham Crackers or Digestives)
- 125g unsalted butter, melted
- 750g full-fat block cream cheese, softened
- 1 cup caster sugar
- 2 tablespoons all-purpose flour
- 1 teaspoon vanilla extract
- 1/2 cup full-fat sour cream
- 1 teaspoon lemon zest
- 3 large eggs, room temperature
- 250g fresh strawberries, diced (for sauce)
- 250g fresh strawberries, halved (for topping)
- 1 tablespoon lemon juice
- 2 tablespoons sugar (for topping)
- 1 teaspoon cornstarch mixed with 1 teaspoon water
Instructions
- Preheat oven to 160°C (320°F) and grease a springform pan, lining the base and sides with parchment paper.
- Process biscuits into fine crumbs, combine with melted butter, and press firmly into the bottom and up the sides of the pan.
- In a large bowl, beat the softened cream cheese until smooth, then stir in the flour, vanilla, sour cream, sugar, and lemon zest.
- Incorporate the eggs one at a time, mixing on low speed until just combined to avoid adding excess air bubbles.
- Pour the batter into the crust and bake for 55 minutes until the edges are set but the center still has a slight jiggle.
- Turn off the oven and let the cheesecake cool completely inside with the door propped open slightly to prevent cracking.
- For the topping, simmer diced strawberries, extra sugar, and lemon juice until broken down; stir in the cornstarch slurry and fresh strawberry halves.
- Once the topping has cooled and the cheesecake has chilled for at least 4 hours, spoon the strawberry sauce over the top before serving.
Notes
For the cleanest slices, use a sharp knife dipped in hot water and wiped dry between every single cut. Ensure your cream cheese is completely softened to room temperature before starting to prevent a lumpy texture without the need for over-beating the batter.
- Prep Time: 20 mins
- Cook Time: 55 mins
- Category: Dessert
- Method: Baking
- Cuisine: American
Simple Ingredients

Cream Cheese: You need full-fat block cream cheese here, not the spreadable tub kind. Soften it to room temperature so it blends without lumps.
Biscuits/Crackers: Whether you use Graham Crackers (US) or Arnott’s Marie/Digestives (Aus/UK), you just need a plain sweet biscuit for that sandy, buttery base.
Sour Cream: This adds that classic cheesecake tang and helps soften the texture slightly. Full fat is best for the richest flavor.
Strawberries: Fresh is best! We use half diced for the sauce base and half halved for texture.
Lemon Zest & Juice: The zest lifts the creamy filling, while the juice brightens the strawberry topping.
The Simple Process
Step 1: Prep the Pan
Preheat your oven to 160°C (320°F). Here’s a little trick: flip the base of your springform pan upside down. This removes the ridge, making it easier to slide the cake off later. Grease it, line with parchment paper, and clip it in.
Step 2: Make the Crust
Blitz your biscuits into fine crumbs using a food processor (or a rolling pin and a bag). Mix in the melted butter until it looks like wet sand. Pour this into your pan and press it firmly into the bottom and up the sides—I use a flat measuring cup to pack it tight.
Step 3: Mix the Filling
Beat the softened cream cheese just until smooth (about 20 seconds). Don’t overmix! We don’t want air bubbles. Stir in the flour, then the vanilla, sour cream, sugar, and lemon zest. Finally, beat in the eggs one at a time until just combined.
Step 4: Bake and Cool
Pour the filling into the crust and bake for 55 minutes. The center should still have a slight jiggle when you shake the pan gently. Turn the oven off, prop the door open slightly, and let the cake cool completely inside. This slow cooling prevents cracks.
Step 5: The Strawberry Topping
Simmer chopped strawberries with sugar, vanilla, and lemon juice until they break down. Thicken with a cornstarch slurry, then add the fresh strawberry halves. Let it cool until syrupy, then spoon over the chilled cheesecake.
Meagan’s Tips for Success

Room Temperature is Key: Make sure your cream cheese, sour cream, and eggs are at room temperature before you start. Cold ingredients lead to lumpy batter and overbeating to compensate.
Don’t Overmix: I can’t stress this enough! Once you add the eggs, mix on low speed just until they disappear. Too much air causes the cheesecake to rise and then collapse, which creates cracks.
The Cooling Trick: Leaving the cake in the turned-off oven allows it to contract slowly. It’s the secret to a flat, smooth surface. This technique is a lifesaver and works much better than a water bath for this density.
Flavor Twist: If you love citrus notes but want to skip the fruit topping, try our lemon cheesecake for a zesty alternative.
Make It Yours
Cookie Crust: Swap the plain biscuits for Oreos (remove the filling or keep it for extra sweetness) for a cookies-and-cream vibe.
Berry Swap: This topping works beautifully with raspberries or blueberries too. You can adjust the sugar slightly depending on the tartness of the fruit.
Tres Leches Style: If you are craving even more creamy, dairy-rich texture, check out our strawberry tres leches cake for a different take on these flavors.
How to Serve

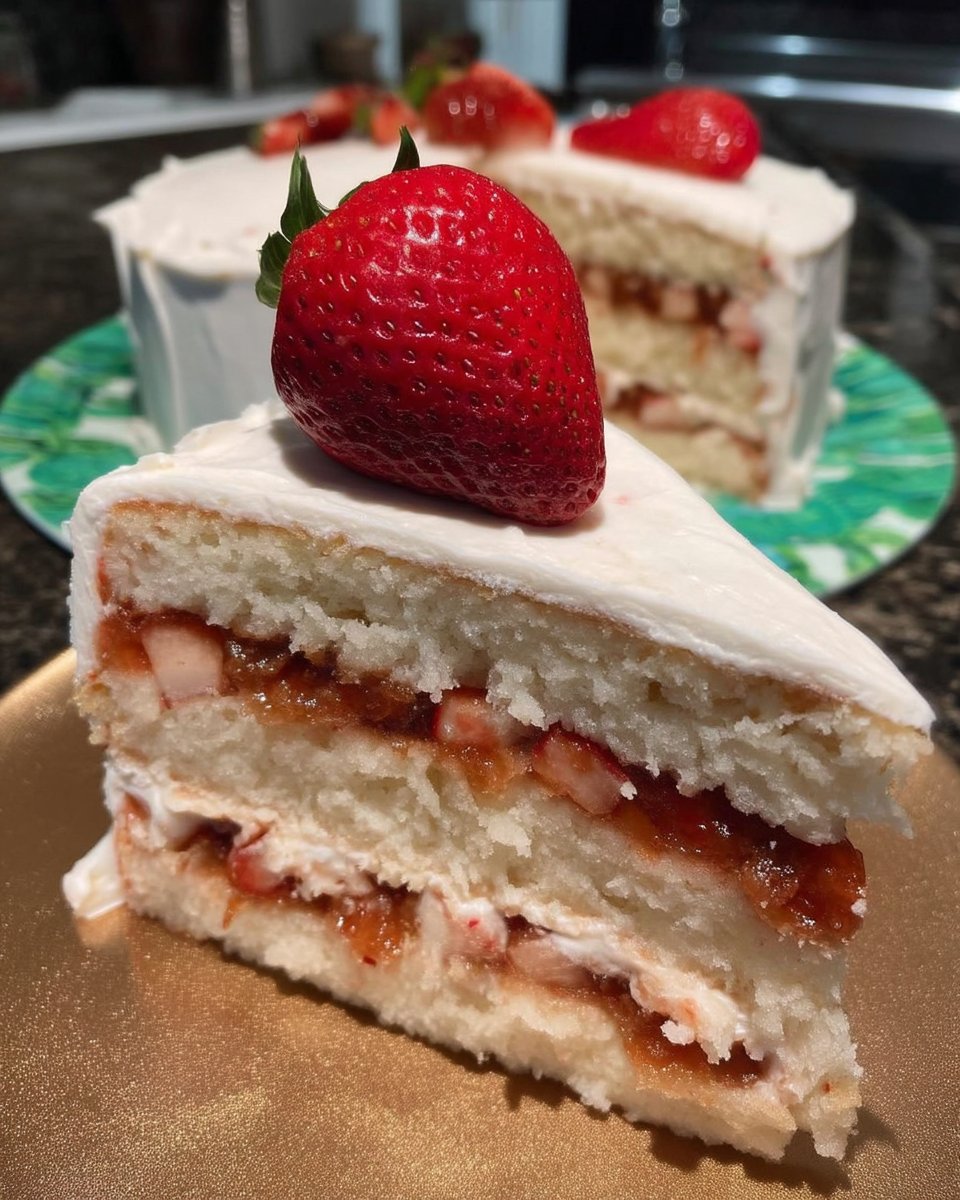
This cake needs to chill for at least 4 hours, but overnight is best to let the flavors meld and the texture set. Serve it straight from the fridge for clean slices.
It pairs perfectly with a hot cup of coffee or tea to cut the richness. Use a sharp knife dipped in hot water to get those professional-looking cuts.
For a fun, portable version of this flavor profile, you might enjoy these cheesecake push pop cakes at your next party.
The Sweet Spot
I hope this recipe proves that you don’t need a water bath or a culinary degree to make a stunning cheesecake. It’s all about gentle mixing and patience. This method is a favorite of mine, inspired by the foolproof techniques found at RecipeTin Eats.
If you have leftover strawberries, they are perfect for our strawberry rhubarb cake later in the week.
Don’t forget to share your bakes with me on Instagram and Pinterest!

