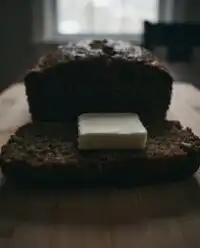
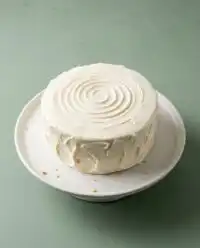
There is a warm, steaming mug sitting on my counter right now, its soft vanilla crumb already disappearing spoonful by spoonful before the kettle has even finished boiling.

We have all had those quiet evenings when a sudden craving strikes, but the thought of washing three mixing bowls and waiting for a cold oven to preheat feels impossible. That is exactly why this quick and cozy 1-Minute Vanilla Mug Cake is about to become your go-to late-night companion. It requires no heavy equipment, no hard-to-find ingredients, and no advanced culinary skills to pull together on a rainy Tuesday. Within five minutes from start to finish, you will be holding a warm, fluffy treat that tastes like it came from a nostalgic neighborhood bakery.
Why This 1-Minute Vanilla Mug Cake Works for Busy Weeks
Prep: 3 min · Serves: 1 · Difficulty: Easy
- Ready in under five minutes flat.
- Uses basic pantry ingredients you already own.
- Requires only one mug and one fork.
- Free from eggs for a softer texture.
- Sized for a single serving of dessert.
This quick little treat will save your weeknights when you need a warm dessert without the mountain of dirty dishes. You can easily expand your repertoire of cute quick bakes by mastering this quick microwaving technique tonight.
Get The Full Cake Recipe
Print
1-Minute Vanilla Mug Cake
- Total Time: 5 mins
- Yield: 1 serving
- Diet: Vegetarian
Description
Enjoy a soft, fluffy vanilla cake in under five minutes with this effortless single-serving recipe. It is the perfect late-night treat that requires no specialty equipment and minimal cleanup.
Ingredients
- 4 tablespoons all-purpose flour
- 2 tablespoons granulated sugar
- 1/4 teaspoon baking powder
- 1 pinch salt
- 3 tablespoons whole milk
- 1 tablespoon melted butter
- 1/4 teaspoon vanilla extract
- 1 teaspoon rainbow sprinkles
Instructions
- Whisk dry ingredients. Combine flour, sugar, baking powder, and salt in a microwave-safe mug and stir until uniform.
- Add liquid ingredients. Pour in the melted butter, milk, and vanilla extract, stirring well to ensure no dry flour remains at the bottom.
- Mix until smooth. Stir the batter for thirty seconds until glossy and free of large lumps.
- Fold in sprinkles. Gently stir in the rainbow sprinkles until evenly distributed.
- Microwave the cake. Cook on high for 70 to 90 seconds until the cake has risen and the center is set.
- Rest and cool. Let the mug sit for one minute inside the microwave before removing it to allow the texture to stabilize.
Notes
- Use a microwave-safe ceramic mug with straight sides to ensure even cooking throughout the batter.
- Adjust your microwave power to 80% if it is a high-wattage model to prevent the edges from becoming rubbery.
- Avoid over-mixing the batter, as this develops gluten and can result in a tougher, chewy texture rather than a tender crumb.
- Wait for the full resting time to allow the residual heat to finish cooking the center of the cake perfectly.
- Prep Time: 3 mins
- Cook Time: 2 mins
- Category: Dessert
- Method: Microwave
- Cuisine: American
Pantry Lineup
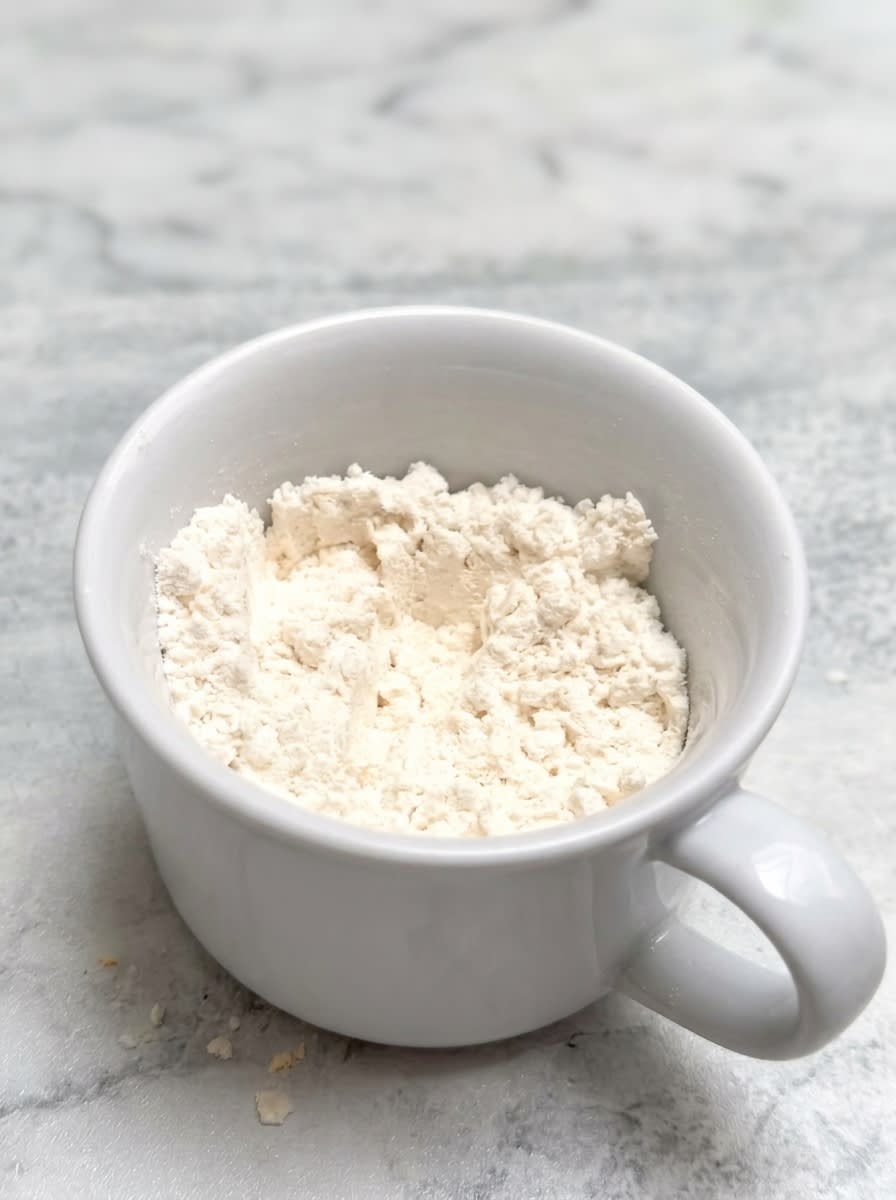
Baking does not have to mean a trip to the supermarket for obscure ingredients that will sit in your cupboard for years. This single-serving recipe relies on the most basic components already tucked inside your kitchen drawers and refrigerator doors. By using small, precise measurements of these daily essentials, you can recreate the magic of a fresh bakery cake in seconds.
- All-Purpose Flour: This provides the structural foundation of your sponge, keeping it tender yet holding its shape under microwave heat.
- Granulated Sugar: Beyond adding sweet flavor, sugar keeps the crumb incredibly soft by preventing the gluten strands from binding too tightly.
- Baking Powder: The main leavening agent that forces the batter to rise rapidly in the microwave, creating those lovely air pockets.
- Melted Butter: Butter coats the flour particles, providing a rich, melt-in-your-mouth fat source that keeps the cake moist.
- Whole Milk: Milk provides the necessary hydration to activate the baking powder while adding subtle richness to the batter.
- Vanilla Extract: A generous splash of high-quality vanilla infuses the warm crumb with a deep, comforting aromatic flavor.
- Rainbow Sprinkles: These sweet little additions bring a splash of color and a nostalgic birthday cake feel to every single bite.
| Ingredient | Why It Matters |
|---|---|
| All-Purpose Flour | Builds the tender structural crumb of the cake. |
| Granulated Sugar | Adds sweetness and softens the overall texture. |
| Melted Butter | Keeps the sponge rich, moist, and flavorful. |
| Whole Milk | Activates the leavening agent and adds hydration. |
| Vanilla Extract | Infuses the dessert with a warm, classic aroma. |
Step-by-Step (Promise It’s Quick)
Step 1: Whisk the Dry Ingredients
Grab your favorite microwave-safe ceramic mug and add the flour, sugar, baking powder, and a tiny pinch of salt directly into the bottom. Use a small fork or a miniature whisk to stir these dry elements together until they are fully combined and look like a uniform, fine powder. Make sure you break up any tiny clumps of flour or sugar so that the leavening agent is evenly distributed throughout the mixture.
Step 2: Stream in the Liquid Ingredients
Pour the melted butter, whole milk, and vanilla extract directly into the center of your dry mixture. As you pour, you will notice the sweet aroma of vanilla immediately blooming as it hits the warm melted butter. Use your fork to stir everything together, making sure to scrape the deep bottom corners of the mug where dry flour often likes to hide.
Step 3: Mix Until Smooth and Glossy
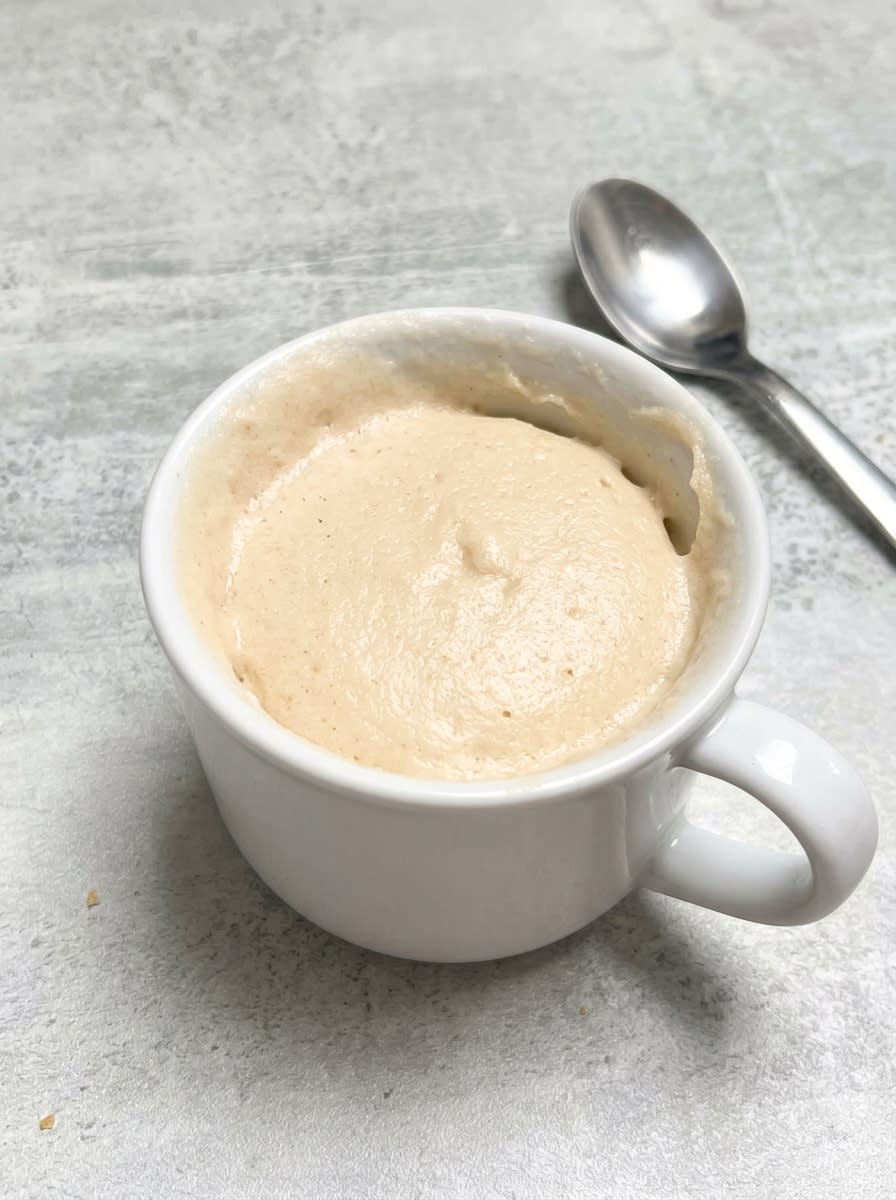
Stir the batter thoroughly for about thirty seconds until it transforms into a smooth, glossy, and slightly thick consistency. It should look like traditional cake batter, dripping slowly from your fork when lifted. If you see any stubborn lumps remaining, gently press them against the inner side of the mug with your fork until the mixture is completely uniform.
Step 4: Fold in the Rainbow Sprinkles
Scatter the rainbow sprinkles over the top of your smooth batter and gently fold them in with a couple of quick, light strokes. You want to distribute them evenly without over-mixing, which can cause the colors to bleed and turn the batter a muddy gray hue. The colorful spots should look like bright, distinct jewels suspended in the creamy vanilla base.
Step 5: Cook Your 1-Minute Vanilla Mug Cake to Fluffy Softness
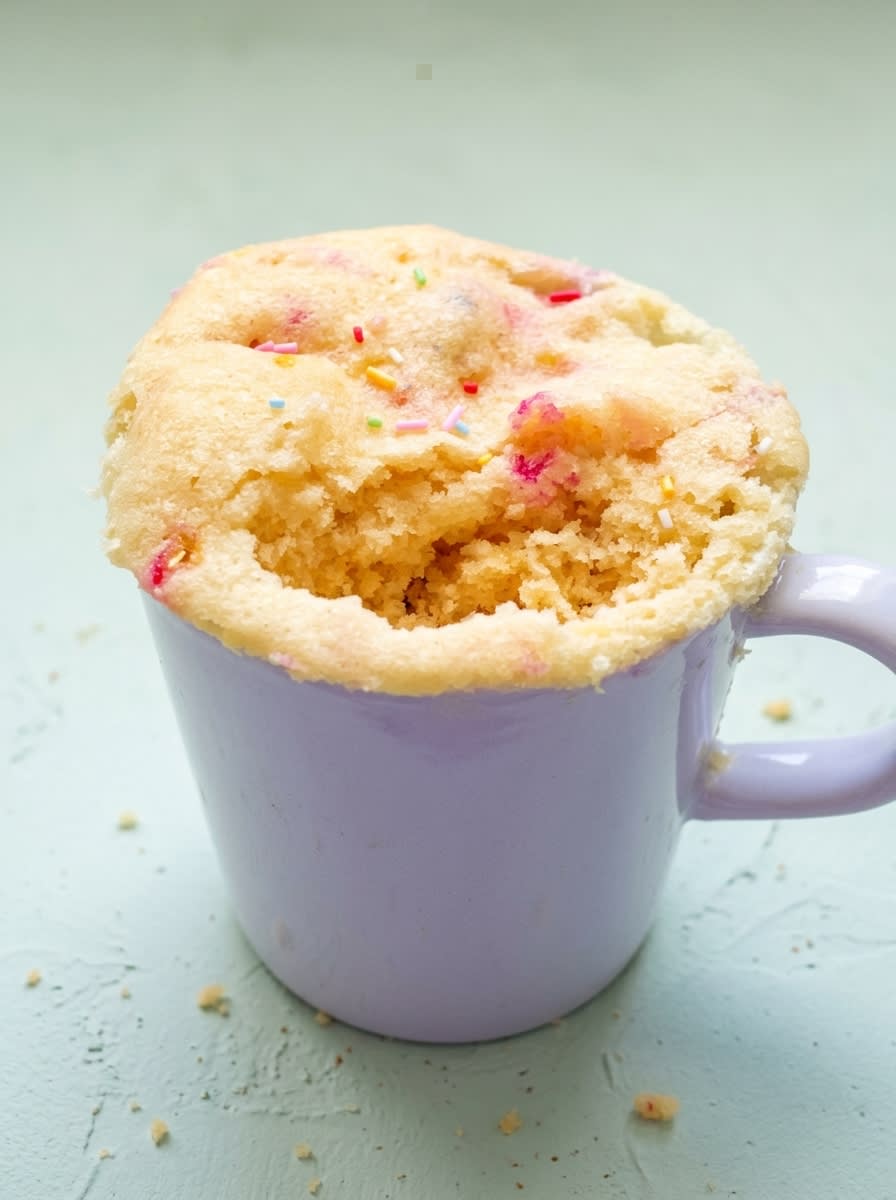
Place your mug in the center of the microwave and cook on high power for seventy to ninety seconds. Watch the cake closely through the glass door; you will see it puff up beautifully, climbing nearly to the rim of the mug in a dramatic rise. Stop the microwave when the center of the cake looks set and barely shiny, which indicates it is cooked through but still incredibly tender inside.
Step 6: Let It Rest and Cool
Allow the hot mug to sit undisturbed inside the microwave for one full minute before you attempt to touch it. During this critical resting phase, the steam settles and the cake finishes cooking from the residual heat, guaranteeing a soft and stable texture. When you finally retrieve the mug, it should feel pleasantly warm to the touch and smell like a freshly baked vanilla sponge cake.
Easy-Baker Notes
Paying attention to the wattage of your microwave is the most crucial factor in avoiding an overcooked dessert. Most standard kitchen microwaves operate anywhere between 900 and 1200 watts, which can drastically alter how fast your batter cooks. If you know your microwave is exceptionally powerful, try reducing the power level to eighty percent to make sure the cake cooks evenly from the edges to the center without drying out.
Measuring your flour with a kitchen scale rather than a traditional measuring cup prevents your cake from turning into a dry, dense brick. It is easy to accidentally pack too much flour into a standard cup, which throws off the delicate ratio of dry to wet ingredients in a single-serving bake. For the softest result, spoon the flour lightly into your measuring cup and level it off with the flat back of a butter knife.
If your mug cake is rubbery or chewy, it is highly likely that the batter was over-mixed or cooked for a few seconds too long. Over-mixing develops excess gluten in the flour, while over-cooking dries out the moisture and leaves you with a tough, spongy texture. To prevent this issue, mix your batter only until the dry flour disappears, and err on the side of under-cooking slightly since the cake continues to bake as it rests.
Selecting the right mug can make a massive difference in how evenly the microwave heat circulates through your batter. A standard eight-ounce to twelve-ounce ceramic mug with straight, vertical sides is the ideal vessel for this quick recipe. Avoid using narrow, tall travel mugs or uniquely shaped bowls, as they can cause the bottom of the cake to remain soggy while the top becomes overcooked.
Using room temperature milk rather than ice-cold milk from the refrigerator helps the melted butter stay smooth and liquid during mixing. When cold milk hits warm melted butter, it can cause the butter to instantly solidify into tiny cold clumps, resulting in an uneven distribution of fat throughout the sponge. If you are looking for more quick inspiration, check out our whimsical lemon mug cake story for another bright single-serving option.
Experimenting with different microwave containers can help you adapt this recipe to whatever kitchen gear you have on hand. For those interested in the science of quick bakes, reading up on these quick microwave baking methods can provide deep insights into how heat waves interact with cake batter. Always remember that ceramic and glass are the safest, most reliable materials for consistent heat distribution in microwave cooking.
Frequently Asked Questions
Can you make a mug cake without eggs?
Yes, you can certainly make a wonderful mug cake without using any eggs at all. In fact, leaving the egg out is the secret to keeping a single-serving microwave cake light and fluffy rather than dense and spongy. Since a standard egg is too large for a single mug, adding a whole egg often results in an unpleasant, rubbery texture and a strong sulfur taste.
Why is my mug cake rubbery or chewy?
A rubbery texture is usually caused by over-mixing the batter or over-cooking the cake in the microwave. Over-mixing activates too much gluten in the flour, which creates a tough, bread-like structure when heated rapidly. Additionally, because microwaves cook by heating water molecules, leaving the cake in too long will dry out all the moisture and leave the sponge tough and chewy.
Can I use oil instead of butter in a mug cake?
You can easily substitute neutral cooking oil for the melted butter in this recipe with excellent results. Oils like canola, vegetable, or melted coconut oil will keep the cake incredibly moist and tender, though you will miss out on the rich, toasted flavor that butter naturally provides. If you decide to use coconut oil, make sure your milk is slightly warm so the oil does not solidify when mixed.
Why did my mug cake overflow in the microwave?
An overflowing mug cake usually happens when the mug you selected is too small for the amount of batter, or if too much baking powder was added. As the baking powder heats up, it releases gas bubbles that cause the batter to rise rapidly. Always check that your raw batter only fills your ceramic mug halfway, which leaves plenty of empty space for the cake to climb safely as it bakes.
Can I use self-raising flour instead of all-purpose flour?
Yes, self-raising flour can be used as a direct swap for all-purpose flour in this recipe if you are out of options. However, because self-raising flour already contains leavening agents and salt, you must omit the baking powder and the pinch of salt from the recipe. This prevents the cake from over-expanding and collapsing back down into a dense, gummy mess.
Why does my mug cake taste dense and tough?
A dense and tough cake is often the result of using too much flour or forgetting to add the baking powder entirely. When measuring flour, always use a light hand or a digital kitchen scale to avoid packing too much dry powder into your measuring cup. Without the proper balance of moisture and leavening, the heat from the microwave will cook the batter into a hard, solid mass instead of a delicate sponge.
Simple Swaps
For a rich, decadent alternative, you can easily transform this recipe into a chocolate lover’s dream with a spoonful of cocoa powder. Swap out one tablespoon of the all-purpose flour for an equal amount of unsweetened cocoa powder, and toss in a handful of semi-sweet chocolate chips before cooking. If you want to see this process in action, take a peek at our creative chocolate mug cake story for a step-by-step visual guide.
Swapping the dairy milk and butter for plant-based alternatives is an easy way to accommodate dietary preferences without sacrificing flavor. You can use an equal amount of unsweetened almond milk or oat milk, and replace the melted butter with neutral coconut oil or avocado oil. This swap keeps the crumb wonderfully soft and light, allowing everyone to enjoy a warm treat at the end of the day.
Injecting a fruity twist into the vanilla batter is as easy as folding in a tablespoon of fresh fruit or a swirl of high-quality jam. Try dropping a few fresh blueberries or raspberries into the center of the mug right before it goes into the microwave, creating a warm fruit pocket that bursts with flavor. Alternatively, a teaspoon of creamy peanut butter or hazelnut spread dropped into the center of the batter will create a gooey, molten core that is delightful to discover.
Easy Serving Ideas
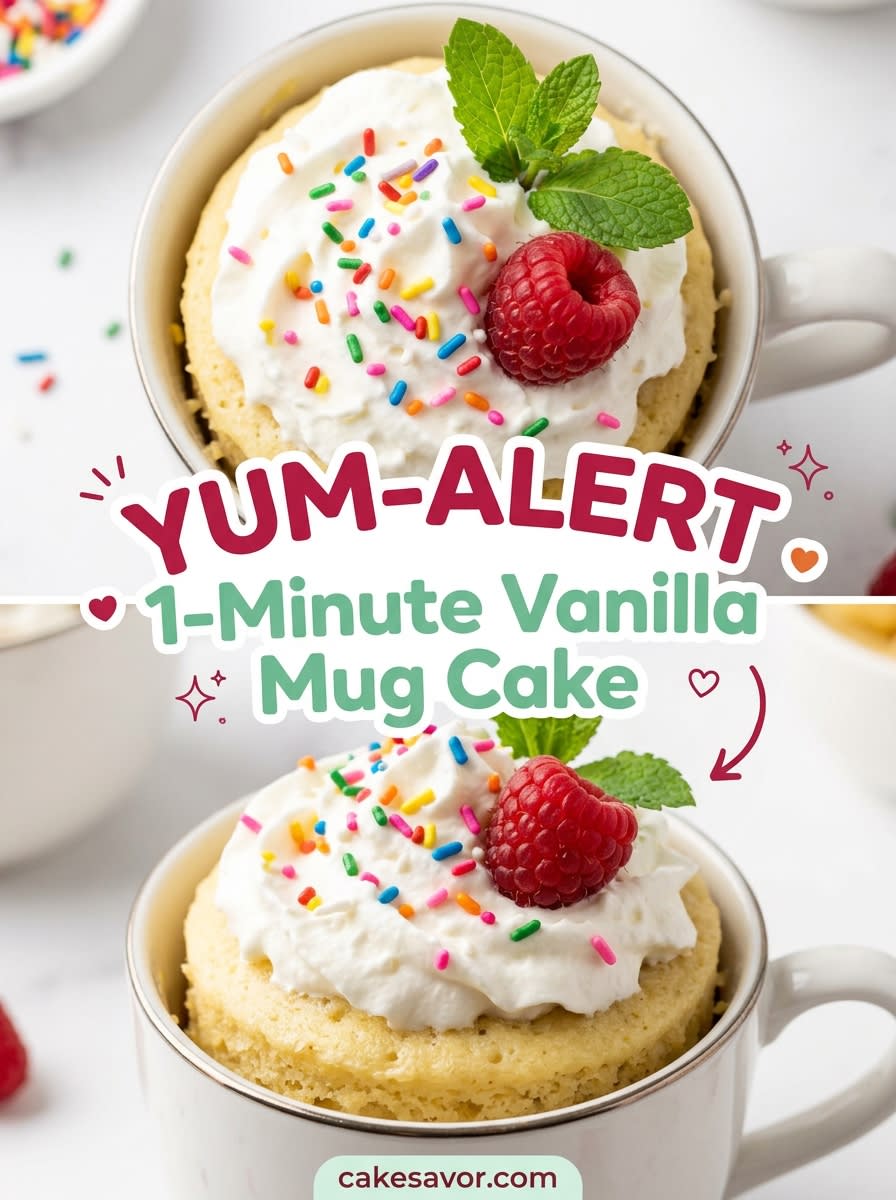
While this sweet little cake is delightful to eat straight out of the mug with a spoon, you can easily turn it into a decadent dessert experience with a few simple toppings. A generous dollop of freshly whipped cream or a small scoop of slow-melting vanilla bean ice cream will create a beautiful contrast of temperatures against the warm cake. If you are in the mood for a different flavor profile for your next quick dessert night, you can easily whip up our rich chocolate mug cake as a companion treat.
Toppings like warm chocolate sauce, a spoonful of salted caramel, or a handful of fresh berries can transform this simple mug cake into something truly special. Serving it alongside a hot cup of tea or a fresh brew of coffee makes for a cozy weekend morning ritual in your favorite pajamas. No matter how you choose to dress it up, this quick dessert is all about finding comfort in the simplest kitchen moments without any fuss.
Bake It Soon
Baking does not have to be a complicated, day-long affair that leaves your kitchen looking like a flour storm hit it. This tiny vanilla cake is proof that you can satisfy your sweet cravings in minutes using only a few basic ingredients and a single mug. If you find yourself wanting to scale up this comforting flavor profile for a larger gathering, you can transition to our full-sized vanilla cake recipe for your next weekend celebration.
We would love to see how your quick creations turn out, so please share your beautiful mug cake photos with us on our social channels. You can join our growing baking community and find daily inspiration on Pinterest, Facebook, TikTok, and Telegram. Grab your favorite mug, head to the pantry, and treat yourself to a warm, fluffy dessert tonight.