It is 9 p.m. on a Tuesday and you realize that promised bake sale is tomorrow morning, but this cake makes that stress disappear instantly.

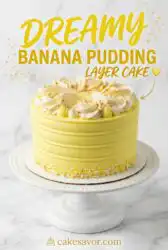
This Banana Pudding Layer Cake transforms the classic Southern comfort of a spoonable pudding into a tall, majestic dessert that fits perfectly on any celebration table. Baking that fits your life means you can create something that looks like it came from a high-end bakery without the stress of complicated techniques. Every bite is a soft, fragrant combination of ripened fruit and creamy vanilla that reminds me of family gatherings and slow weekend mornings.
Why This Banana Pudding Layer Cake Works for Busy Weeks
Prep: 30 min · Serves: 24 · Difficulty: Medium
- One bowl mixing makes cleanup a breeze.
- Standard pantry staples create deep, honest flavors.
- Sturdy layers hold creamy filling with ease.
- Basic tools replace the need for expensive gear.
- Prep the components ahead to save time.
This recipe is a keeper because it takes the stress out of building a tall cake. If you enjoy the flavors here, you might also want to try this banana pudding poke cake for another version of this classic pairing.
Simple can be spectacular.
Get The Full Cake Recipe
Print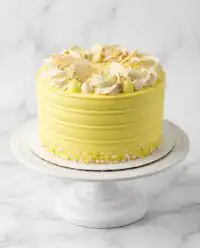
Banana Pudding Layer Cake
- Total Time: 3 hours
- Yield: 24 servings
Description
This decadent Banana Pudding Layer Cake combines moist banana-infused sponge with a rich, creamy vanilla pudding filling and crunchy wafer accents. It is a simplified take on the classic Southern dessert that delivers bakery-quality results for any occasion.
Ingredients
- Sweetened condensed milk
- Cold water
- Instant vanilla pudding mix
- Ripe bananas, mashed
- Lemon juice
- All-purpose flour
- Baking powder
- Baking soda
- Fine salt
- Unsalted butter, softened
- Granulated sugar
- Light brown sugar
- Eggs
- Sour cream
- Vegetable oil
- Vanilla extract
- Powdered sugar
- Heavy whipping cream
- Vanilla wafers
Instructions
- Prepare pudding base. Whisk sweetened condensed milk and water; gradually add pudding mix and whisk until smooth. Cover and refrigerate for at least two hours to set.
- Prep fruit and pans. Preheat oven to 350°F and grease three cake pans. Mash bananas with a fork and stir in lemon juice to prevent browning.
- Mix dry ingredients. Whisk flour, baking powder, baking soda, and salt in a bowl to ensure even leavening.
- Cream butter mixture. Beat softened butter with both sugars until pale and fluffy, then add eggs one at a time until fully incorporated.
- Combine and bake. Alternate adding dry and wet ingredients to the butter mixture, fold in mashed bananas and sour cream, then divide batter into pans and bake for 27 minutes.
- Whip the frosting. Beat butter until smooth, gradually add powdered sugar, salt, vanilla, and heavy cream, whipping until light and fluffy.
- Assemble the cake. Pipe a buttercream dam on the first cake layer, fill with pudding, sliced bananas, and crushed wafers, then top with remaining layers and chill to set.
Notes
- Use room temperature eggs and dairy for the smoothest batter emulsion.
- Spoon and level your flour rather than scooping to avoid a dense, dry cake.
- Chill the assembled cake briefly to firm up the layers before applying the final frosting.
- Tap your cake pans on the counter before baking to release air bubbles for an even crumb.
- Wipe your knife with hot water between slices for clean, professional-looking cake cuts.
- Prep Time: 30 mins
- Cook Time: 30 mins
- Category: Dessert
- Method: Baking
- Cuisine: Southern
Simple Ingredients
Creating a towering dessert starts with basic items you likely already have in your kitchen. We focus on real ingredients like butter, ripened fruit, and sour cream to provide a lush texture that stays fresh for days.
- Mashed Bananas: Provide the primary flavor and a significant amount of moisture to the crumb.
- Sour Cream: Adds a subtle tang and ensures the cake remains tender after baking.
- Instant Vanilla Pudding: Acts as a quick, reliable filling that mimics the traditional stovetop version.
- Unsalted Butter: Controls the salt content while providing that rich, bakery-style mouthfeel.
- Light Brown Sugar: Introduces a hint of molasses that complements the fruit perfectly.
- Vanilla Wafers: Offer a nostalgic crunch that breaks up the creamy layers.
| Ingredient | Why It Matters |
|---|---|
| Ripe Bananas | Natural sweetness and moisture |
| Sour Cream | Tender crumb and acidity |
| Vanilla Pudding | Creamy, stable filling layer |
| Vanilla Wafers | Essential crunch and nostalgia |
The Easy Method
Step 1: Prepare the Vanilla Pudding Base
Begin by whisking the sweetened condensed milk and cold water together in a large bowl until the mixture is completely uniform. Slowly sprinkle in the instant vanilla pudding mix while continuing to whisk until the texture becomes smooth and free of any small lumps. Cover the bowl tightly with plastic wrap and place it in the refrigerator to set for at least two hours or even overnight. This step is vital because the pudding needs enough time to firm up so it does not leak out from between your cake layers later.
Step 2: Mash the Fruit and Prep Pans
Preheat your oven to 350°F and carefully grease three round seven-inch or eight-inch cake pans with butter or non-stick spray. Place the peeled bananas in a bowl and use a sturdy fork to mash them until they reach a relatively smooth consistency with only minor lumps remaining. Stir in the lemon juice immediately to prevent the fruit from turning brown while you work on the rest of the batter. Lining the bottoms of your pans with parchment paper will make removing the finished cakes much easier once they finish baking.
Step 3: Mixing the Banana Pudding Layer Cake Batter
Whisk together the all-purpose flour, baking powder, baking soda, and fine salt in a separate medium bowl to ensure the leavening agents are distributed. In a larger bowl, beat the room-temperature butter with the granulated and brown sugars for about two minutes until the mixture looks pale and feels light. Add the eggs one at a time, ensuring each is fully incorporated before adding the next one to maintain a stable emulsion. The batter should look creamy and smell sweet as you prepare to combine the wet and dry components.
Step 4: Combine and Bake the Layers
Alternate adding the dry ingredients and the wet ingredients, starting and ending with the flour mixture to keep the batter from curdling. Fold in the mashed bananas, sour cream, vegetable oil, and vanilla extract until the mixture is thick and lush, taking care not to over-mix the flour. Divide the batter evenly between your prepared pans and bake for about 27 minutes or until a toothpick comes out with only a few moist crumbs attached. Allow the pans to rest on a wire rack for ten minutes before flipping the cakes out to cool completely.
Step 5: Whip Up the Buttercream Frosting
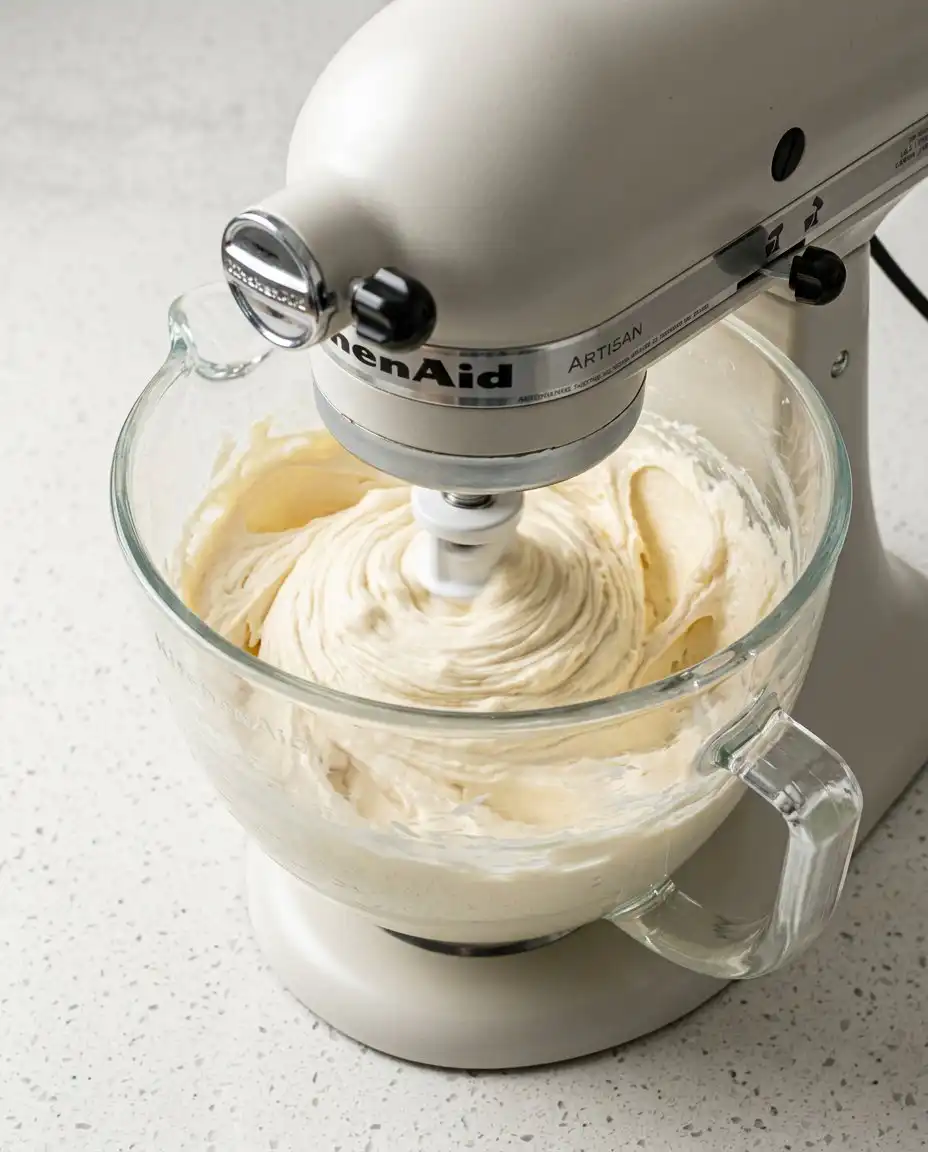
Beat the softened butter for about thirty seconds until it is completely smooth and free of cold spots. Gradually add the powdered sugar, salt, and vanilla extract while mixing on a low speed to avoid a sugar cloud in your kitchen. Pour in the heavy whipping cream and increase the speed slightly to whip the frosting into a spreadable, fluffy consistency that holds its shape. If the frosting feels too stiff to spread easily, add a tiny bit more cream until it reaches the perfect texture for decorating.
Step 6: Assemble the Layers and Fillings
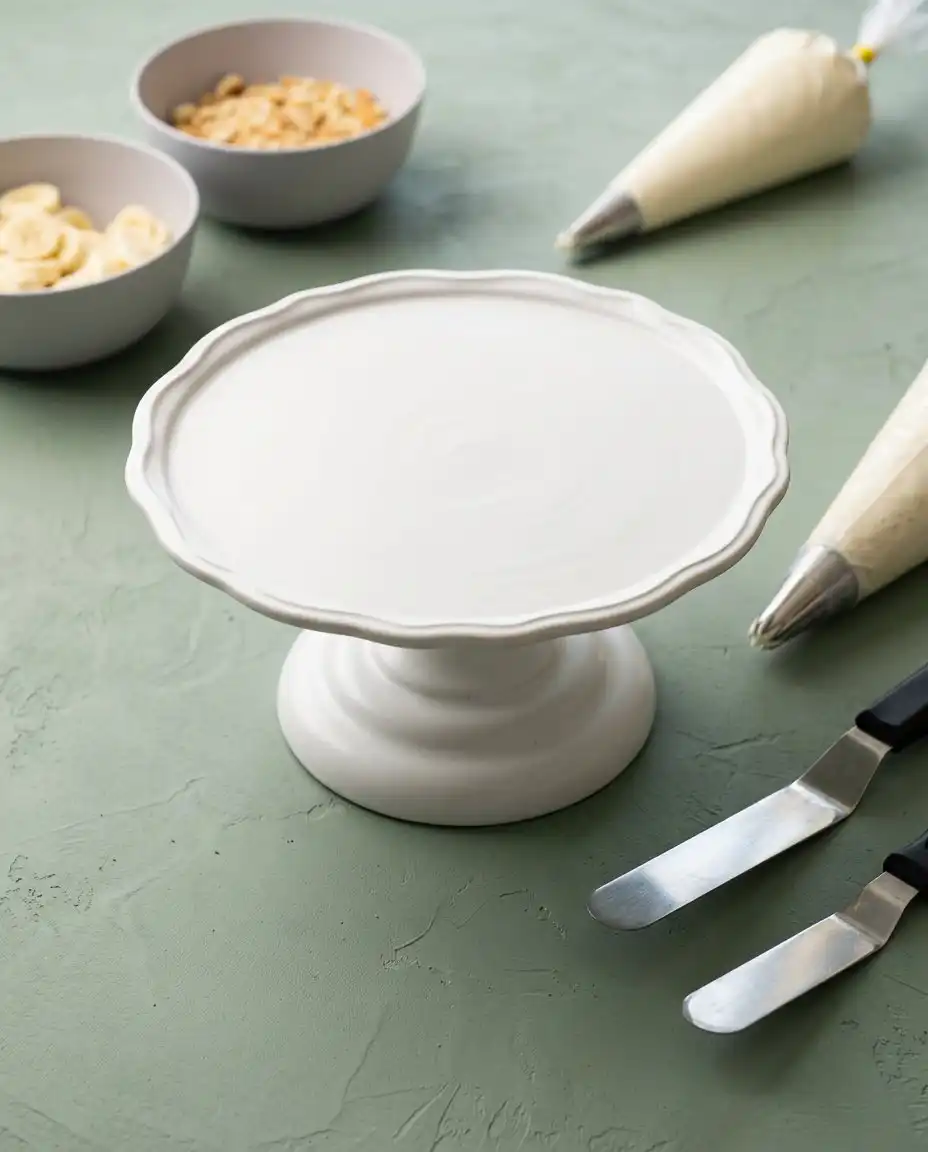
Place the first cake layer on a board and pipe a sturdy ring of buttercream around the outer edge to create a protective dam. Spread a portion of the chilled vanilla pudding inside this ring, followed by a layer of sliced fruit and a generous sprinkle of crushed wafers. Spread a thin layer of whipped topping over the wafers to seal everything in before placing the next cake layer on top. Repeat this process for the second layer and then place the entire cake in the freezer for ten minutes to set the structure before the final frosting.
Little Things That Help
Always use room temperature eggs and dairy to ensure your batter emulsifies properly and rises evenly in the oven. Cold ingredients can cause the butter to clump, resulting in a dense or greasy texture that lacks the airy quality of a professional bake. Taking the time to set your ingredients out an hour before you start makes a significant difference in the final result.
Properly measuring your flour by spooning it into the measuring cup and leveling it off with a knife prevents the cake from becoming dry. If you simply scoop the flour directly with the cup, you often pack too much into the measurement, which leads to a heavy crumb. For the most consistent results, using a kitchen scale is the most reliable way to bake a banana cake that stays soft for days.
If your buttercream starts to look curdled or grainy while you are mixing it, your butter might have been too cold or too warm. To fix this, you can take a small bowl of the frosting, microwave it for five seconds, and then whip it back into the main batch to equalize the temperature. This technique quickly restores the smooth, silky finish needed for a beautiful presentation.
Banging the filled cake pans on the counter before sliding them into the oven helps release trapped air bubbles. These bubbles can expand during baking and create large holes or an uneven surface on the top of your layers. A few firm taps ensure the batter settles into the corners and edges of the pan for a perfectly flat top.
Wait until the layers are completely cold before you attempt to level them with a serrated knife. Warm cake is very fragile and will crumble easily if you try to cut it before the structure has fully set. If you are in a rush, you can wrap the layers in plastic and chill them in the fridge for thirty minutes to make the leveling process much cleaner.
Frequently Asked Questions
Can I make this Banana Pudding Layer Cake ahead of time?
Yes, you can certainly prepare the components of this cake in advance to save time on the day of your event. The cake layers can be baked, cooled, and frozen for up to two weeks if wrapped tightly in plastic wrap. The pudding should be made at least a few hours ahead, but it can stay in the fridge for up to three days before you assemble the final dessert.
How do I prevent the layer cake from sliding during assembly?
The most effective way to prevent sliding is to pipe a very thick buttercream dam and then chill the cake in the freezer for ten minutes after each layer is added. This brief chilling period firms up the frosting and the pudding, acting like a glue that holds the structure together. Always ensure your cake board is level and that you use a small dab of frosting to stick the first layer to the base.
Why did my banana cake layers turn out dense?
Density in a cake often comes from over-mixing the batter once the flour has been added, which develops too much gluten. Another common cause is using old baking soda or baking powder that has lost its potency over time. Always check the expiration dates on your leavening agents and stir the dry ingredients into the wet ones until they are only just combined.
What is the best way to store the leftovers?
Because this cake contains fresh banana slices and a pudding filling, it must be stored in the refrigerator in an airtight container. The buttercream acts as a seal to keep the moisture inside the cake, but the fruit will eventually start to soften over time. For the best flavor and texture, I recommend consuming the leftovers within three days of assembly.
Can I use boxed cake mix for the layers instead?
While you can use a boxed mix for a shortcut, the homemade banana cake layers provided in this recipe offer a much sturdier structure for the heavy pudding filling. Boxed mixes tend to be very light and airy, which may cause the cake to compress or tilt under the weight of the fruit and cream. If you do use a mix, consider adding an extra egg to help strengthen the crumb.
Is it possible to freeze the fully assembled cake?
I do not recommend freezing the cake once it has been fully assembled with the pudding and fresh bananas. The freezing and thawing process significantly changes the texture of the fruit and can make the pudding watery, which will ruin the overall consistency. It is much better to freeze the plain cake layers separately and assemble the cake when you are ready to serve it.
Simple Swaps
For a different flavor profile, you can swap the vanilla wafers for graham cracker crumbs or even crushed ginger snaps. The spicy notes of ginger pair beautifully with the sweetness of the fruit and the creamy pudding, creating a dessert that feels a bit more sophisticated. If you prefer a different base entirely, you could adapt these filling techniques to a banana cake 2 recipe for a varied texture.
Those who love a bit of decadence might enjoy adding a layer of salted caramel sauce over the pudding before stacking the next layer. The saltiness cuts through the sugar and brings out the depth of the vanilla in a way that feels very indulgent. You can also look at other banana pudding layer cake recipe ideas for inspiration on how to decorate the exterior with different styles of piping.
If you find yourself without sour cream in the fridge, full-fat Greek yogurt makes an excellent substitute for this batter. It provides the same acidity and moisture levels needed to keep the crumb tender without changing the overall flavor of the cake. This swap is a great way to use what you have on hand while still achieving a bakery-quality result at home.
Slice & Serve
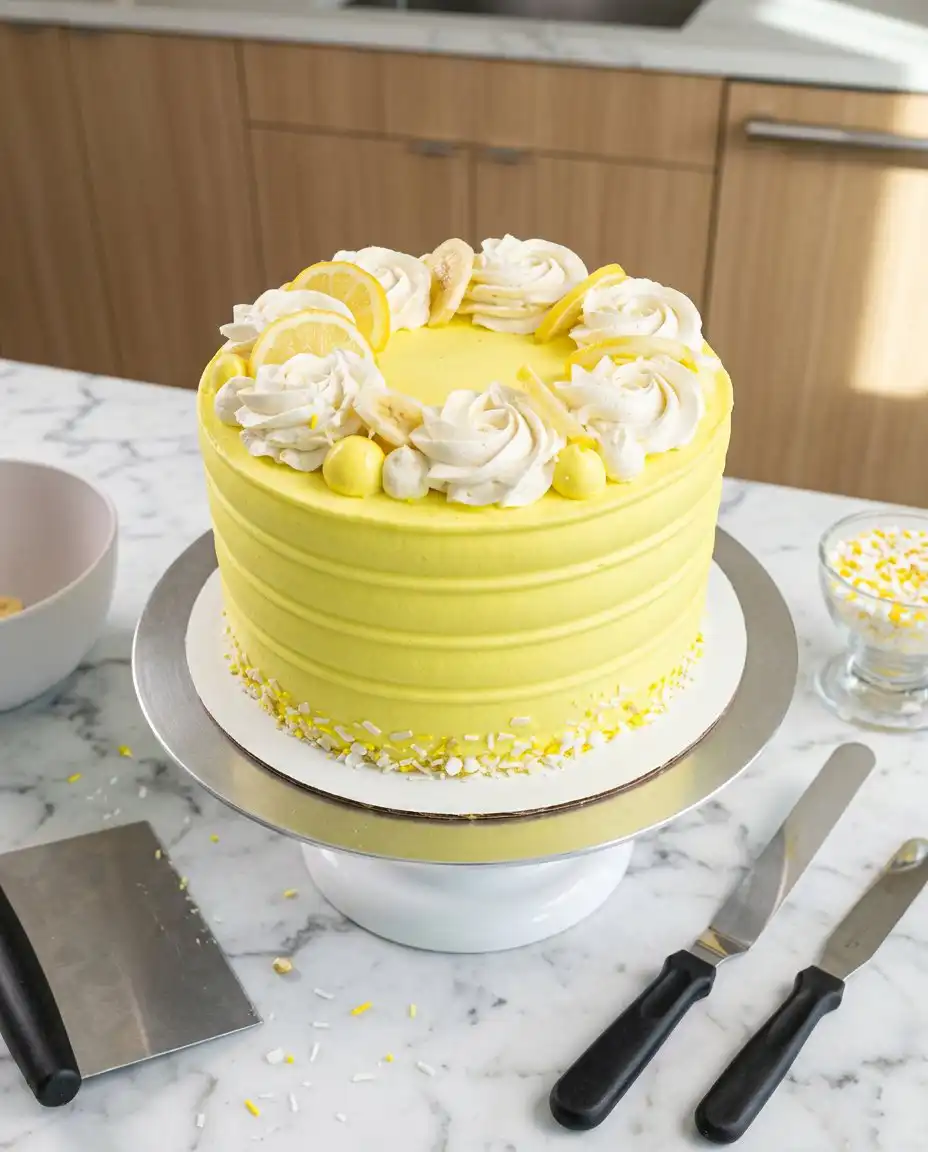
When you are ready to bring this cake to the table, use a long, sharp knife dipped in hot water to get the cleanest slices. Wiping the blade between every single cut ensures that the yellow frosting stays bright and the layers of pudding remain distinct and beautiful on the plate. If you are hosting a larger gathering, you might also serve this alongside a classic chocolate layer cake to give your guests a variety of flavors.
This dessert is quite rich, so a small slice goes a long way when paired with a cup of strong black coffee or a glass of cold milk. For a casual weekend afternoon, you can serve it on simple white plates to let the colors of the banana and vanilla stand out. It is the kind of cake that looks beautiful on a wooden cake stand in the middle of a kitchen counter, ready for anyone to grab a piece.
For a summer party, consider serving each slice with an extra dollop of whipped cream and a few whole vanilla wafers on the side. The added texture makes the experience feel even more like the traditional pudding we all grew up eating. It is a wonderful way to celebrate a birthday or a simple Tuesday night success with friends and family.
The Wrap-Up
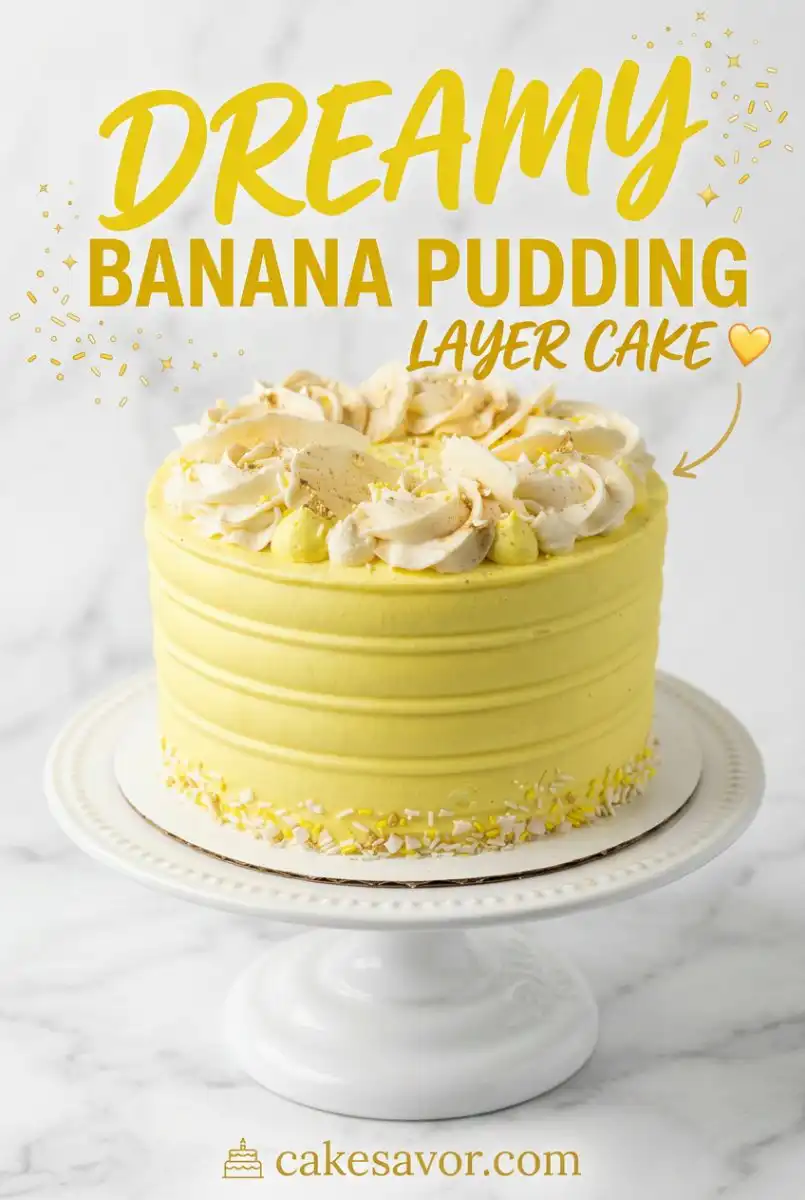
Baking a layered masterpiece does not have to be a daunting task that takes up your entire weekend. With a few basic pantry staples and some ripe bananas, you can create a dessert that is both stunning to look at and comforting to eat. This recipe proves that simple ingredients and an honest method are all you need to make something truly special for the people you love.
If you find yourself with extra fruit at the end of the week, you might also enjoy making a banana coffee cake for a lighter morning treat. I hope this recipe brings a little bit of joy to your kitchen and reminds you that baking is about the process just as much as the result. Please share your baking successes with me and let me know how your family enjoyed this Southern classic turned cake.