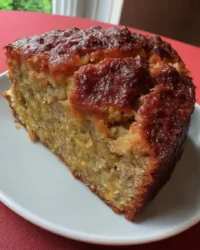
You only need a single bowl, a basic box mix, and zero fancy equipment to create these fudgy, decadent treats on any busy evening.

Making sweet treats at home should feel like a cozy kitchen escape rather than a stressful science experiment. These homemade Brownie Cake Pops bring all the rich, fudgy goodness of a traditional bakery display right into your own kitchen with almost zero effort. There is no need for a stand mixer or a sink full of dirty dishes to achieve that dense, melt-in-your-mouth center. You can easily whip up a batch of these handheld delights on a quiet afternoon while the kettle sings.
Why Brownie Cake Pops Work for Busy Weeks
Prep: 10 min · Serves: 24 · Difficulty: Easy
- Uses a convenient store-bought baking shortcut.
- Requires only one main mixing bowl.
- Cleanup is extremely quick and painless.
- Perfect for hands-on baking with kids.
These little bites are much easier to assemble than traditional chocolate cake balls because they do not require extra frosting to hold their shape. The natural moisture and dense structure of the fudge base do all the heavy lifting for you here. You will have a stunning tray of chocolate treats ready before your favorite television show starts.
Baking should always fit neatly into your busy lifestyle without demanding hours of cleanup at the sink. This recipe relies on standard pantry staples and a single baking pan, which means your kitchen stays relatively clean from start to finish. It is the perfect low-stress dessert for family gatherings, school events, or simple late-night cravings. You will love how easily these chocolate bites come together with minimal effort and maximum reward.
Get The Full Cake Recipe
Print
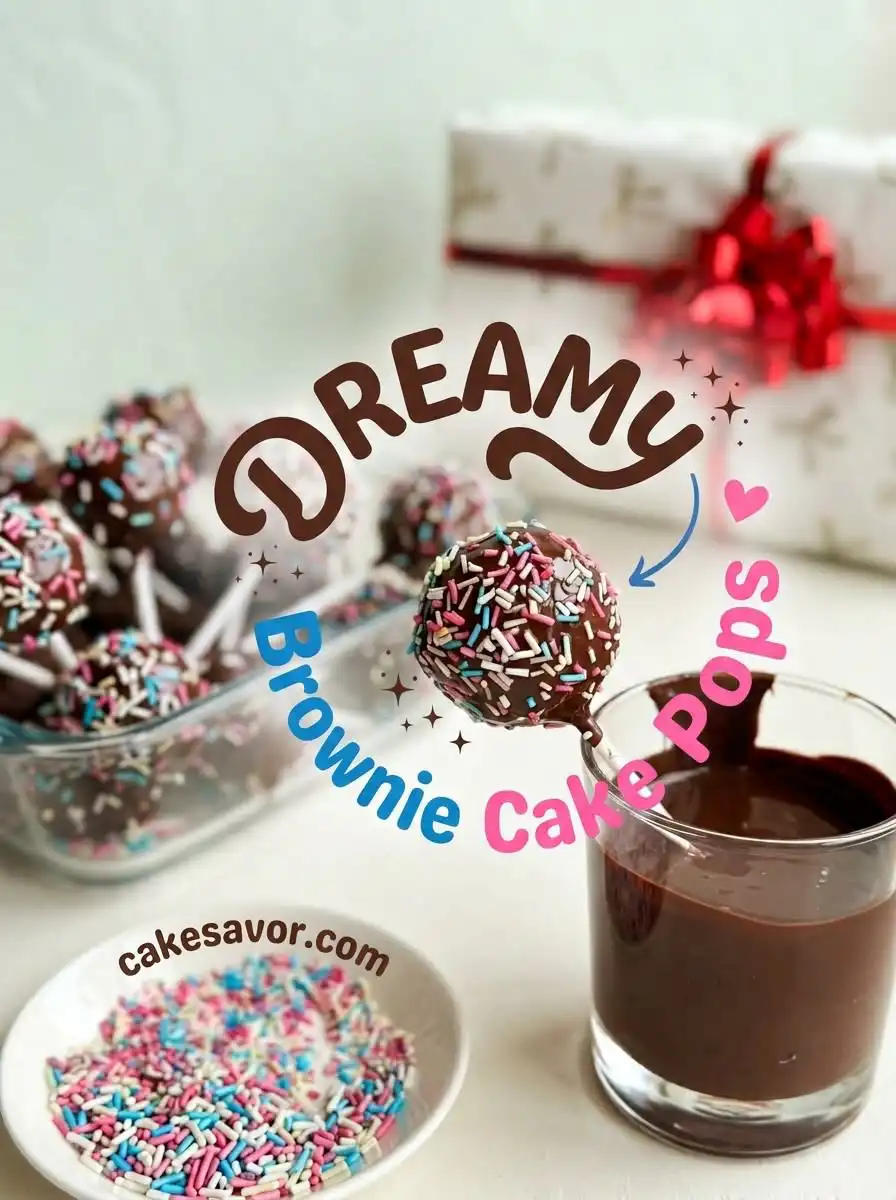
Brownie Cake Pops
- Total Time: 3 hours
- Yield: 24 cake pops
- Diet: Vegetarian
Description
These decadent brownie cake pops are a fuss-free dessert that combines a rich, fudgy brownie base with a crisp chocolate shell. Perfect for busy weeknights, these bite-sized treats require no extra frosting and come together with simple pantry staples.
Ingredients
- 1 box fudge brownie mix (standard 9×13 size)
- 24 cake pop sticks
- 12 ounces chocolate candy melts
- 2 teaspoons shortening
- 1/4 cup white sprinkles
Instructions
- Bake and cool. Prepare the brownie mix according to the package instructions and allow the brownies to cool completely before processing.
- Trim the edges. Remove the crisp outer crusts from the baked brownies to ensure a smooth, soft texture throughout the centers.
- Mash the base. Break the remaining brownie center into a large bowl and knead the pieces until they form a dense, dough-like paste.
- Shape the rounds. Use a kitchen scoop to portion the dough and roll firmly between your palms into uniform, smooth spheres.
- Insert the sticks. Push a lollipop stick halfway into each round, then place them in the freezer for two hours to firm up.
- Melt the coating. Combine candy melts and shortening in a microwave-safe bowl, heating in 30-second intervals until the mixture is smooth and fluid.
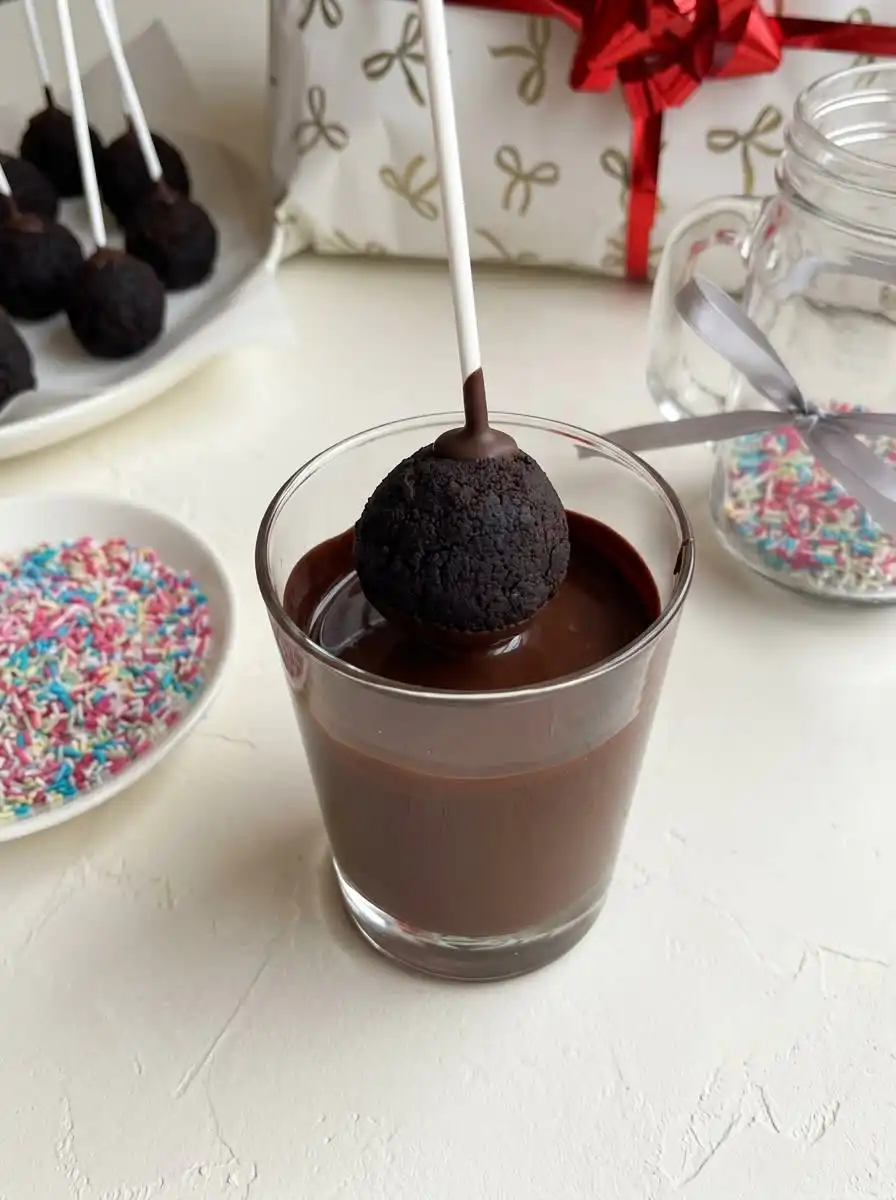
- Dip the pops. Submerge each chilled brownie ball into the melted chocolate, lifting straight out and tapping gently to remove any excess glaze.
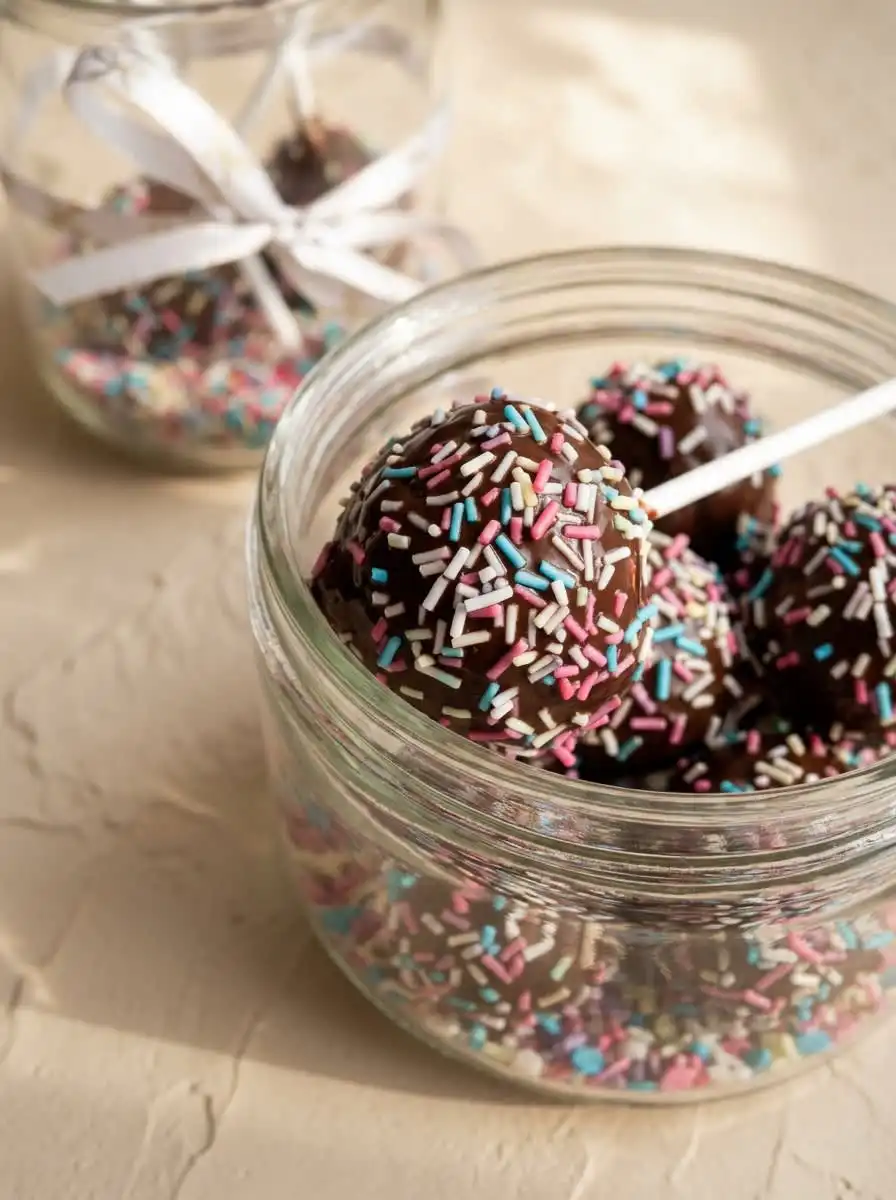
- Decorate and set. Sprinkle with white garnishes immediately and stand the pops upright in a foam block to harden completely before serving.
Notes
- Let the frozen brownie balls sit at room temperature for ten minutes before dipping to prevent the chocolate shell from cracking.
- Ensure the brownie base is completely cool before mashing to avoid a sticky or greasy dough consistency.
- For a sturdier hold, dip the tip of the stick into the melted chocolate before inserting it into the brownie round.
- Keep the chocolate coating warm in a deep, narrow vessel to ensure a smooth, single-motion dip.
- Prep Time: 10 mins
- Cook Time: 30 mins
- Category: Dessert
- Method: No-Bake/Assembled
- Cuisine: American
Simple Ingredients
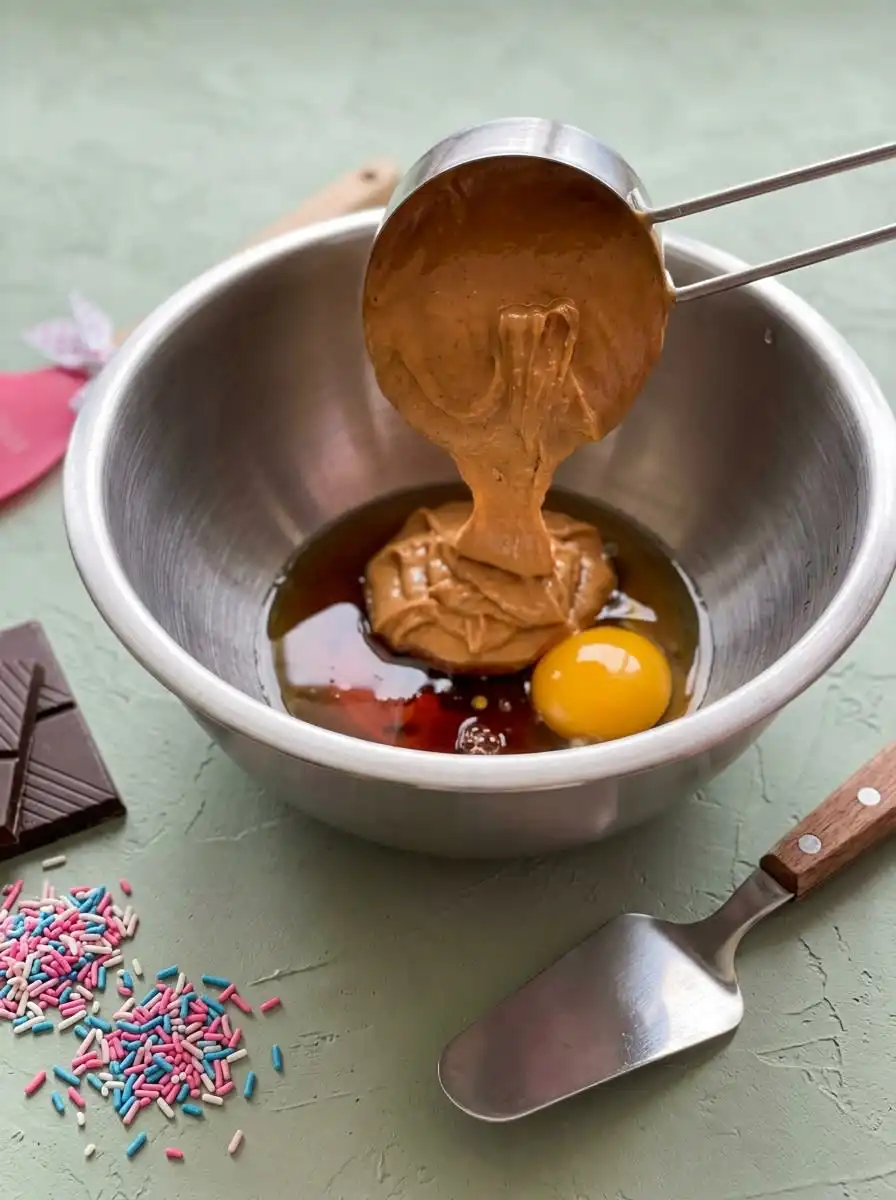
You do not need a long, complicated shopping list filled with specialty items to create these decadent treats. Standard grocery items and a quick look through your baking cabinet will give you everything required for this simple recipe. Using a few clever shortcuts allows you to focus on the fun part of decorating and sharing.
- Fudge brownie mix: Provides a dense, chewy foundation that mimics the classic bakery texture wonderfully. Look for a box that makes a standard nine-by-thirteen pan for the best volume.
- Cake pop sticks: Offer a sturdy handle that makes dipping and serving these small treats clean and comfortable. You can find these in the baking aisle of most craft or grocery stores.
- Chocolate candy melts: Yield a smooth, uniform shell that hardens quickly without requiring temperamental chocolate work. They are specifically formulated to melt evenly and create a beautiful professional finish.
- Shortening: Thins the coating slightly to prevent clumping during the dipping process. This simple addition helps the melted chocolate flow smoothly over the rounds without creating thick lumps.
- White sprinkles: Add a lovely contrast and a professional touch of elegance to the dark chocolate base. You can choose any shape or color to suit your specific occasion.
| Ingredient | Why It Matters |
|---|---|
| Fudge Brownie Mix | Forms a thick, rich center that holds its shape without needing extra frosting. |
| Candy Melts | Create a hard, snappy outer shell that resists melting at room temperature. |
| Shortening | Relaxes the melted chocolate to create an even, drip-free glaze. |
| Cake Pop Sticks | Provide a secure handle for easy dipping and clean, mess-free serving. |
| White Sprinkles | Offer a beautiful visual contrast and a crunch that breaks up the soft center. |
Step-by-Step (Promise It’s Quick)
Step 1: Bake and Cool Your Brownies
Follow the instructions printed on the back of your favorite brownie mix box to bake a standard pan. Let the baked square sit untouched on your counter until it is entirely cool to the touch. Cutting into warm brownies will result in a sticky mess rather than beautiful crumbles. You want the center to set fully before you begin working with the dough.
Step 2: Remove the Crisp Edges
Take the baked square out of the pan and slice off the dry outer edges with a sharp knife. You want to discard these chewy margins to keep the final texture completely soft and smooth. The remaining center should feel exceptionally soft and tender as you move it to a large workspace. Keeping only the softest parts of the baked square helps a uniform texture in every single bite.
Step 3: Crumble and Mash the Base
Place the remaining center pieces into a clean mixing bowl and break them apart with clean hands. Press and mash the crumbs together until they form a cohesive, dough-like paste that clings to your fingers. This dense mixture should look similar to thick clay and hold its shape when squeezed. Kneading the crumbs helps release the natural oils to hold the dough together naturally.
Step 4: Shape the Brownie Cake Pops with Care
Scoop small portions of the dough using a metal kitchen scoop so each piece is uniform in size. Roll each portion firmly between your palms until you have a smooth, round ball without any cracks. Place the smooth rounds onto a baking sheet lined with parchment paper, leaving space between them. Consistent shaping helps that your finished creations will look neat and bake or chill evenly.
Step 5: Insert Sticks and Freeze
Push a lollipop stick halfway into the center of each chocolate round, making sure it does not poke out the other side. Transfer the entire baking sheet to the freezer and let the rounds rest for two hours. Cold rounds will grip the sticks firmly, preventing them from slipping off when submerged in warm coating. This chilling period is absolutely crucial for structural integrity during the dipping stage.
Step 6: Melt the Coating Chocolate
Combine the dark candy melts and two teaspoons of shortening in a deep, microwave-safe cup or bowl. Heat the mixture in short intervals of thirty seconds, stirring thoroughly between each round with a rubber spatula. The glaze is ready when it flows smoothly like warm honey and contains no lumps. Gentle heating prevents the chocolate from scorching or becoming dry and crumbly.
Step 7: Dip the Fudgy Treats
Take a cold pop and lower it straight down into the warm, melted glaze until the entire round is fully coated. Lift the pop straight up and tap your wrist gently to encourage the excess chocolate to drip back into the cup. The coating should look glossy and smooth as you prepare to decorate. Avoid swirling the stick around too much, as this can loosen the cold center.
Step 8: Decorate and Let Dry
Scatter white sprinkles over the wet surface immediately before the chocolate begins to set and harden. Stand the finished stick upright in a block of foam or a heavy mug to let the shell dry completely. Within a few minutes, the outer shell will turn matte and firm, indicating it is ready to serve. This final step is highly satisfying as you watch your homemade treats take on a professional look.
Easy-Baker Notes
If your treats crack after dipping, the temperature difference between the cold dough and the hot chocolate coating was too great. To prevent this issue, let the frozen balls sit on the counter for ten minutes before dipping them to close the temperature gap. This brief resting period allows the chocolate balls to expand slightly before the warm shell sets over them.
For the neatest results, make sure you wipe away any excess coating from the stick before setting the pops upright to dry. Using a tall, narrow glass for the melted coating makes it much easier to submerge the rounds completely in a single movement. This depth helps you coat the entire sphere in one smooth dip without rubbing against the sides of your container.
Leftover brownie scraps from trimming the edges of your pan are highly valuable. You can easily blend those crispy pieces into vanilla ice cream or press them into a pan to make a rustic brownie cake base. Saving these little edges is a great way to minimize kitchen waste while creating a fun secondary dessert for the weekend.
If you find that your chocolate coating is too thick to drip cleanly, stir in a tiny bit of coconut oil or extra shortening. Keeping the glaze warm is key, so you may need to reheat it for ten seconds if it begins to thicken while you work. A thin, fluid coating will always yield a much cleaner and lighter shell than a thick and heavy glaze.
Using a kitchen scale is the most accurate way to guarantee every round is identical in weight before rolling. If you want to learn more about achieving the ideal consistency for your chocolate glaze, you can read about a classic how to make brownie cake pops technique to master the process. Having identical portions makes your finished tray look wonderfully neat and professional.
To secure the sticks even more firmly, dip the tip of each stick into the melted candy coating before inserting it into the chocolate round. This melted chocolate acts as a strong glue as it chills, creating a very secure bond that holds the heavy center in place. It is a quick step that saves you from any disappointing mishaps during the final dipping process.
Frequently Asked Questions
What can I use to bind the crumbled brownies?
Unlike dry cake crumbs, baked brownies are naturally very fudgy and moist on their own. You do not need to add any frosting or cream cheese to bind them together. Mashed brownies will naturally form a cohesive dough as you knead them. If your baked square is a bit dry, a tiny spoonful of chocolate syrup can help bring the mixture together easily.
Why do my brownie pops fall off the stick?
If your chocolate rounds are too heavy or too warm, they will easily slide down the lollipop sticks. Make sure you freeze the shaped rounds for the full two hours before dipping them. Additionally, dipping the end of the stick in melted chocolate before inserting it helps glue it in place. This creates a solid anchor that keeps the treat secure.
Can I use boxed brownie mix instead of homemade?
Yes, using a standard boxed mix is actually the preferred method for this simple recipe. It saves a lot of prep time while providing the exact texture required for shaping. Any standard brand from your local grocery store will work wonderfully. The boxed shortcut helps consistent results every single time you bake.
Can I freeze brownie cake pops?
You can easily freeze these treats in an airtight container for up to three months. Place sheets of parchment paper between the layers to keep them from sticking together. Let them thaw slowly in the refrigerator before serving to prevent condensation on the shells. This makes them an excellent make-ahead dessert for busy party planners.
Can I use candy melts instead of real chocolate for the coating?
Candy melts are ideal because they melt smoothly and harden into a durable, shiny shell. Real chocolate can be quite temperamental to work with and may require tempering to stay firm at room temperature. Melts offer a worry-free finish that holds up well during parties. They also come in a wide variety of fun colors to suit any party theme.
How should I store these treats if I make them ahead of time?
You can store these treats in an airtight container at room temperature for up to five days. Keep them in a cool, dry place away from direct sunlight to prevent the chocolate coating from softening. There is no need to refrigerate them unless your kitchen is exceptionally warm. This convenience makes them perfect for preparing a few days before an event.
Can I use a microwave to melt the candy coating?
The microwave is the easiest and fastest way to melt your candy coating safely. Be sure to use low power and heat the mixture in short thirty-second bursts. Stirring thoroughly after each burst helps distribute the heat evenly and prevents scorching. Scorched chocolate will become thick and dry, making it impossible to use for dipping.
What should I do if my brownie mixture is too sticky to roll?
If the mashed dough clings too much to your hands, place the mixing bowl in the refrigerator for fifteen minutes. Chilling the dough slightly will firm up the natural fats and make it much cleaner to handle. You can also lightly dust your palms with a tiny bit of cocoa powder to prevent sticking. This simple trick keeps your hands clean and your rounds wonderfully smooth.
Simple Swaps
You can easily adapt these chocolate treats for any seasonal celebration on your calendar. Swapping the plain white sprinkles for festive red and blue decorations turns these treats into an option similar to my popular easy 4th of july brownies that everyone loves. This simple decoration change makes it incredibly easy to customize your dessert table for national holidays, birthdays, or school sporting events without changing the core recipe.
For a delicious peanut butter twist, mix a couple of tablespoons of creamy peanut butter directly into the mashed chocolate crumbs before shaping them into rounds. This addition creates a sweet and salty center that pairs wonderfully with a white chocolate outer shell. The peanut butter adds a lovely depth of flavor and extra moisture that makes the inside even more fudgy and decadent.
If you prefer a bright flavor contrast, add a splash of pure peppermint extract to the brownie dough during the mashing step. Roll the mixture into rounds and coat them in crushed candy canes for a cozy winter treat that looks beautiful on a holiday platter. The cool peppermint combined with rich chocolate feels delightfully festive and acts as a wonderful homemade gift during the winter holidays.
Easy Serving Ideas
Presenting these rich chocolate treats on a wooden cutting board or a rustic cake stand adds an instant touch of cozy charm to your table. You can place the sticks down in colorful paper cupcake liners to keep them upright and easy for guests to grab. For an interactive dessert display, arrange them alongside fresh strawberries and salty pretzels to balance the sweetness. The combination of sweet chocolate and salty snacks is always a massive hit with guests of all ages.
If you are hosting a larger gathering, consider making a variety of fun handheld desserts to please every preference. These treats display beautifully alongside different shapes and colors, which you can see in my oreo cake pops story for more visual inspiration. Your guests will love having a choice of bite-sized treats to enjoy while they chat. Creating a colorful dessert table makes any ordinary weekday feel like a true celebration.
These sweet bites are also wonderful for packing into small cellophane bags tied with twine as simple party favors. They stay neat and tidy at room temperature, making them a worry-free gift for friends to take home after a dinner party. They also look lovely nestled inside a vintage tin for a weekend morning surprise. Your friends and family will be delighted by the thoughtful gesture of a handmade treat.
Bake It Soon
Baking should bring joy and comfort to your kitchen without demanding hours of your precious free time. These simple treats prove that you do not need a complicated recipe to create something that everyone will talk about for days. I hope you find a quiet evening this week to enjoy the soothing rhythm of rolling and dipping these beautiful bites. Grab a mixing bowl and a box of mix, and let yourself enjoy the simple magic of creating something delicious.
If you are looking for more delicious ideas, check out my favorite rich chocolate treats to keep your baking cabinet well-stocked. There is always a good reason to share a homemade bite with the people you love. Keeping a few simple ingredients on hand means you are always ready for a spontaneous baking session.
Please share your beautiful creations with our baking community on Pinterest or join the conversation on our Facebook page. You can also watch quick video tutorials of these recipes on TikTok or receive real-time updates directly on Telegram. Connecting with other home bakers is a wonderful way to find daily inspiration and share helpful kitchen tips. Happy baking, my friends!