Rich Dutch cocoa meets the warmth of freshly brewed coffee, creating a dark, velvety crumb that smells like a deep chocolate dream coming to life in your kitchen.

This Devil’s Food Layer Cake represents the peak of home baking where simple pantry staples transform into something truly extraordinary. By focusing on high-quality cocoa and a specific blooming technique, we achieve a depth of flavor that usually requires hours of effort. You will notice the crumb is incredibly tender, holding its shape while melting away the moment it hits your tongue. It is a reliable recipe that delivers consistent results for birthdays, anniversaries, or a quiet weekend treat.
What Makes This Devil’s Food Layer Cake Special
Prep: 20 min · Serves: 12 · Difficulty: Medium
- Deep cocoa flavor through blooming
- Tender crumb from sour cream
- Coffee enhances the rich chocolate
- Reliable structure for stable stacking
- Moist texture stays fresh days
This simple cake offers unforgettable flavor that will have your guests asking for the secret ingredient in every bite. Whether you are making a chocolate layer cake for a party or a family dinner, this recipe never fails to impress.
Get The Full Cake Recipe
Print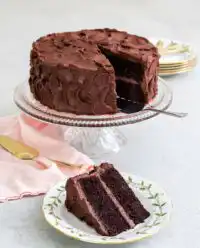
Devil’s Food Layer Cake
- Total Time: 65 mins
- Yield: 12 servings
Description
This decadent Devil’s Food Layer Cake features a deep, velvety crumb enriched with Dutch-processed cocoa and hot coffee. It is a reliable, crowd-pleasing dessert that delivers professional results and a rich, intense chocolate flavor in every tender bite.
Ingredients
- 2 cups all-purpose flour
- 2 cups granulated sugar
- 1 cup brown sugar
- 3/4 cup Dutch-processed cocoa powder
- 1 1/2 teaspoons baking soda
- 1 teaspoon baking powder
- 1 teaspoon salt
- 1/2 cup vegetable oil
- 3 large eggs
- 1 cup sour cream
- 1 cup hot brewed coffee
- 1 tablespoon vanilla extract
- 1/2 cup room temperature butter
Instructions
- Prepare the pans. Preheat your oven to 350°F, grease two nine-inch round cake pans, and line them with parchment paper.
- Sift dry ingredients. Combine flour, baking soda, baking powder, and salt in a large bowl, sifting thoroughly to remove lumps.
- Cream the fats. Beat room temperature butter with granulated and brown sugars in a stand mixer until the mixture is light and fluffy.
- Create cocoa paste. Whisk cocoa powder and vegetable oil in a separate bowl until smooth, then beat into the butter mixture for five minutes.
- Mix the batter. Beat in the eggs one at a time, then alternate adding dry ingredients with milk and sour cream, finishing with the hot coffee.
- Bake the cakes. Divide the batter between pans and bake for 40-45 minutes, cooling in pans for ten minutes before transferring to wire racks.
- Frost and assemble. Once the cake is completely cool, spread chocolate buttercream between layers and over the exterior using an offset spatula.
Notes
- Use room temperature ingredients to ensure a stable, silky emulsion and even crumb.
- Wait for the cake to cool completely before frosting to prevent the layers from sliding.
- Avoid opening the oven door during the first 30 minutes to ensure the cake rises properly without sinking.
- For the cleanest slices, dip your knife in hot water and wipe it dry between each cut.
- Store at room temperature in an airtight container to keep the cake moist for up to three days.
- Prep Time: 20 mins
- Cook Time: 45 mins
- Category: Dessert
- Method: Baking
- Cuisine: American
The Flavor Lineup
Creating a masterpiece starts with understanding how each component interacts to build a complex profile. We use a combination of fats and acids to ensure the texture remains soft while the chocolate notes stay front and center. Each addition serves a specific purpose in creating that signature dark hue and velvety mouthfeel.
- Dutch-Processed Cocoa Powder: This cocoa is treated with alkali to neutralize acidity, resulting in a darker color and smoother flavor. It provides the deep, mellow base that defines a classic devil’s food profile.
- Hot Coffee: The heat from the coffee helps to bloom the cocoa powder, releasing trapped flavor compounds. It intensifies the chocolate without adding a distinct coffee taste to the final product.
- Sour Cream: This adds significant moisture and a slight tang that balances the sweetness of the sugars. It also contributes to the thick, creamy consistency of the batter.
- Vegetable Oil: While butter provides flavor, oil ensures the cake remains moist even when stored in the refrigerator. The combination of both fats gives us the best of both worlds.
- Brown Sugar: The molasses in the brown sugar adds a hint of caramel depth. It also helps retain moisture within the crumb structure during the baking process.
- Baking Soda: This leavening agent reacts with the acidic cocoa and sour cream to create a beautiful rise. It is essential for achieving that airy yet substantial texture.
| Ingredient | Why It Matters |
|---|---|
| Dutch Cocoa | Creates a dark, smooth, and intense chocolate profile |
| Hot Coffee | Blooms the cocoa to maximize deep flavor notes |
| Sour Cream | Ensures a tender crumb and balanced acidity levels |
| Vegetable Oil | Keeps the cake soft and moist for several days |
| Eggs | Provide necessary structure and rich golden fats |
The Method
Step 1: Prepare Your Equipment and Pans
Begin by preheating your oven to 350°F to ensure it reaches the correct temperature before the batter is ready. Lightly grease two nine-inch round cake pans with butter and dust them with a thin layer of flour. Line the bottoms with parchment paper to prevent any sticking during the cooling process. This preparation ensures your layers will release cleanly and maintain their perfect circular shape.
Step 2: Sift the Dry Ingredients
In a large mixing bowl, combine the all-purpose flour, baking soda, baking powder, and salt. Use a fine-mesh sifter to remove any lumps and incorporate air into the mixture for a lighter result. Sifting is particularly important here to ensure the leavening agents are distributed evenly throughout the flour. This prevents uneven rising or large air pockets from forming in the finished crumb.
Step 3: Cream the Butter and Sugars
Place the room temperature butter in the bowl of a stand mixer fitted with the paddle attachment. Beat on medium speed until the butter looks pale and creamy, which usually takes about two minutes. Gradually add the granulated sugar and brown sugar, continuing to beat until the mixture is light and fluffy. Scrape down the sides of the bowl frequently to ensure every bit of butter is properly aerated.
Step 4: Incorporate the Cocoa and Oil
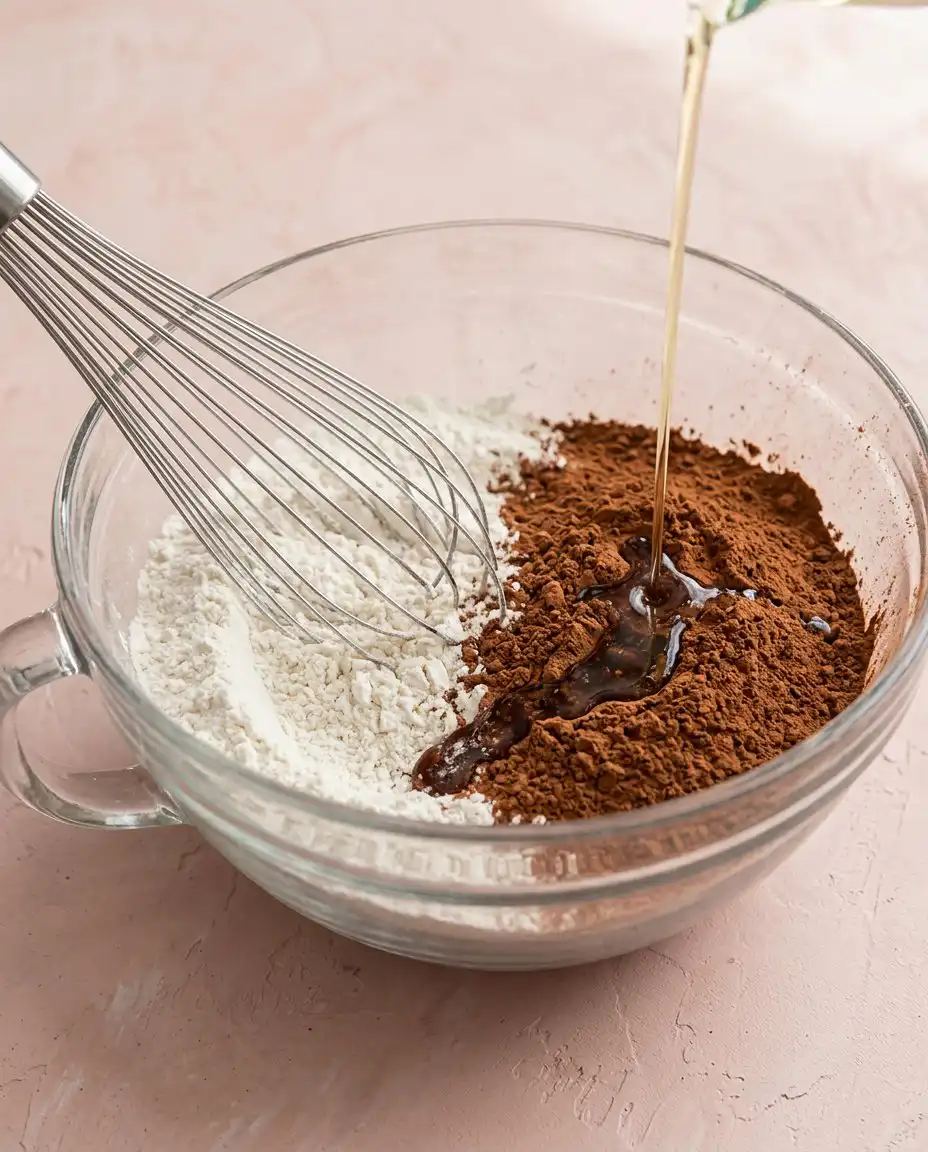
Whisk the sifted cocoa powder and vegetable oil together in a separate small bowl until a smooth paste forms. Add this chocolate mixture to the creamed butter and sugar, beating for another five minutes. This long mixing time builds a stable emulsion that supports the heavy liquid ingredients added later. The batter should look dark, glossy, and significantly increased in volume at this stage.
Step 5: Baking Your Devil’s Food Layer Cake to Perfection
Add the eggs one at a time, beating thoroughly after each addition to maintain the fluffy texture. Stir in the vanilla extract before alternating the dry ingredients with the milk and sour cream. Start and end with the flour mixture to prevent the batter from curdling or becoming too thin. Finally, pour in the hot coffee and whisk gently by hand until the batter is smooth and liquid.
Step 6: The Bake and Cool
Divide the batter equally between your prepared pans and place them in the center of the oven. Bake for forty to forty-five minutes or until a toothpick inserted into the center comes out clean. You will notice the kitchen filling with a rich, toasty aroma as the cocoa blooms in the heat. Let the cakes cool in their pans for ten minutes before carefully inverting them onto wire racks to cool completely.
Step 7: Frosting and Assembly
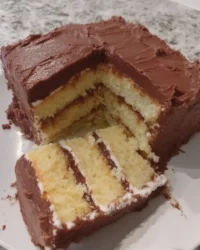
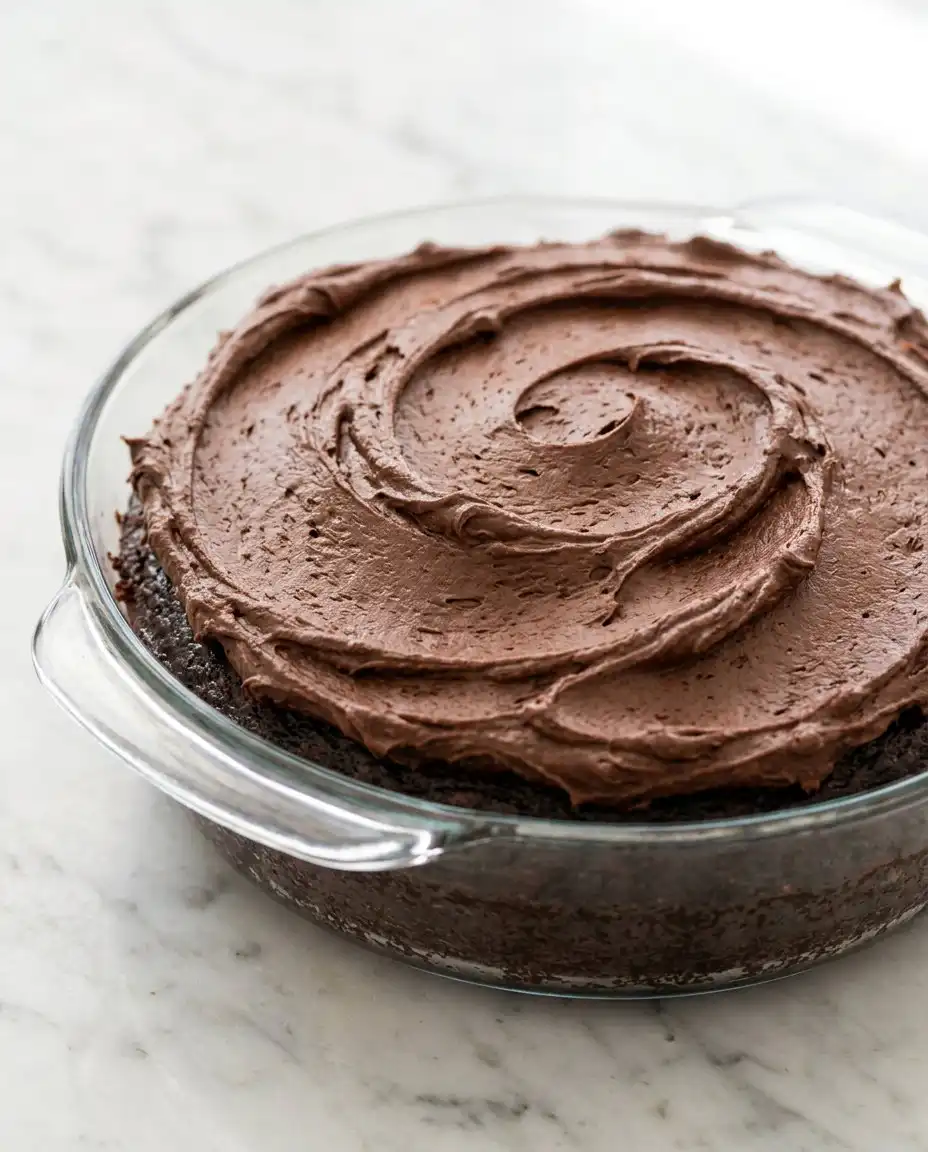
Once the layers are entirely cold, place one on a decorative cake stand or flat plate. Spread a generous layer of chocolate buttercream over the top, smoothing it out to the edges. Place the second layer on top and cover the entire cake with the remaining frosting using an offset spatula. This is where you make it yours by adding swirls, peaks, or a perfectly smooth finish.
Small Tweaks, Big Wow
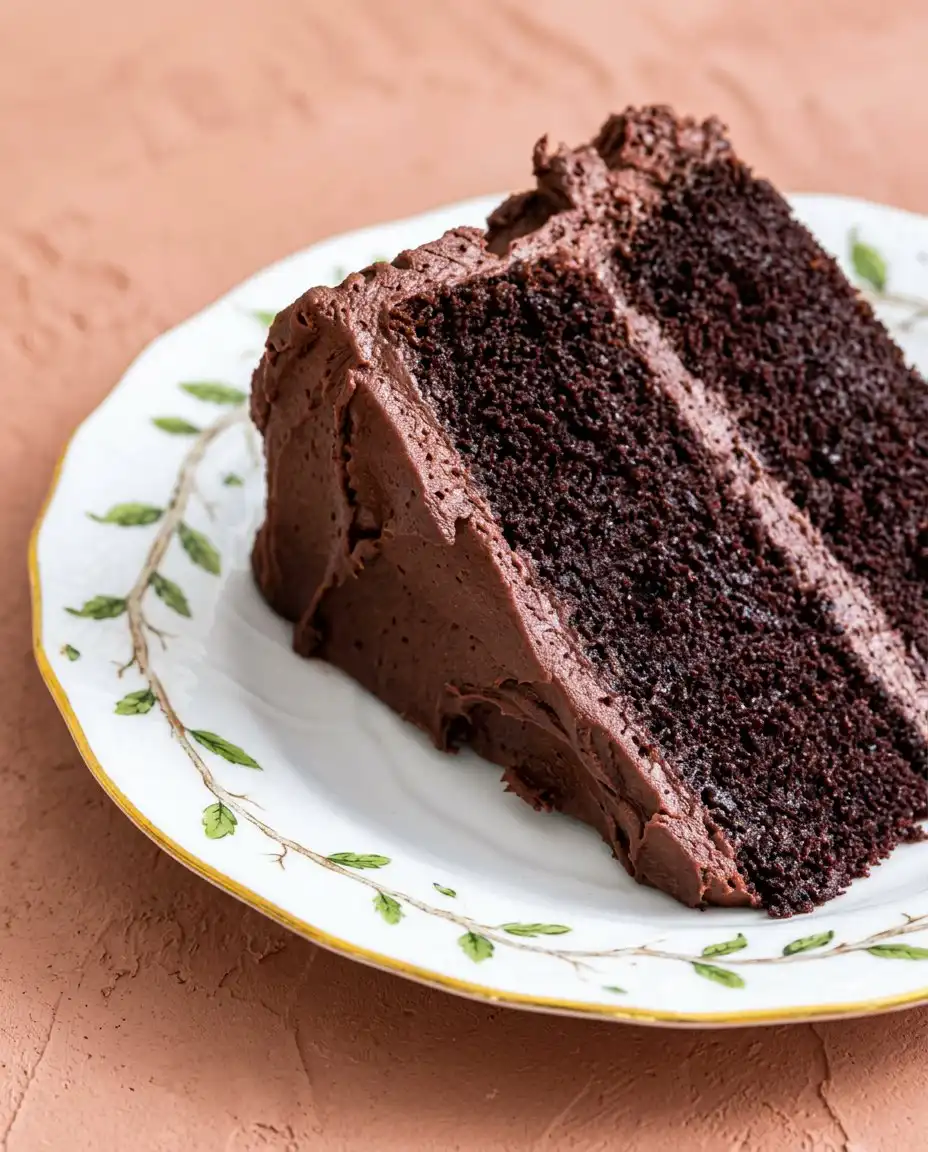
Always use room temperature ingredients like eggs, milk, and sour cream to ensure a smooth emulsion. Cold ingredients can cause the butter to seize, resulting in a grainy texture that lacks the desired velvetiness. Taking the time to let everything sit on the counter for an hour makes a massive difference in the final crumb. You can learn more about how to achieve the perfect crumb structure in a chocolate cake by studying the science of ingredient temperatures.
Sifting the cocoa powder is a step you should never skip in this recipe. Dutch-processed cocoa tends to clump in the container, and these lumps will not always dissolve during the mixing process. Finding a dry pocket of cocoa in a finished cake is a disappointing experience for any guest. A quick pass through a sieve ensures the flavor is distributed perfectly throughout the batter.
If your cake layers sink in the middle, it often means the oven door was opened too early. The sudden drop in temperature causes the delicate structure to collapse before it has fully set. Always wait until the very end of the baking time before checking for doneness with a toothpick. Ensuring your baking soda is fresh will also provide the lift needed to support the heavy chocolate batter.
Adding the hot coffee at the very end is the secret to the flavor pop we want. The heat allows the cocoa solids to dissolve more fully, which deepens the color and the chocolate intensity. Do not worry if the batter looks very thin after adding the liquid; this is exactly how it should be. This high hydration is what creates such a moist and tender result after baking.
Try using a homemade chocolate cake base for different frostings like peanut butter or salted caramel. Changing the outer layer allows the core chocolate flavor to shine in new and interesting ways. The versatility of this specific crumb makes it an excellent foundation for any creative flavor combinations you want to try.
Frequently Asked Questions
Can I substitute natural cocoa powder for Dutch-processed cocoa?
It is best to stick with Dutch-processed cocoa for this specific recipe to ensure the correct chemical reaction. Natural cocoa is more acidic and may react differently with the baking soda, affecting the rise and the final color. Using the Dutch-processed version guarantees that smooth, dark finish and mellow flavor profile.
What is the best way to store this cake to keep it moist?
You can store the assembled cake at room temperature for up to five days if it is kept in an airtight container. If your kitchen is particularly warm, moving it to the refrigerator is a safe option. Just be sure to let slices come back to room temperature before serving so the butter in the frosting softens properly.
Can I make the cake layers in advance and freeze them?
Yes, these layers freeze beautifully and can be made up to three months ahead of time. Wrap the cooled layers tightly in plastic wrap and then a layer of aluminum foil to prevent freezer burn. Thaw them in the refrigerator overnight before frosting to make the assembly process much easier.
Is there a good substitute for the hot coffee in the batter?
If you prefer not to use coffee, you can substitute it with an equal amount of boiling water. The heat is the most important factor for blooming the cocoa, so the liquid must be very hot. While you will lose the slight flavor enhancement from the coffee, the cake will still have a wonderful chocolate taste.
Why did my cake turn out dry instead of moist?
Dryness is usually the result of over-baking or measuring the flour incorrectly using a volume cup. To avoid this, use a kitchen scale to measure your ingredients by weight for the most accurate results. Start checking the cake for doneness five minutes before the recipe suggests to ensure it does not spend too much time in the heat.
Can I make this recipe into cupcakes instead of a layer cake?
This batter works very well for cupcakes, though the baking time will need to be reduced significantly. Fill the liners about two-thirds full and bake for eighteen to twenty-two minutes at the same temperature. The result is a batch of incredibly light and airy chocolate treats that are perfect for sharing.
Swap Your Spice
For a warm and spicy twist, add a teaspoon of ground cinnamon and a pinch of cayenne pepper to the dry ingredients. This Mexican chocolate variation brings a subtle heat that complements the dark cocoa beautifully. It is a smart addition that transforms the profile without changing the fundamental structure of the recipe. You can pair this with a cinnamon-spiced whipped cream for a lighter finish on an old fashioned chocolate cake base.
If you prefer floral notes, replace the vanilla extract with a half teaspoon of high-quality orange blossom water. The citrus aroma cuts through the richness of the chocolate and provides a bright, unexpected finish. This version works particularly well when served with fresh raspberries or an orange zest-infused frosting. It is a generous way to experiment with extracts and find a combination that suits your personal palate.
Transform this into a mocha masterpiece by increasing the strength of the coffee used in the batter. You can even add a tablespoon of espresso powder to the dry ingredients for an even bolder kick. This variation is perfect for those who love the complexity of coffee and chocolate combined. If you are looking for more ideas, check out this devils food cake guide for further inspiration on flavor layering.
Bringing the Wow to the Table
When you are ready to serve, use a sharp knife dipped in hot water and wiped dry between each cut. This technique ensures clean, professional slices that show off the dark layers and creamy frosting clearly. A simple cake with unforgettable flavor deserves a presentation that highlights the effort you put into the baking process. You might also want to try this chocolate cake recipe for smaller gatherings where a single layer is more appropriate.
Pairing a slice with a dollop of unsweetened whipped cream or a scoop of vanilla bean ice cream provides a lovely temperature contrast. The cold creaminess balances the density of the chocolate, making every bite feel lighter and more refreshed. For a sophisticated touch, garnish the plates with a few fresh mint leaves or a dusting of cocoa powder. This small addition provides a visual pop that makes the dessert feel like it came from a high-end bakery.
One Last Note
Baking this cake is an invitation to play with textures and flavors until you find your perfect version. It starts as a simple recipe, but with the addition of hot coffee and sour cream, it becomes a staple you will return to again and again. I hope you find as much joy in the process of blooming the cocoa as you do in sharing the final result with friends and family. Remember that the best cakes are the ones made with curiosity and a little bit of creative flair.
Take this opportunity to master the basics and then start adding your own signature twists to the batter or the frosting. Whether you follow the instructions exactly or swap a spice, the goal is always a delicious moment of connection. Please share your baking journey with us and let us know how your version turned out. You can follow our latest creations on Pinterest, Facebook, TikTok, or Telegram.