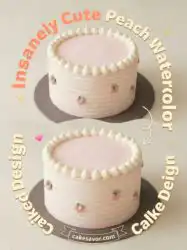
You can bake a beautiful peach watercolor cake design with one bowl and a basic pantry, skipping the fancy decorating tools entirely.

Baking should fit your busy schedule, which is why this design relies on simple techniques that anybody can master. The soft cake layers use sweet fruit purée to keep every single bite wonderfully moist and tender. You do not need a culinary school degree or a pantry full of specialty tools to make something beautiful. By blending pastel pink, yellow, and orange buttercream directly on the cake, you create a gorgeous watercolor look with minimal effort.
What Makes This Easy Peach Watercolor Cake Design Shine
This gorgeous dessert comes together without any complicated steps.
Prep: 105 min · Serves: 10 · Difficulty: Medium
- Sweet fruit purée keeps cake layers wonderfully tender.
- Basic kitchen tools achieve a stunning painted finish.
- Whipped mousse layers add light and airy texture.
- Beautiful pastel colors blend together with great ease.
- Simple pantry ingredients create a highly spectacular dessert.
You will quickly realize that our peach upside down cake recipe offers the same delightful fruit flavor with even less kitchen cleanup at the end of the evening.
Get The Full Cake Recipe
Print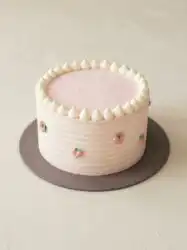
Peach Watercolor Cake Design
- Total Time: 2 hours 10 mins
- Yield: 10 servings
Description
This stunning peach watercolor cake features tender yellow layers infused with concentrated fruit purée and light, airy mousse. By blending pastel buttercream directly on the cake, you can achieve a professional hand-painted look using only basic kitchen tools.
Ingredients
- Yellow cake mix
- Fresh or frozen peaches
- Instant vanilla pudding mix
- Egg whites
- Sour cream
- Vegetable oil
- Vanilla extract
- Heavy cream
- Granulated sugar
- Salt
- Unflavored gelatin
- Fresh lemon juice
- Gel food coloring (pink, yellow, and red)
Instructions
- Reduce peach purée. Blend peaches in a food processor, simmer in a saucepan until thickened, and cool completely.
- Prepare cake batter. Combine cake mix, pudding, egg whites, sour cream, oil, extracts, and purée; whisk until smooth and divide into four greased 6-inch pans.
- Bake cake layers. Bake at 350°F for 23–25 minutes until a toothpick comes out clean; cool in pans for 5 minutes before transferring to a wire rack.
- Whip cream and prep gelatin. Whip heavy cream to stiff peaks; separately heat remaining purée with sugar, salt, and gelatin until bubbling.
- Fold in mousse. Cool gelatin mixture in an ice bath until thickened, then gently fold in the whipped cream.
- Assemble the layers. Layer cake rounds with peach mousse in between each, then chill for 15 minutes to set.
- Apply crumb coat. Frost the entire exterior with a thin layer of vanilla buttercream and chill for 30 minutes.
- Finish with watercolor. Dab patches of tinted buttercream onto the cake and use a scraper to lightly blend them into a watercolor design.
Notes
- Ensure the fruit reduction is completely cool before adding it to the batter to prevent melting the fats.
- Use a chilled bowl and high-speed mixer to achieve the firm, glossy peaks necessary for the mousse stability.
- Keep your scraper motion minimal during the final stage to avoid blending the colors into a single muddy tone.
- Pipe a ring of stiff buttercream around the edge of each layer to create a dam that prevents the mousse from leaking.
- If your frosting appears curdled due to temperature, briefly warm the bowl over steam to restore the emulsion.
- Prep Time: 105 mins
- Cook Time: 25 mins
- Category: Dessert
- Method: Baking
- Cuisine: American
Pantry Lineup
You only need basic kitchen staples alongside fresh or frozen fruit to bake this beautiful cake. Gathering these items ahead of time will make the mixing process smooth and enjoyable. Let us look at what you will need from your cabinets before starting.
- Yellow Cake Mix: This convenient base saves valuable time while guaranteeing a reliable, soft crumb every time you bake. It provides the ideal balance of sweetness and structure to hold our rich fruit filling securely. Using a mix lets you focus your energy on the artistic decorating process.
- Peach Purée: Real fruit is cooked down on the stove to concentrate the sweet summer flavors and remove excess moisture. This intense reduction guarantees your cake has an authentic taste without becoming soggy or dense. It acts as the primary flavor champion for both the batter and the mousse.
- Instant Vanilla Pudding Mix: This is the secret ingredient that guarantees a tender, melt-in-your-mouth texture that lasts for days. It locks in moisture and prevents the cake layers from drying out in the refrigerator. Your slices will stay remarkably soft and delicious, even on day five.
- Egg Whites: Whipping these directly into the batter builds a light, airy structure without adding heavy fat. They help the cake layers rise beautifully in the oven while maintaining a clean, neutral flavor profile. This allows the delicate fruit taste to shine through clearly.
- Sour Cream: This thick dairy staple adds pleasant tang and essential moisture to balance the sweetness of the fruit. The natural acidity breaks down gluten, resulting in an exceptionally tender and delicate crumb. It makes sure your cake is never dry or crumbly.
- Gel Food Coloring: Concentrated pink, yellow, and red colors are necessary to create the beautiful watercolor pastel look on your buttercream. Unlike liquid coloring, gel will not change the consistency of your frosting or make it runny. A tiny drop goes a very long way.
- Heavy Cream: Whipping this ingredient to stiff peaks gives the mousse filling its luxurious, cloud-like texture. It folds gently into the fruit reduction to create a filling that is rich yet remarkably light. Make sure it is very cold before whipping to get the best volume.
| Ingredient | Why It Matters |
|---|---|
| Yellow Cake Mix | Provides a sturdy structure and saves valuable kitchen prep time. |
| Peach Purée | Delivers natural fruit sweetness throughout the cake and mousse. |
| Sour Cream | Adds fat and acidity for a wonderfully tender crumb. |
| Gel Food Coloring | Tinting the buttercream creates the final artistic watercolor effect. |
| Vanilla Pudding Mix | Locks in moisture so the layers stay soft for days. |
Step-by-Step (Promise It’s Quick)
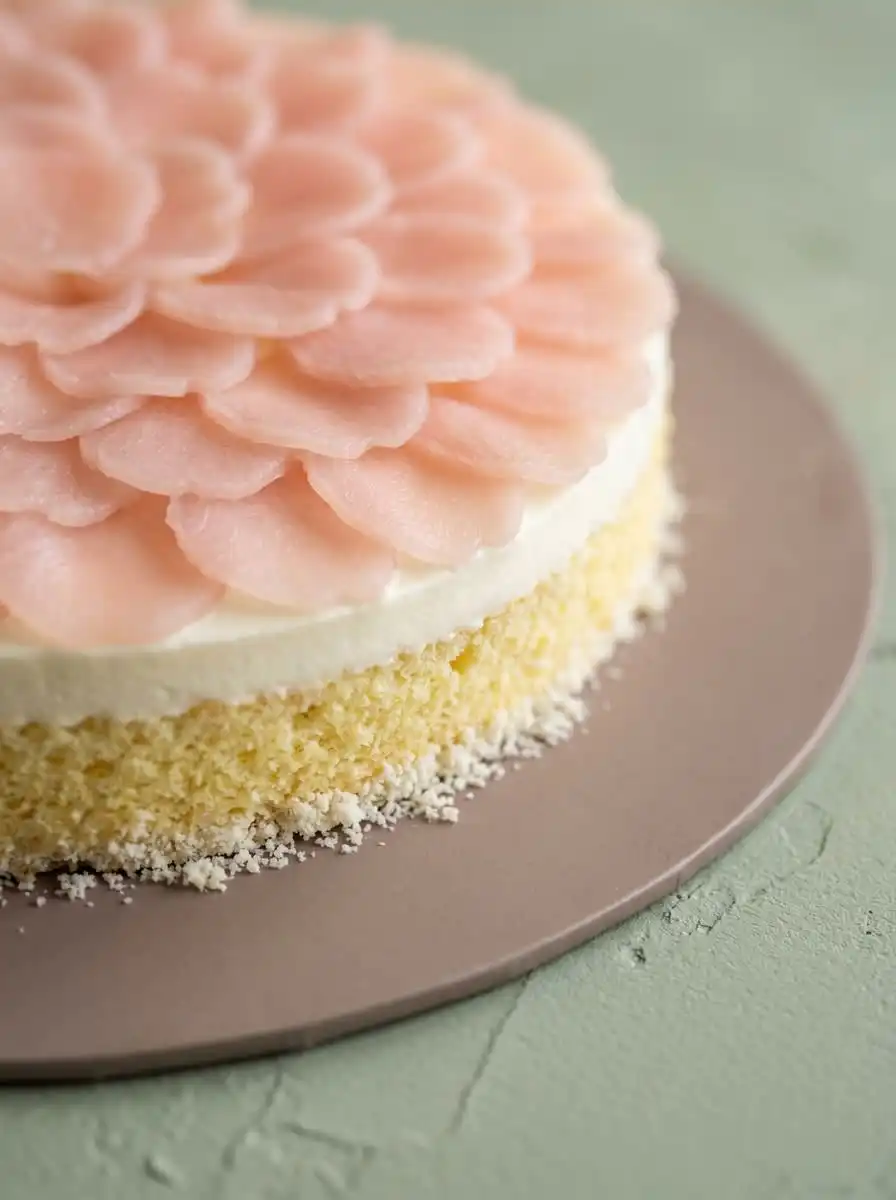
Step 1: Reduce the Peach Purée
Place your fresh fruit in a food processor and blend until it is completely smooth. Pour this bright liquid into a small saucepan over medium-low heat, stirring constantly so it does not scorch. You will watch it slowly thicken and reduce in volume while releasing a sweet, warm fragrance. Let it cool on the counter for fifteen minutes before you use it in the batter.
Step 2: Mix the Cake Batter
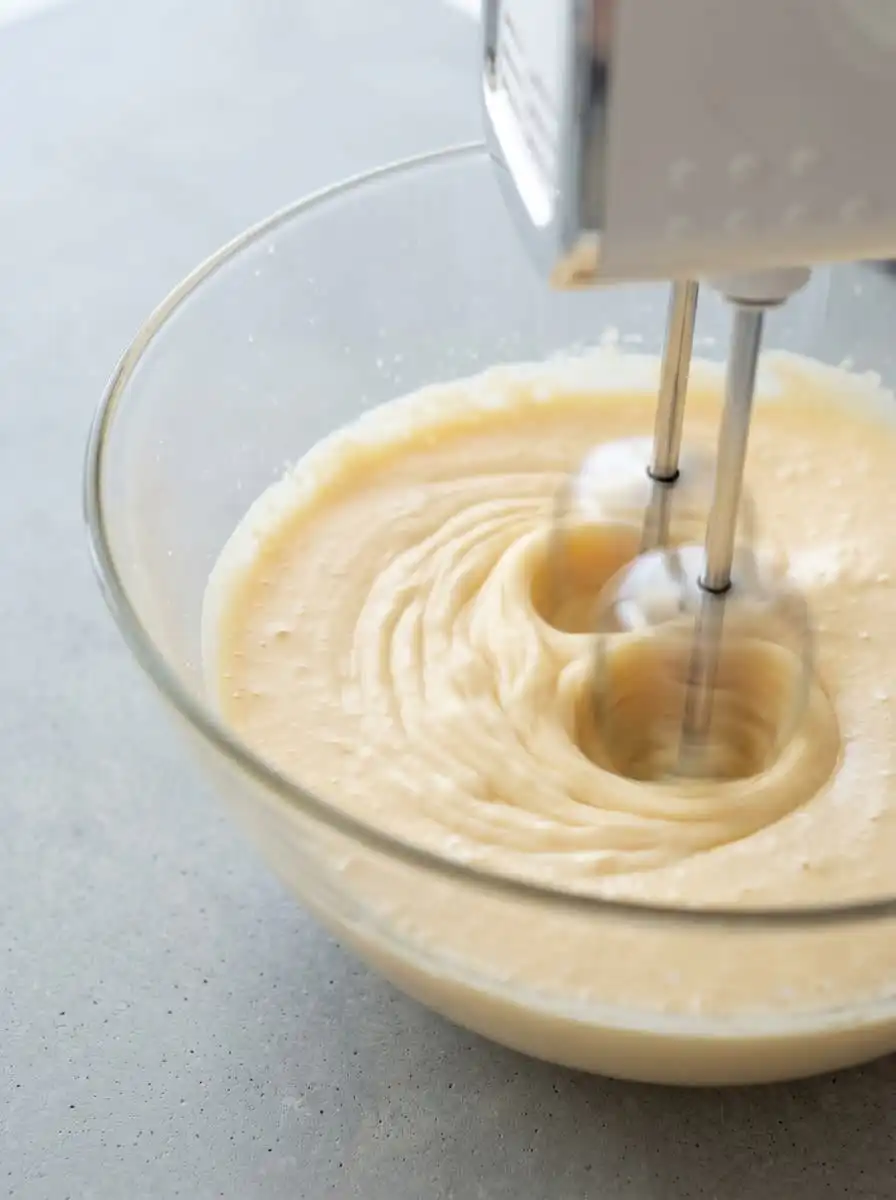
Preheat your oven to 350 degrees and grease four small six-inch round baking pans. Combine the yellow cake mix, vanilla pudding, egg whites, sour cream, oil, extracts, and reduced purée in a large mixing bowl. Whisk the mixture until the thick batter becomes smooth and turns a beautiful pale orange color. Divide this evenly among your prepared pans so they bake at the same rate.
Step 3: Bake the Soft Layers
Slide the baking pans into your preheated oven and bake for about twenty-three to twenty-five minutes. You will know they are ready when a toothpick inserted in the center comes out clean. The top of each cake should spring back when touched gently with your fingertip while smelling like sweet vanilla and fruit. Let them cool in the pans for five minutes before moving them to a wire rack.
Step 4: Whip the Cream and Prep Gelatin
Pour your cold heavy cream into a chilled bowl and whip on high speed using a stand mixer. Watch closely for stiff, glossy peaks to form, which shows the cream holds its shape beautifully. In a separate saucepan, stir the remaining fruit purée, sugar, salt, and gelatin together. Warm this over medium heat until tiny bubbles begin to form around the edges of the pan.
Step 5: Chill the Creamy Mousse
Stir your fresh lemon juice and vanilla extract into the warm gelatin mixture after removing it from the stove. Place the hot saucepan into a larger bowl filled with ice water to cool the mixture quickly. Stir constantly with a flexible spatula until it thickens to a heavy, pudding-like consistency. Gently fold in your whipped cream until the colors blend without losing any of the airy volume.
Step 6: Assemble the Cake Layers
Place your first cake layer on a flat plate or a sturdy cake pedestal. Spread a third of your thick peach mousse evenly across the top using an offset spatula. Stack the next layer carefully on top, repeating the process until all four layers are in place and aligned. Chill this in the refrigerator for fifteen minutes to let the mousse set firmly.
Step 7: Apply the Crumb Coat
Spread a thin layer of vanilla buttercream over the top and sides of the cold assembled cake. This crumb coat seals in loose crumbs, making the final decoration look clean and beautiful. Chill the cake again for thirty minutes until the frosting feels firm to your touch. Use this chilling time to prepare your different shades of colorful buttercream.
Step 8: Complete Your Peach Watercolor Cake Design
Divide your remaining frosting into separate bowls to tint them with pink, yellow, and red gel coloring. Dab thick patches of pink, peach, and white buttercream randomly all over the chilled cake. Smooth the sides with a flat scraper, watching the colors blend into a beautiful peach watercolor cake design. Sprinkle the top with pastel decorations and pipe small stars around the top border.
Easy-Baker Notes
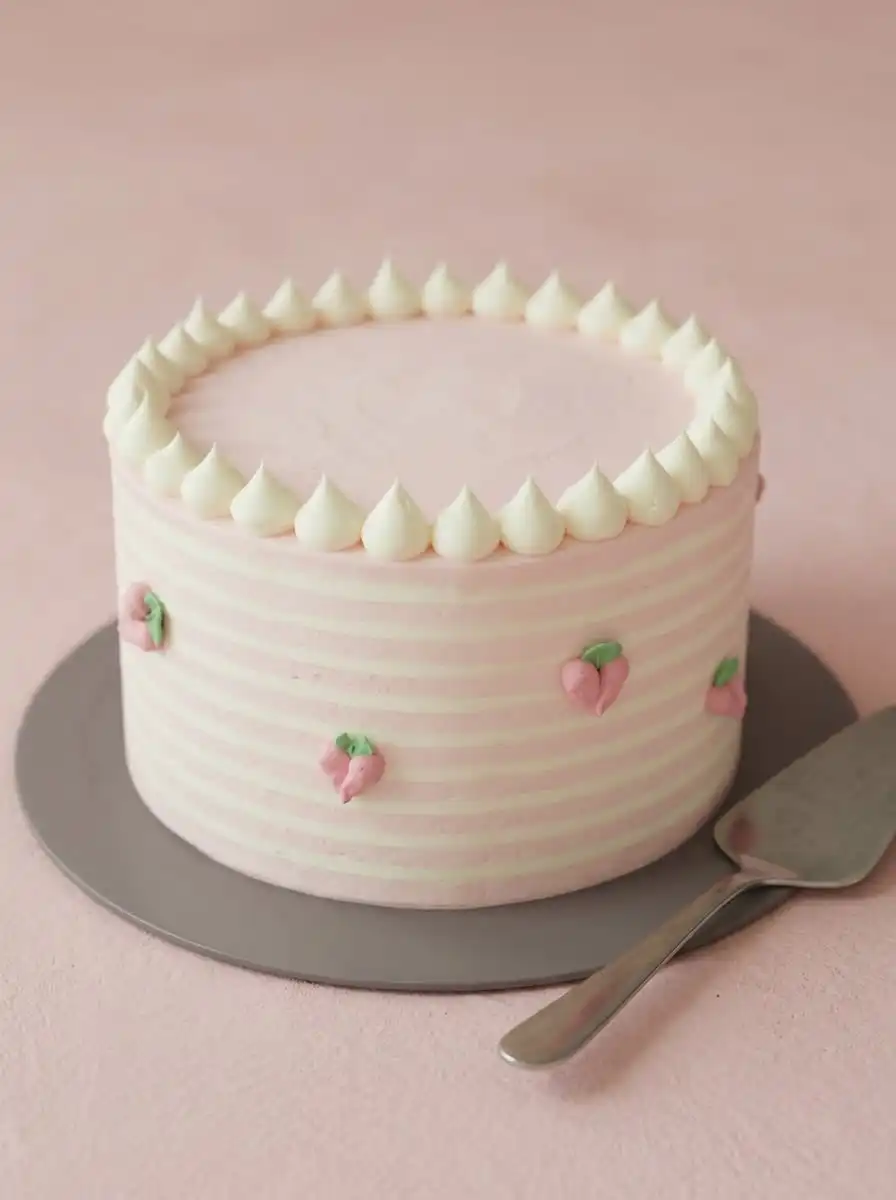
For the cleanest color blending, make sure your buttercream is exceptionally smooth and free of air bubbles. You can find detailed decorative inspiration from this peach watercolor cake guide to help you plan your design before starting. Stirring the frosting slowly with a wooden spoon for several minutes will remove large pockets of air. This simple step guarantees a flawless surface that makes sliding your scraper effortless.
Always weigh your flour and sugar if you are adapting this recipe to scratch baking instead of using a mix. If you love fruit-forward bakes but want something simpler, try our peach dump cake for a quick weeknight treat. It requires very little prep work and delivers fantastic flavor with minimal kitchen cleanup. Keeping a few cans of sliced fruit in your cabinet makes this option highly convenient.
To keep your mousse layers from oozing out of the sides, pipe a thin border of stiff buttercream around each cake layer before filling. This acts as a sturdy dam that keeps the soft filling exactly where it belongs during assembly. It also makes applying your final crumb coat much easier and prevents unsightly bulging. Taking this extra minute will save you a lot of frustration when smoothing the sides.
If your buttercream begins to separate and looks curdled, here is why and how to fix it. This usually happens when your butter or heavy cream is too cold during the mixing process. Warm the bottom of the bowl over a pot of steaming water for ten seconds, then beat it on high speed. The gentle heat melts the fat slightly, allowing the emulsion to come back together beautifully.
When reducing your fruit purée, keep the heat low and stir constantly to prevent the natural sugars from burning. A heavy-bottomed saucepan will distribute the heat evenly and prevent hot spots that lead to scorching. Letting the purée cool completely before mixing is essential, as warm fruit will melt your batter. Patience during this step makes sure your cake has the best texture and rise.
For the best watercolor effect, do not over-scrape the sides of the cake with your bench scraper. Every pass of the scraper will blend the colors further, so stop once the patches begin to touch. Leaving a few distinct swirls of pink and peach adds depth and makes it look like a hand-painted canvas. Over-working the frosting will turn your beautiful design into a single muddy color.
Frequently Asked Questions
What colors do you mix to get a peach watercolor effect?
You can mix a base of golden yellow gel coloring with a tiny dot of red to create a warm peach shade. For the watercolor look, prepare separate bowls of soft pink, warm peach, and untinted white frosting. Applying these colors in random patches and smoothing them together creates a beautiful blended design. This simple technique replicates the look of a professional bakery cake with very little effort.
What accent colors pair best with a peach watercolor cake?
Soft gold, sage green, and pastel pink look beautiful alongside these warm tones. You can use metallic sprinkles or fresh green herbs like mint to add elegant contrast. These accents draw attention to the delicate pastel hues without distracting from the painted effect. They make your finished dessert look complete and ready for any beautiful display table.
Can you flavor a peach watercolor cake naturally?
Yes, reducing fresh fruit purée on the stove concentrates the natural sugars and flavor beautifully. Using this reduced purée in both the batter and the mousse ensures a strong, authentic fruit taste. Avoid adding artificial flavorings when you have access to ripe, sweet summer fruit. This natural approach gives the cake an honest flavor that everyone will appreciate.
What is the best frosting for a watercolor effect?
A classic American buttercream or a silky Swiss meringue buttercream works best for this design. These frostings are sturdy enough to hold their shape but smooth enough to glide easily under a scraper. They allow the colors to blend together beautifully without becoming muddy or sliding off. Make sure your buttercream is whipped thoroughly to remove any dense air pockets before decorating.
How should I store this decorated cake?
Keep your cake covered in the refrigerator for up to five days to protect the fresh dairy in the mousse. Since cold temperatures can dry out the cake layers, store it in an airtight container or under a cake dome. Let it sit on the counter for twenty minutes before serving to soften the buttercream. This step ensures every slice has the perfect melt-in-your-mouth texture when you eat it.
Can I make this recipe using frozen peaches?
Thawed frozen peaches work wonderfully for making the purée when fresh ones are out of season. Just make sure to drain any excess water before blending them in your food processor. You will still need to reduce the liquid on the stove to concentrate the sweet flavor. This option allows you to enjoy summer baking comfort at any time of the year.
How far in advance can I decorate this cake?
You can decorate the cake up to twenty-four hours before your special gathering. The buttercream will seal in the moisture, keeping the cake fresh and delicious inside. Keep it chilled until shortly before serving to maintain the structure of the mousse filling. This planning tip helps you relax and enjoy your guests without rushing at the last minute.
Simple Swaps
You can easily swap the peaches for sweet nectarines or apricots if you want to experiment with different stone fruits. They have a similar moisture content and acidity, which means they will behave the same way in the batter. If you prefer a more traditional southern dessert, our peach cobbler pound cake offers a rich vanilla crumb swirled with cinnamon fruit. This alternative is wonderful for shipping to friends or bringing to outdoor picnics.
For a deeper floral note, add a single drop of high-quality rose water or lavender extract to your buttercream. These botanical scents pair beautifully with the natural sweetness of the fruit and create an elegant flavor profile. Be careful to use only a tiny amount, as floral flavorings can easily overwhelm the delicate cake layers. It turns a simple weekday treat into a sophisticated dessert for a special afternoon tea.
If you want a striking visual contrast, try adding thin layers of dark blackberry or raspberry jam between the cake and mousse. The deep purple colors will look beautiful when sliced and add a tart bite that cuts through the rich frosting. You can also press fresh berries directly into the mousse layers during assembly for added texture. This simple addition makes every slice look like a work of art on the plate.
Slice & Serve
Present this beautiful dessert on a plain white or glass cake pedestal to let the watercolor design shine. The clean lines of a minimalist stand will highlight the pastel colors without clashing with your hand-painted frosting. Slice the cake while it is still slightly cold using a long, sharp knife dipped in warm water. This technique makes sure you get clean, beautiful slices that showcase the colorful layers inside.
Serve each generous slice alongside a warm cup of herbal tea or a light iced coffee. The subtle bitterness of the coffee balances the sweet, fruity notes of the mousse and buttercream beautifully. For another delightful stone fruit option, you can learn to make our russian peach cake recipe for your next afternoon gathering. Having multiple options on your dessert table makes hosting feel effortless and special.
This spectacular dessert is wonderful for baby showers, garden parties, or casual weekend celebrations. You can scatter fresh peach slices and edible flowers around the base of the stand for a beautiful rustic look. Your guests will love the combination of light texture and rich fruit flavor in every single bite. It is the type of recipe that makes any ordinary afternoon feel like a special occasion.
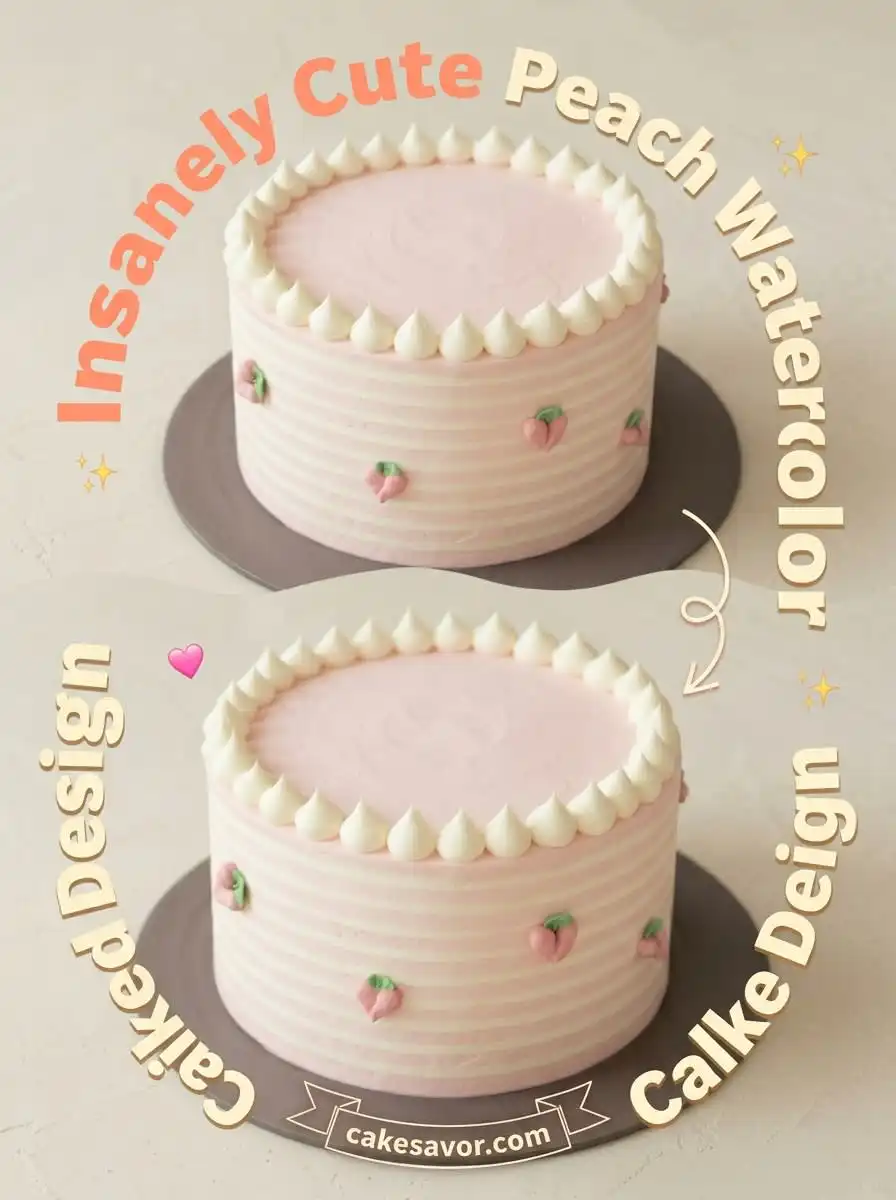
Bake It Soon
Baking should bring joy into your kitchen without causing unnecessary stress on busy days. This simple decorating technique shows that you can create a beautiful, artistic dessert using basic tools and ingredients. You do not need professional training to serve a stunning cake that your friends and family will cherish. It proves that simple baking can truly be spectacular when you focus on real flavor.
If you are looking for more delicious ways to enjoy stone fruit, try our ina garten peach cake for a classic, buttery bake. It is another wonderful recipe that fits perfectly into your busy life and satisfies your sweet tooth. Gathering around the table with a homemade dessert is the best way to end any weeknight. Taking that moment to slow down and enjoy a slice of cake is always worth it.
We would love to see your beautiful creations, so please share your baking journey with us on social media. You can connect with our community and find more easy baking ideas on Pinterest or join the conversation on Facebook. Happy baking, and we hope you enjoy every single sweet slice of this beautiful cake!