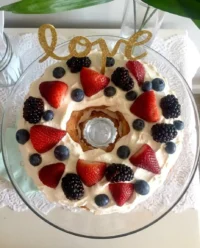
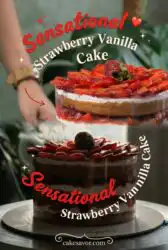
What IS that? This is the question guests always ask when they encounter the floral, toasty scent and the surprisingly light crumb of this unique Strawberry Vanilla Cake at the table.

This Strawberry Vanilla Cake represents the perfect bridge between a simple afternoon snack and a sophisticated celebration centerpiece. By using one smart addition—strawberry jam folded directly into the freshly whipped cream—we create a depth of berry flavor that fresh fruit alone simply cannot achieve. This eggless vanilla base stays incredibly tender, acting like a soft sponge that absorbs the sweet juices of the berries without losing its structure or becoming soggy over time.
What Makes This Strawberry Vanilla Cake Special
Prep: 30 min · Serves: 8 · Difficulty: Easy
- Eggless base provides a light texture
- Strawberry jam adds concentrated berry punch
- Sugar syrup ensures a moist crumb
- Whipped cream layers create cloud-like finish
- Simple pantry staples make baking accessible
This simple cake offers an unforgettable flavor every single time because it relies on the strawberry vanilla cake recipe principles of balancing moisture with airy structure.
Get The Full Cake Recipe
Print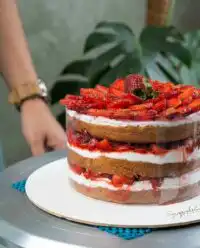
Strawberry Vanilla Cake
- Total Time: 1 hour 55 mins
- Yield: 8 servings
- Diet: Vegetarian
Description
This delightful eggless vanilla cake features a tender, moist sponge layered with fresh strawberries and a vibrant strawberry jam-infused whipped cream. It is a perfect balance of light, floral notes and deep berry sweetness, ideal for sophisticated celebrations or simple afternoon treats.
Ingredients
- 1 cup all-purpose flour (maida)
- 1/2 cup yogurt
- 1/4 cup oil
- 1/2 cup milk
- 1 teaspoon vinegar
- 1/2 teaspoon baking soda
- 1 teaspoon baking powder
- 1/2 cup sugar
- 1 teaspoon vanilla essence
- 1 cup heavy whipping cream
- 1/4 cup strawberry jam
- 1 cup fresh strawberries, sliced
- 1/4 cup sugar syrup
Instructions
- Prepare the buttermilk. Combine milk and vinegar in a bowl and let sit for 5 to 10 minutes until slightly curdled.
- Mix wet ingredients. Whisk together vanilla, yogurt, sugar, and oil into the buttermilk until smooth and fully emulsified.
- Incorporate dry ingredients. Sift in flour, baking powder, and baking soda, folding gently with a spatula until just combined.
- Bake the cake. Pour batter into a lined 4-5 inch tin and bake at 180°C for 20 to 25 minutes until golden and a toothpick comes out clean.
- Slice the layers. Allow the cake to cool completely before using a serrated knife to cut it into three equal horizontal layers.
- Prepare the fruit. Wash and hull strawberries, slicing them into rounds and tossing with a little sugar if they are tart.
- Whip the cream. Beat chilled heavy whipping cream on medium-high speed until stiff peaks form, taking care not to over-whip.
- Flavor the cream. Gently fold the strawberry jam into the whipped cream until it reaches a marbled or pink consistency.
- Assemble the layers. Brush cake layers with sugar syrup, spread with strawberry whipped cream, and top with fresh strawberry slices.
- Garnish and chill. Finish the top with remaining cream and strawberry slices, then refrigerate for at least one hour before serving.
Notes
- Always ensure your mixing bowl and beaters are chilled before whipping the cream for maximum volume.
- Measure flour by leveling your measuring cup to ensure a light crumb rather than a dense, heavy cake.
- Wait for the cake to cool completely to room temperature before slicing to prevent the sponge from tearing.
- For cleaner finishes on your cake exterior, use an offset spatula while rotating the cake on a stand.
- Prep Time: 30 mins
- Cook Time: 25 mins
- Category: Dessert
- Method: Baking
- Cuisine: Modern Fusion
Pantry & Spice Drawer
Success with this bake starts with understanding how simple ingredients interact to create a texture that feels professional yet remains entirely approachable for the home cook. We rely on the science of acidity and aeration to replace eggs, ensuring your layers are tall, proud, and perfectly soft.
- Maida (All-purpose flour): This provides the essential structure of your bake; always measure it carefully by leveling off your cup to avoid a dense or dry crumb.
- Yogurt: The secret to tenderness in eggless recipes, yogurt adds necessary fat and acidity that helps the cake remain soft for days.
- Vinegar: When combined with milk, this creates a homemade buttermilk that reacts with the leavening agents to lift the batter as it bakes.
- Oil: Unlike butter, oil remains liquid at room temperature, which guarantees that every bite feels moist and supple even after the cake is chilled.
- Whipping Cream: Ensure this is very cold before starting, as the fat molecules need a low temperature to trap air and create those stable, stiff peaks.
- Strawberry Jam: This is our flavor pop; it intensifies the fruit profile within the cream, providing a sugary brightness that echoes the fresh slices.
| Ingredient | Why It Matters |
|---|---|
| Baking Soda | Reacts with vinegar for a high rise |
| Sugar Syrup | Keeps the sponge hydrated during assembly |
| Vanilla Essence | Provides the warm, floral background note |
| Fresh Strawberries | Adds tartness and a beautiful visual appeal |
| Milk | Creates the base liquid for a smooth batter |
Building the Flavor
Step 1: Prepare Your Buttermilk
Start by combining your milk and vinegar in a small glass bowl, allowing it to rest for about five to ten minutes until it looks slightly curdled. This simple reaction is where you build the foundation for a soft and fluffy texture, as the acidity will eventually help the baking soda do its job. You will notice the milk thickening slightly, which is exactly the sensory cue you want to see before moving forward.
Step 2: Mix Your Wet Ingredients
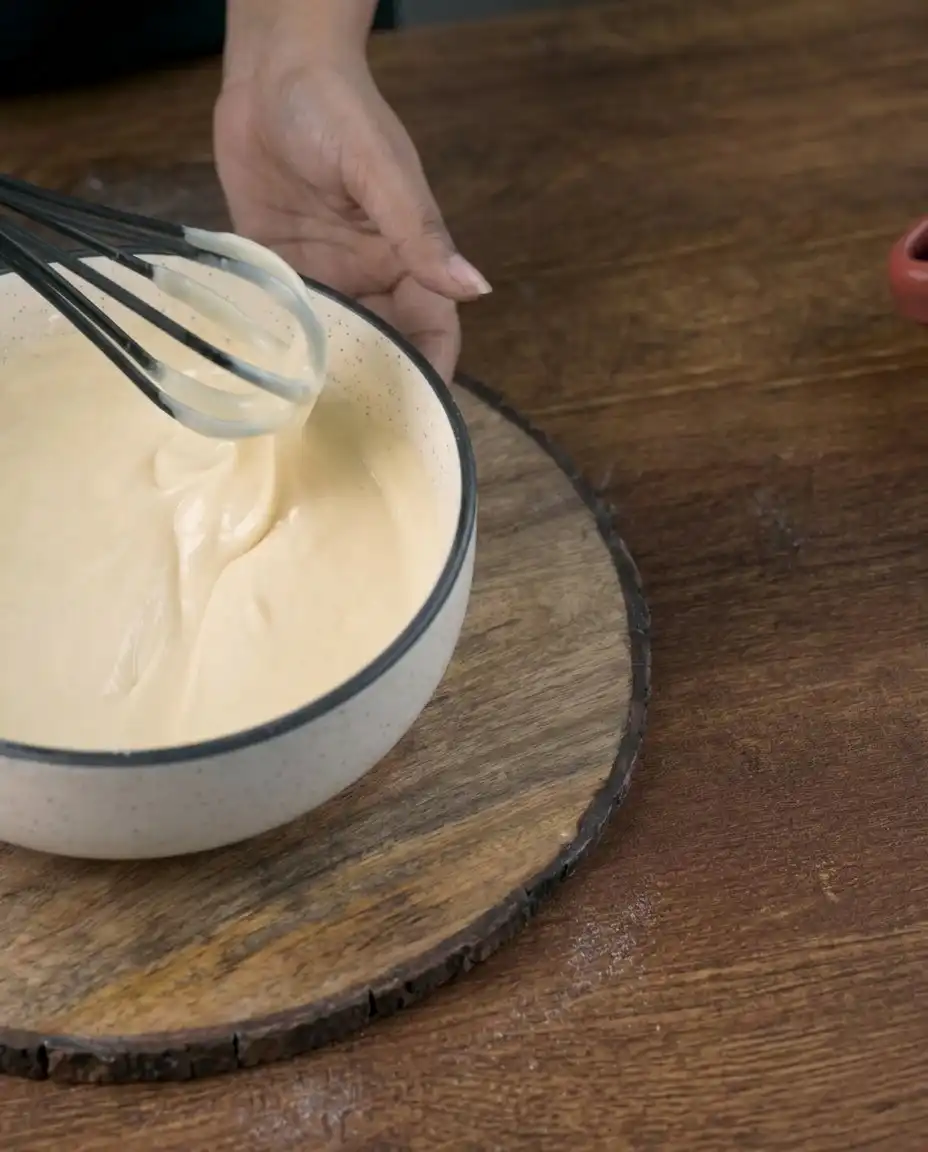
In a larger mixing bowl, whisk together your vanilla essence, yogurt, sugar, and oil into the buttermilk mixture until the sugar has fully dissolved and the liquid is smooth. The oil and yogurt work together here to create a rich emulsion that ensures your crumb is never dry. Keep whisking until no streaks of oil remain on the surface, creating a pale, creamy liquid base.
Step 3: Incorporate Your Dry Ingredients
Place a fine-mesh sieve over your bowl and sift in the maida, baking powder, and baking soda to ensure there are no lumps in your final batter. Use a spatula to gently fold the dry ingredients into the wet until just combined, being careful not to overwork the gluten. The batter should look thick but pourable, with a sweet, floral aroma beginning to bloom as the vanilla meets the flour.
Step 4: Bake Your Strawberry Vanilla Cake
Pour the batter into a lined 4 to 5-inch baking tin and place it into a preheated 180°C oven for 20 to 25 minutes. You will know it is ready when the top is golden brown and a toothpick inserted into the center comes out clean or with just a few moist crumbs. The kitchen will fill with a warm, toasty scent that signals the vanilla has caramelized beautifully against the edges of the tin.
Step 5: Prepare Your Cake Layers
Once the cake has cooled completely to room temperature, carefully demold it and use a serrated knife to slice it horizontally into three equal layers. Slicing a cooled cake is much easier and prevents the crumb from tearing or gumming up under the pressure of the blade. Set these layers aside on a wire rack so they stay airy while you prepare the fruit and cream.
Step 6: Prepare Your Fresh Strawberries
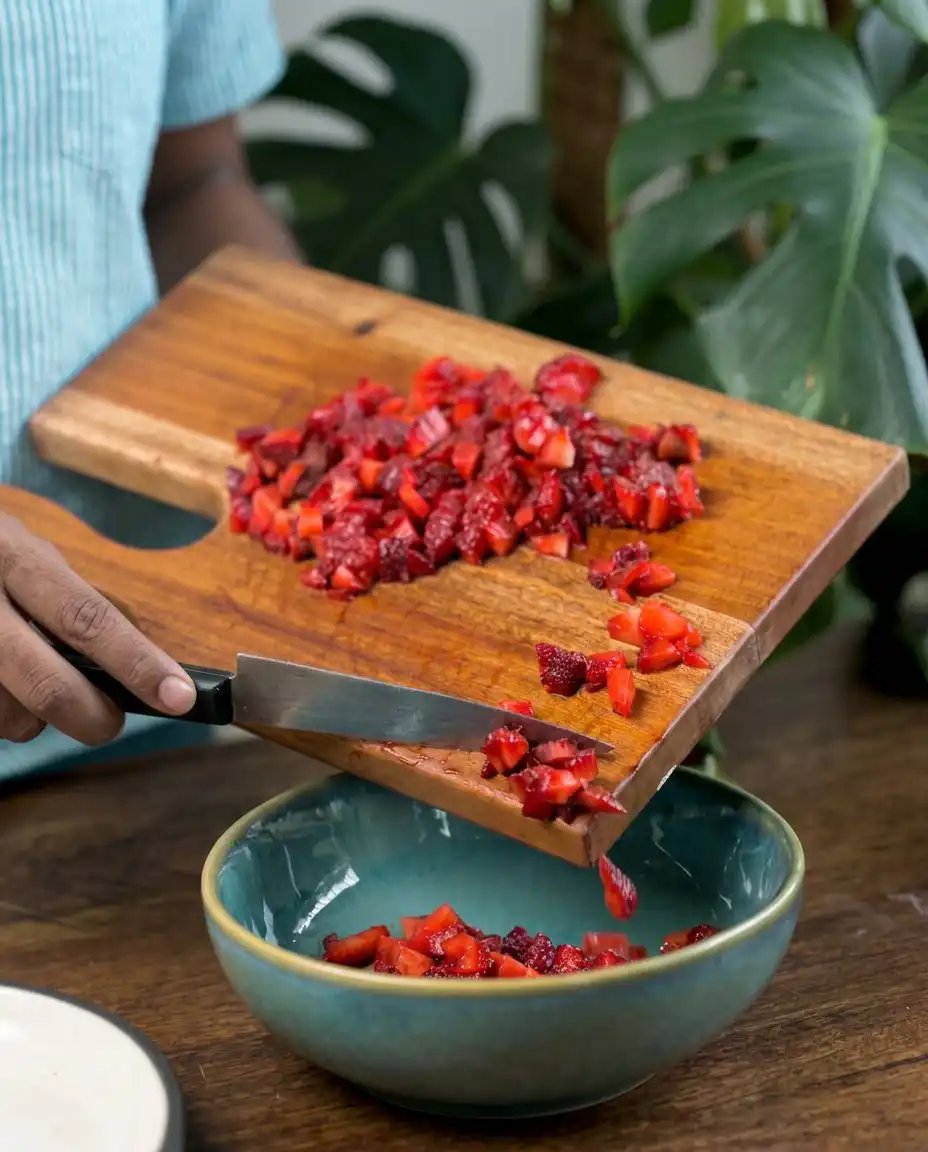
Wash and hull your strawberries, slicing a handful into thin rounds for the internal layers and leaving some whole or halved for the top garnish. If your berries are slightly tart, toss the chopped pieces with a teaspoon of powdered sugar to help them release their natural juices. This maceration process ensures that every fruit bite is sweet and supple rather than crunchy.
Step 7: Whip Your Cold Cream
Pour your chilled whipping cream into a cold bowl and use an electrical hand blender to whisk it on medium-high speed until it reaches stiff peaks. Watch for the moment the beaters leave deep tracks in the cream that do not disappear, which indicates the volume has doubled. Be careful not to over-whip, as the cream can quickly turn from smooth to grainy if pushed too far.
Step 8: Flavor Your Cream Mixture
Take your strawberry jam and gently fold it into the whipped cream using a wide spatula to create a marbled or fully pink tint. This is where you introduce that concentrated berry flavor pop that makes the filling so much more interesting than plain vanilla. The jam adds a glossy finish and a punchy sweetness that ties the fresh fruit and the vanilla sponge together.
Step 9: Assemble Your Layered Masterpiece
Place your first cake slice on a plate and soak it generously with sugar syrup to ensure lasting moisture. Spread a thick layer of the strawberry-flavored whipped cream over the top, followed by a scattering of fresh strawberry slices. Repeat this process with the second layer, stacking them carefully to keep the sides straight and even.
Step 10: Final Garnish and Chill
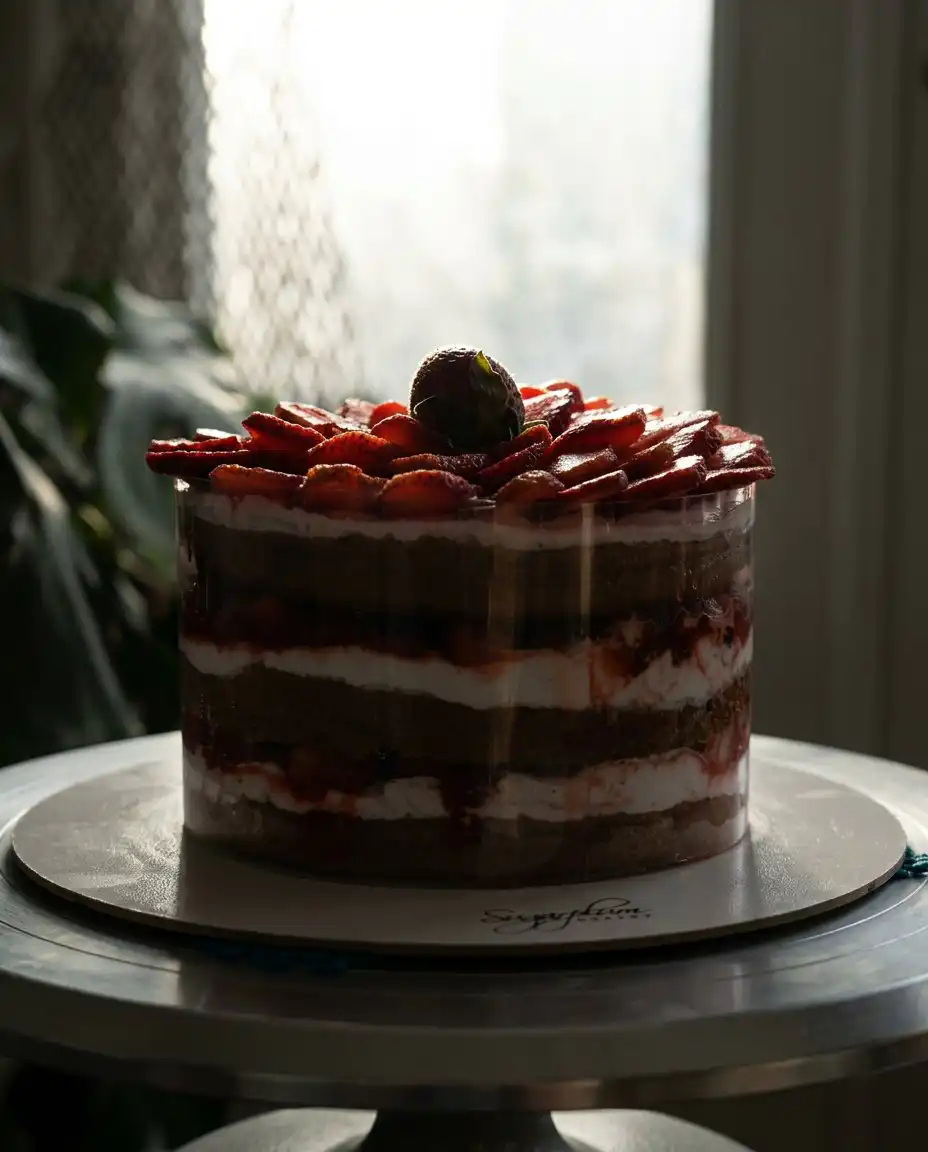
Place the final cake layer on top and cover the entire exterior with the remaining cream or leave the sides bare for a rustic look. Garnish the top with your most beautiful strawberry slices, arranged in a circular pattern for a professional finish. Let the cake chill in the refrigerator for at least one hour before serving to allow the flavors to meld and the structure to set.
How to Layer the Flavor
Always ensure your whipping cream is cold but not frozen before you begin the whisking process to achieve the most stable peaks. If the cream is even slightly warm, the fat will not be able to hold the air bubbles, resulting in a soupy mess that slides right off your cake layers. You can even chill your metal bowl and beaters in the freezer for ten minutes to provide an extra layer of temperature insurance during the summer months.
When applying the sugar syrup, use a pastry brush or a squeeze bottle to distribute the liquid evenly across the entire surface of the sponge. Focus specifically on the edges of the cake, as these areas tend to dry out faster than the center during the baking process. A well-hydrated sponge is the secret behind a perfect buttermilk vanilla cake that tastes just as good on the second day as it does on the first.
If your whipped cream turns grainy and looks like it is about to separate into butter, stop whisking immediately. You can often fix this by adding one or two tablespoons of fresh, liquid cream and gently folding it in with a spatula to smooth out the texture. This common failure happens when the protein bonds are overworked, but the extra liquid helps to redistribute the fat molecules before they clump together permanently.
Sifting your dry ingredients is a step you should never skip if you want a crumb that feels like silk on the tongue. This process aerates the flour and ensures that the baking soda is perfectly distributed, preventing any bitter pockets of leavening from ruining the flavor profile. It also helps the batter come together with minimal mixing, which is the key to preventing a tough or rubbery texture in eggless bakes.
For a truly professional look, use a revolving cake stand and an offset spatula when you are applying the final layer of strawberry cream. This allows you to create smooth, even sweeps of frosting without having to lift your hand, resulting in a cleaner finish that looks like it came from a boutique bakery. For more detailed techniques on fruit-based desserts, check out this guide on how to properly prepare strawberries for cake fillings.
Frequently Asked Questions
How do you get a natural, strong strawberry flavor in the cake?
The strongest natural flavor comes from using a combination of fresh sliced berries and a high-quality strawberry jam folded into the frosting. The jam provides a concentrated essence that fresh berries lack, while the fresh fruit offers texture and tartness. This layered approach ensures that every bite is packed with authentic fruit taste without using artificial syrups.
Should I use fresh strawberries in the cake batter?
It is generally better to use fresh strawberries as a filling rather than mixing them directly into the batter for this specific recipe. Fresh fruit releases a lot of moisture as it bakes, which can create soggy pockets or cause the eggless cake to sink in the middle. By keeping the fruit in the layers, you maintain the structural integrity of the vanilla sponge.
What is the best frosting for a strawberry vanilla cake?
A stabilized whipped cream flavored with strawberry jam is the ideal choice for this cake because it is light and airy. It complements the delicate vanilla sponge without being as heavy or cloying as a traditional American buttercream. The cream also absorbs a little bit of the strawberry juice, creating a delicious fusion between the layers.
Does vanilla or strawberry cake stay more moist?
A vanilla cake base using oil and yogurt, like this one, typically stays more moist over several days than a cake with fruit pureed into the batter. The sugar syrup used during assembly also plays a massive role in keeping the crumb tender. Pureed fruit cakes can sometimes become dense or sticky, whereas this method keeps the crumb light and clean.
Can I substitute cake flour with all-purpose flour?
Yes, you can use all-purpose flour (maida) as called for in this recipe, but ensure you sift it at least twice for the best results. All-purpose flour has a slightly higher protein content than cake flour, which gives the eggless cake the necessary strength to hold up the fruit layers. If you want a more delicate crumb, you can replace two tablespoons of the flour with cornstarch.
How long does a fresh strawberry cake last?
Because this cake uses fresh fruit and whipped cream, it is best enjoyed within two days of assembly. Always keep it refrigerated in an airtight container to prevent the cream from absorbing other odors and to keep the fruit fresh. After the second day, the strawberries may begin to release more juice, which can start to soften the cake layers significantly.
Where to Take It Next
You can easily transform this recipe into a citrus-forward delight by adding the zest of one large lemon to the sugar and oil mixture. The bright acidity of the lemon zest cuts through the sweetness of the cream and highlights the natural tartness of the strawberries for a refreshing twist. This small tweak creates a completely different sensory experience while keeping the core easy strawberry cake method exactly the same.
If you want to lean into a nuttier, more complex profile, try swapping half of the vanilla essence for almond extract. Almond has a way of making people stop and ask about the secret ingredient because it mimics the floral notes found in stone fruits and berries. This is where you make it yours, layering flavors that complement the vanilla base without overwhelming the delicate fruit.
For a more rustic, deep flavor, you can roast your strawberries in the oven with a sprinkle of sugar before adding them to the layers. Roasting concentrates the sugars and softens the fruit, creating a jam-like consistency that feels incredibly indulgent against the soft whipped cream. This variation works particularly well in the cooler months when fresh berries might not be at their absolute peak of sweetness.
Pair It Up
This Strawberry Vanilla Cake is best served chilled on a warm afternoon, perhaps alongside a glass of iced jasmine tea or a light sparkling rosé. The floral notes in the tea or the bubbles in the wine will dance beautifully with the vanilla essence and the bright berry flavor pop. For a more formal gathering, place each slice on a white ceramic plate and add a small mint leaf garnish for a touch of color.
If you are serving this at a birthday party, consider offering a side of extra macerated strawberries for guests who want even more fruit. A simple vanilla cake recipe like this one acts as a wonderful canvas for various toppings, and a dollop of crème fraîche can add a sophisticated tang to the plate. The contrast between the cold cream and the soft sponge makes it a refreshing end to any meal.
Your Turn to Riff
Baking this Strawberry Vanilla Cake is about more than just following a set of instructions; it is an invitation to play with simple ingredients until they become something memorable. Whether you stick to the classic vanilla or decide to add a splash of almond extract, the result is a cake that feels generous and light. This is the kind of recipe that turns a regular afternoon into a celebration, proving that you do not need complex techniques to achieve a sophisticated flavor.
I hope you find as much joy in assembly as you do in the first bite, watching the cream and berries come together into beautiful layers. If you find yourself craving a deeper, more buttery base for your next project, you might look into the classic vanilla butter cake for your next kitchen adventure. Please share your beautiful bakes with us and let us know how you made this recipe your own.