Description
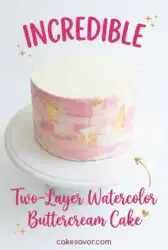
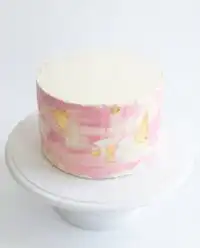
Create a stunning, art-inspired dessert with this watercolor buttercream technique. By blending soft hues directly onto your frosting, you can achieve a sophisticated, painterly finish that is both beautiful and impressively simple to execute.
Ingredients
- Unsalted butter, softened
- Powdered sugar
- Gel food coloring
- Vanilla extract
- Heavy cream
- 2 prepared cake layers
Instructions
- Prepare color palette. Divide frosting into small bowls, stir in desired gel colors, and mix until smooth to ensure harmonious shades.
- Apply base layer. Stack cake layers with frosting in between, then coat the entire exterior with a base layer of white buttercream using an offset spatula.
- Mix secondary colors. Adjust the consistency and vibrancy of your tinted frostings, ensuring they remain soft and pliable for easy application.
- Paint buttercream swatches. Use an offset spatula to place random, cloud-like dabs of tinted frosting across the sides and top of the base-coated cake.
- Smooth the finish. Hold an icing smoother against the cake while rotating the stand to gently blend the color patches into a soft, misty watercolor effect.
- Refine color blending. Touch up any areas showing too much base or muddy colors by adding small dots of fresh frosting and repeating the smoothing process.
- Chill the cake. Refrigerate the finished cake for at least fifteen minutes to allow the buttercream to set and firm up for easier serving.
Notes
- Work in a cool room to keep the buttercream from softening too much while you paint.
- Always keep your icing smoother clean by wiping it with a damp cloth after each rotation.
- If the frosting develops air bubbles, stir it by hand with a wooden spoon for several minutes to achieve a dense, silky texture.
- Use a knife dipped in hot water and wiped dry to get clean, crisp slices without smearing the colors.
- Prep Time: 45 mins
- Cook Time: 0 mins
- Category: Dessert
- Method: Decorating
- Cuisine: American