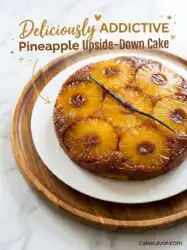
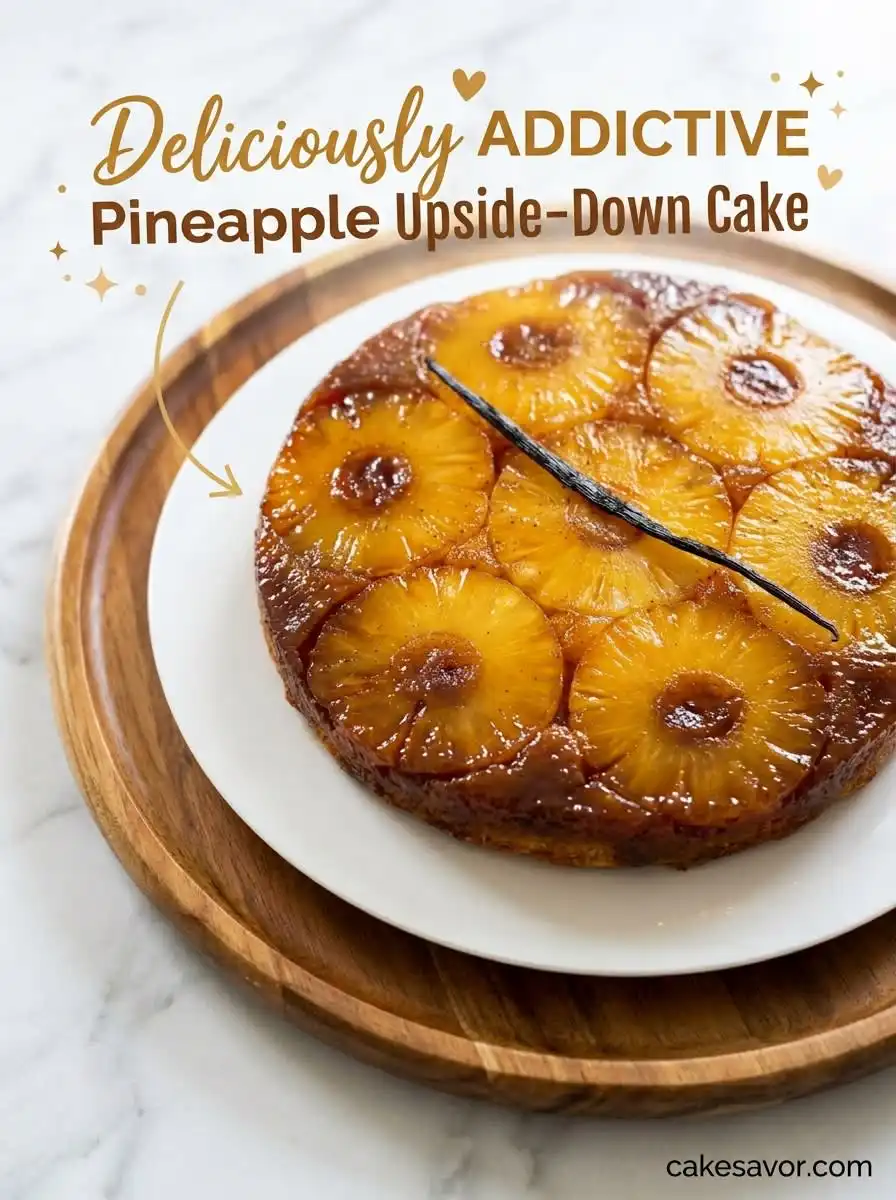
A warm, deeply caramelized crown of gold and red resting on a buttery crumb with a whisper of almond makes this classic bake unforgettable.

Baking a classic Pineapple Upside-Down Cake brings a wonderful retro charm to your kitchen, but we want to make sure every slice delivers a true flavor pop. While traditional recipes rely solely on vanilla, adding a tiny splash of warm, nutty almond extract to the batter transforms the yellow cake completely. This single, thoughtful tweak bridges the bright acidity of the caramelized fruit with the sweet crumb below. It is a simple upgrade that leaves your guests wondering what makes this familiar dessert taste so distinct.
What Makes This Pineapple Upside-Down Cake Special
Prep: 25 min · Serves: 8 · Difficulty: Medium
- Rich caramelized topping created in one single pan
- Delicate crumb made better with almond extract
- Stays moist and tender for days afterward
- Familiar pantry ingredients deliver wonderful retro comfort
- Easy technique yields beautiful visual results
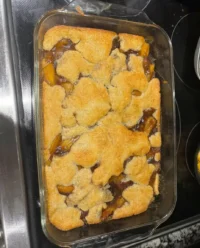
This delightful recipe will quickly become the star of your dessert table. If you enjoy fruit-forward baking, you might also enjoy our comforting peach upside down cake recipe for another seasonal twist.
Get The Full Cake Recipe
Print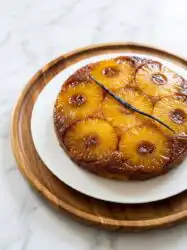
Pineapple Upside-Down Cake
- Total Time: 1 hour 10 mins
- Yield: 8 servings
Description
This classic Pineapple Upside-Down Cake features a rich, caramelized fruit crown resting atop a tender, almond-infused yellow crumb. It is a nostalgic, visually stunning dessert that balances vibrant, tangy pineapple with a sophisticated nutty sweetness.
Ingredients
- Salted butter
- Light brown sugar
- Dried pineapple slices
- Maraschino cherries
- Unsalted butter
- Granulated sugar
- Eggs
- Vanilla extract
- Almond extract
- All-purpose flour
- Baking powder
- Salt
- Whole milk
Instructions
- Prep baking dish. Heat oven to 350°F (175°C) and coat the base and sides of a deep pie plate with melted salted butter.
- Create caramel base. Sprinkle the packed light brown sugar evenly over the bottom to form a smooth, sandy layer.
- Arrange pineapple fruit. Place pineapple slices in a single, overlapping pattern and press them firmly into the brown sugar.
- Nestle the cherries. Secure a maraschino cherry in the center of each pineapple ring and fill any remaining gaps with additional cherries.
- Cream butter mixture. Beat softened unsalted butter and granulated sugar together for three minutes until pale and fluffy.
- Add wet ingredients. Incorporate eggs one at a time, then stir in the vanilla and almond extracts until smooth.
- Combine dry components. Whisk flour, baking powder, and salt separately, then alternate adding the flour mixture and milk to the batter.
- Bake the cake. Pour batter over the fruit, bake for 30 minutes, cover with foil, and bake for an additional 15 minutes until set.
Notes
- Pat pineapple slices dry with paper towels to prevent a soggy cake base.
- Bring eggs and milk to room temperature to ensure a smooth, emulsified batter.
- Use glass bakeware to easily monitor the browning of the caramel bottom during the bake.
- Heat the bottom of the pan briefly on the stove if the fruit sticks during inversion.
- Prep Time: 25 mins
- Cook Time: 45 mins
- Category: Dessert
- Method: Baking
- Cuisine: American
The Flavor Lineup
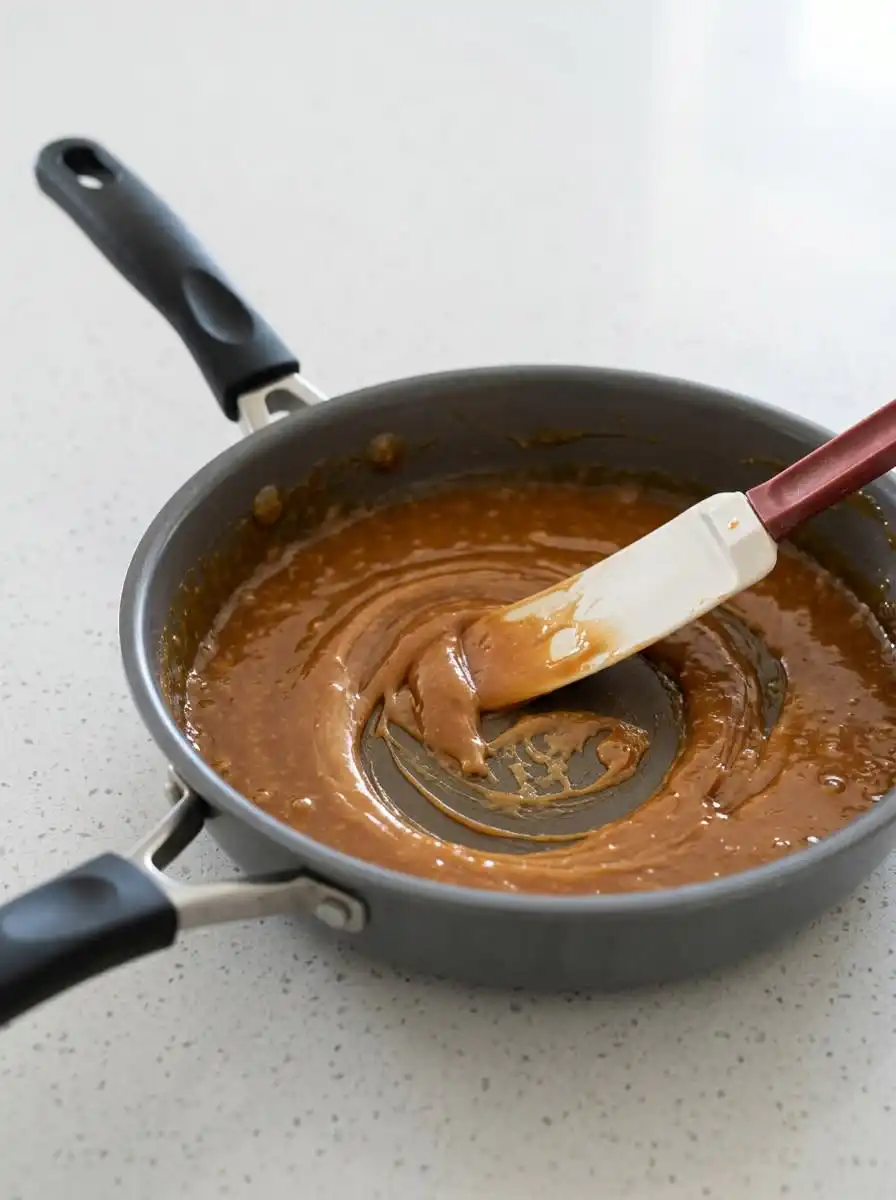
Assembling your ingredients for this Pineapple Upside-Down Cake feels like visiting a classic sweet shop. We focus on basic pantry components that work together to create a luscious fruit crown and a cloud-like cake underneath. By selecting quality fats and extracts, you will transform these standard items into an extraordinary dessert.
- Salted Butter: This melted fat mixes with the brown sugar to create a rich, butterscotch-like glaze on the bottom of your pan.
- Brown Sugar: Its deep molasses notes caramelize the fruit slices as they bake, forming a glossy finish.
- Pineapple Slices: These tangy rings provide a bright, acidic contrast to the buttery cake base beneath them.
- Maraschino Cherries: These jeweled centers add sweet pops of color and traditional nostalgic flair to every slice.
- Almond Extract: This is our secret flavor pop that gives the batter an enticing pastry-shop aroma.
- Whole Milk: This dairy option provides the essential fat and moisture needed for a fine, velvet-like crumb.
- All-Purpose Flour: This pantry staple forms the structural foundation of our soft and delicate cake.
| Ingredient | Why It Matters |
|---|---|
| Salted Butter | Creates the rich caramel glaze with brown sugar |
| Pineapple Slices | Delivers juicy acidity to balance the sweet cake |
| Almond Extract | Adds a sweet, nutty background note to the batter |
| Whole Milk | Offers fat and hydration for a tender, soft crumb |
Building the Flavor
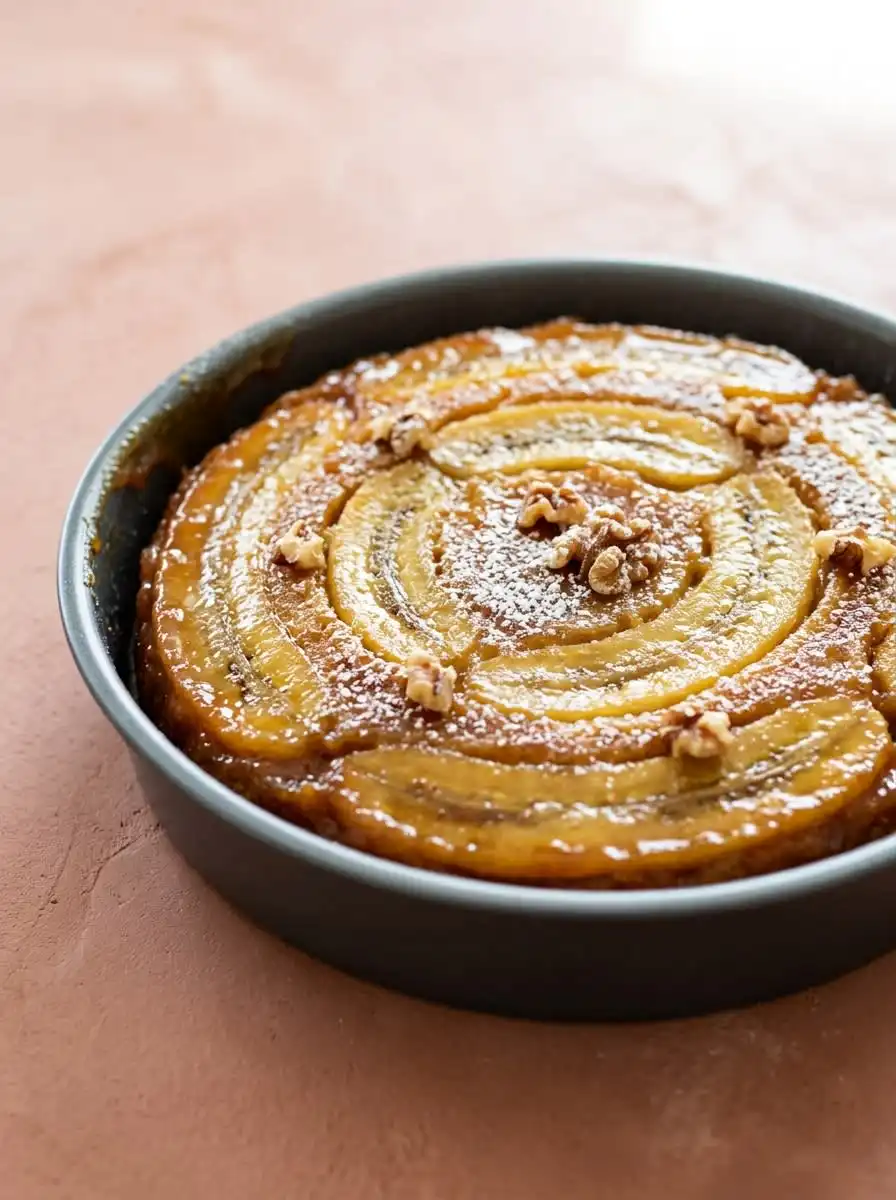
Step 1: Prep Your Baking Dish and Oven
Begin by warming your oven to 350°F (175°C) to help maintain a stable baking environment. Pour the melted salted butter directly into the bottom of a deep pie plate, spreading it to cover the base completely. Take a pastry brush or clean fingers to slide some of the liquid butter up the interior walls of the dish. This prevents the delicate yellow sponge from clinging to the sides during the eventual flip.
Step 2: Lay Down the Sweet Caramel Base
Measure your packed light brown sugar and sprinkle it evenly over the layer of melted butter. The sugar will quickly absorb the fat, transforming into a sandy, golden paste that coats the bottom. Avoid leaving clumped mounds of sugar, as a flat foundation is key for an even fruit layout. The aroma of warm brown sugar and butter will immediately start filling your kitchen.
Step 3: Lay Your Dried Pineapple Slices Carefully
Lay your dried pineapple slices carefully onto the brown sugar layer in a single, overlapping pattern. You can cut additional rings in half to line the sloped sides of the baking dish for a dramatic look. When the hot fruit juices bake into the sugar, they form a glossy, thick syrup. Press the rings gently so they seat firmly into the sweet paste.
Step 4: Nest the Maraschino Cherries
Place a bright red maraschino cherry snugly into the center opening of each golden pineapple ring. Scatter any remaining cherries in the empty spaces between the slices to fill out the mosaic design. This striking contrast of red and gold will look beautiful once inverted onto your serving platter. Make sure the cherries are nestled deeply so they stay secured within the caramelized top.
Step 5: Cream Your Butter and Sugar to Lightness
In a medium mixing bowl, beat your softened unsalted butter and granulated sugar together with an electric mixer. You want to cream them until the mixture appears pale yellow and fluffy, which takes about three minutes. This process traps tiny pockets of air that help the final sponge rise. The mixture should cling softly to your beaters like a whipped frosting.
Step 6: Incorporate the Eggs and Secret Extract
Add your room temperature eggs one at a time, beating thoroughly after each addition to keep the batter smooth. Once the eggs are fully integrated, stir in the vanilla and our star addition of sweet almond extract. The warm fragrance of vanilla combined with the floral, nutty scent of almond immediately transforms the wet base. This step sets the stage for a wonderfully aromatic baking experience.
Step 7: Combine Dry Ingredients and Finish the Batter
Whisk the flour, baking powder, and salt together in a separate clean bowl. Alternate adding portions of this dry mixture and the whole milk into your wet ingredients, beginning and ending with the flour. Use a flexible silicone spatula to fold the batter by hand to prevent tough gluten from developing. The final batter should look thick, smooth, and satin-like.
Step 8: Bake Your Pineapple Upside-Down Cake to Golden Perfection
Pour your cake batter evenly over the arranged fruit layer, using your spatula to smooth the surface. Transfer the pan to the warm oven and bake for 30 minutes before loosely covering the top with foil. Continue baking for another 15 minutes to allow the center of the cake to set without over-browning the edges. A toothpick inserted deep into the center should emerge clean with only a few soft crumbs attached.
Small Tweaks, Big Wow
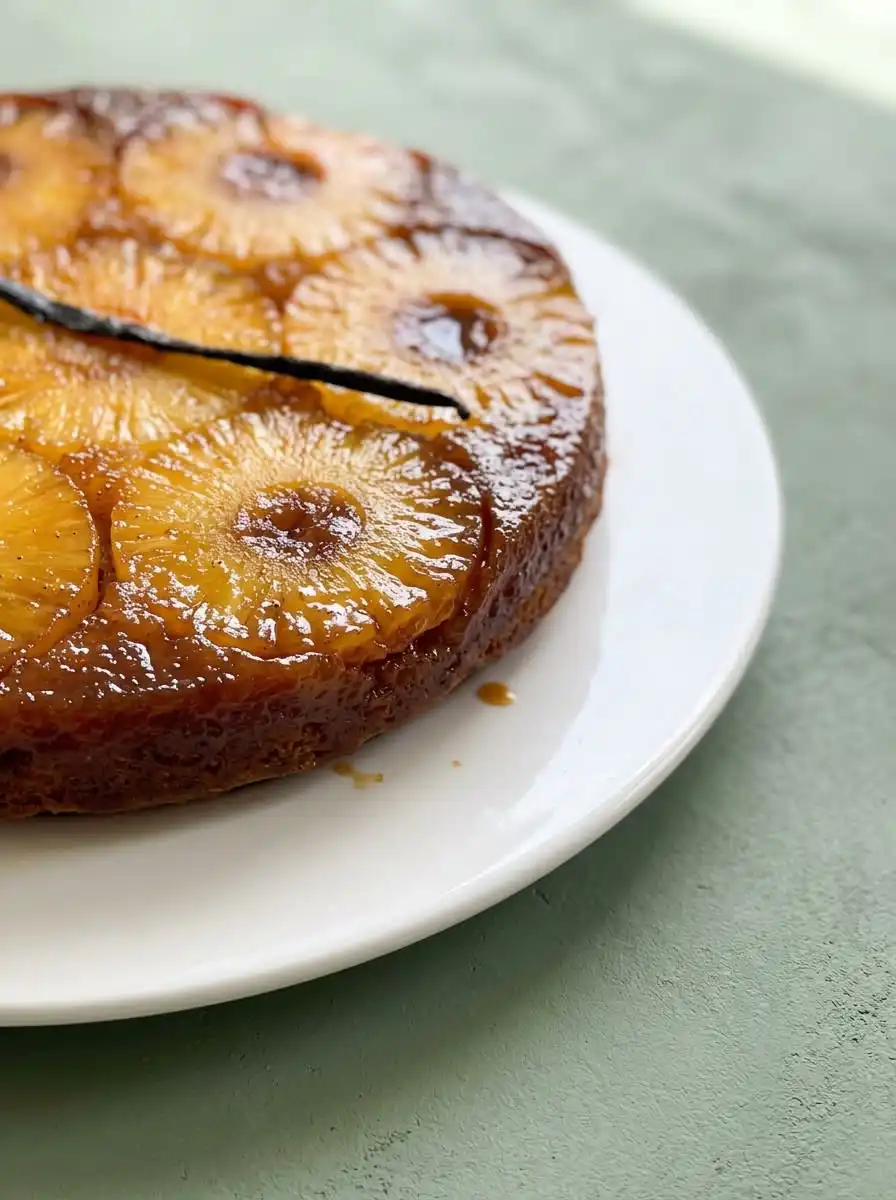
Patting your fruit dry with thick paper towels is crucial to prevent a soggy, wet sponge. If the rings carry excess canning juice into the baking dish, they will dilute the caramelized brown sugar layer during the bake. Squeezing them gently between your palms removes the hidden moisture while keeping the fruit intact.
Should you want to bake a dessert that focuses entirely on this tropical flavor, try our popular best pineapple cake for a lighter crumb. This classic option is excellent for bakers who prefer a traditional frosted finish rather than a sticky caramelized top. It uses similar pantry staples but shifts the fruit flavor directly into the tender crumb.
Bringing your dairy and eggs to room temperature before mixing makes a massive difference in the texture of your batter. Cold ingredients will cause the creamed butter to seize, resulting in a curdled batter that bakes up dense. Setting your milk and eggs on the counter for thirty minutes beforehand promotes a smooth emulsion.
If your caramelized fruit topping sticks to the bottom of the pan when you flip your Pineapple Upside-Down Cake, the pan was likely allowed to cool for too long. If this happens, heat the bottom of your baking pan over a low stovetop flame for thirty seconds to melt the hardened sugars. This brief warmth liquefies the stubborn caramel glaze and allows the fruit to slide out cleanly.
To get a clean release every time, leaning on proven traditional caramelized fruit topping methods helps your fruit remain beautifully intact upon flipping. You can achieve this by using high-quality glass bakeware, which allows you to inspect the browning progress through the bottom of the pan before taking it out. This visual check takes the guesswork out of the final bake.
The physical motion of flipping the hot cake requires confidence and a firm grip. Place your serving platter upside down over the hot baking dish, then swiftly invert both pieces in one single, fluid motion. Hold them together tightly for ten seconds to let gravity draw the caramelized juices down into the warm cake.
Frequently Asked Questions
What is a pineapple upside-down cake?
This is a classic American dessert where the fruit toppings and sweet glaze are laid at the bottom of the pan before baking. Once the cake finishes in the oven, it is inverted onto a serving platter so the caramelized fruit sits beautifully on top. The juices from the baked fruit seep down into the yellow sponge, creating a wonderfully moist crumb.
Why do they call it upside-down cake?
The name comes from the unique method of assembling the dessert in reverse order compared to traditional frosted cakes. Because the colorful fruit decorations are placed beneath the batter, the pan must be turned upside-down to reveal the finished presentation. This clever technique historically allowed home cooks to bake beautiful decorated cakes in cast-iron skillets.
What is the secret to flipping a pineapple upside-down cake?
The key is timing and confidence during the inversion process. You must let the cake cool for exactly ten to fifteen minutes so the caramel glaze can set slightly but remain warm enough to release. If you wait too long, the cooled sugar will act like glue and stick to the pan.
Can I use fresh pineapple instead of canned?
Yes, fresh pineapple slices work beautifully, though they require a little extra prep work. You must slice them to an even thickness and simmer them gently in water or light syrup to soften the fibers before baking. This step ensures the fresh fruit becomes tender and integrates well with the caramelized glaze.
Can I use boxed cake mix?
You can substitute the homemade batter with a quality yellow cake mix if you are short on time. Mix the dry blend according to the package directions, but consider adding our signature splash of almond extract for a scratch-made flavor. Pour this batter over the fruit and bake as usual, checking the center with a toothpick.
How do I stop the pineapple from making the cake soggy?
The best method is to thoroughly dry the fruit slices before placing them into the brown sugar layer. Pressing them firmly between layers of paper towels removes the excess canning syrup that would otherwise water down the cake batter. Additionally, avoiding over-moistening the batter itself helps maintain a firm structure.
How do I keep the cake from sticking to the pan?
Making sure you thoroughly grease the bottom and sides of your baking dish with melted butter is the best defense. Using a high-quality nonstick pan or a glass pie dish can also assist in a clean release. Make sure the brown sugar is evenly distributed over the butter to prevent dry spots.
Should I serve this cake warm or cold?
This retro cake tastes truly wonderful when served warm, about thirty minutes after flipping. The caramelized topping is still soft, and the yellow sponge remains light and tender. However, it can also be enjoyed at room temperature with a cool scoop of vanilla bean ice cream.
Swap Your Spice
Try blooming a teaspoon of freshly ground cardamom or warm chai spices directly into the melted butter before adding the brown sugar. This small addition infuses the glaze with deep, toasty notes that pair beautifully with the sweet fruit. It transforms the dessert from a sweet summer treat into a cozy, autumn-inspired bake.
Instead of regular softened butter for the cake batter, you can brown your butter in a saucepan until it smells nutty and caramelized. Let it cool back to room temperature until it solidifies slightly, then cream it with the sugar as instructed. This easy swap deepens the flavor of the yellow sponge, giving it a toasted hazelnut aroma.
If you want to swap the tropical fruit entirely, look at our mango upside down cake story for visual inspiration. Sweet, sliced mangoes caramelized with a pinch of lime zest offer a bright flavor pop that feels fresh and unexpected. This variation pairs beautifully with a dollop of unsweetened coconut cream on top.
Bringing the Wow to the Table
Presenting this classic dessert warm from the oven is always a delightful moment for your guests. Slice the warm cake into generous wedges, making sure each piece contains a whole pineapple ring with its ruby-red cherry center. The glossy caramel glaze will slowly drizzle down the sides of the golden crumb as you place it on the plate.
To complement the sweet, caramelized fruit, serve each slice with a light dollop of unsweetened whipped cream or a scoop of tangy buttermilk ice cream. These additions help balance the rich molasses flavors without overpowering the delicate hint of almond in the sponge. For more ideas on how to showcase fresh produce in your baking, view our guide on building a beautiful cake with fruit.
This beautiful bake is excellent for weekend brunches, afternoon tea parties, or casual family gatherings. Pair it with a hot cup of black tea or a citrusy iced beverage to cleanse the palate between bites. The contrasting colors of yellow, gold, and red look particularly stunning on a vintage milk glass cake stand.
Bake It & Play
Creating this classic Pineapple Upside-Down Cake is a wonderful way to enjoy the playful side of baking. With a single smart tweak of sweet almond extract, you can take a familiar yellow sponge and make it truly memorable. It is a satisfying recipe that rewards minimal effort with a gorgeous, glossy presentation that everyone loves.
We encourage you to make this recipe your own by trying different fruit layers or infusing warm baking spices into the caramel glaze. If you loved the visual layout of this dessert, you might enjoy reading our classic peach upside down cake story for more colorful ideas. Letting your creativity guide you in the kitchen is where the real fun begins.
Once you pull your golden cake from the oven and make that successful flip, share your baking success with us. Follow our latest kitchen adventures and join our growing community of home bakers on Pinterest and Facebook. We can’t wait to see your beautiful creations and hear about your favorite flavor tweaks.